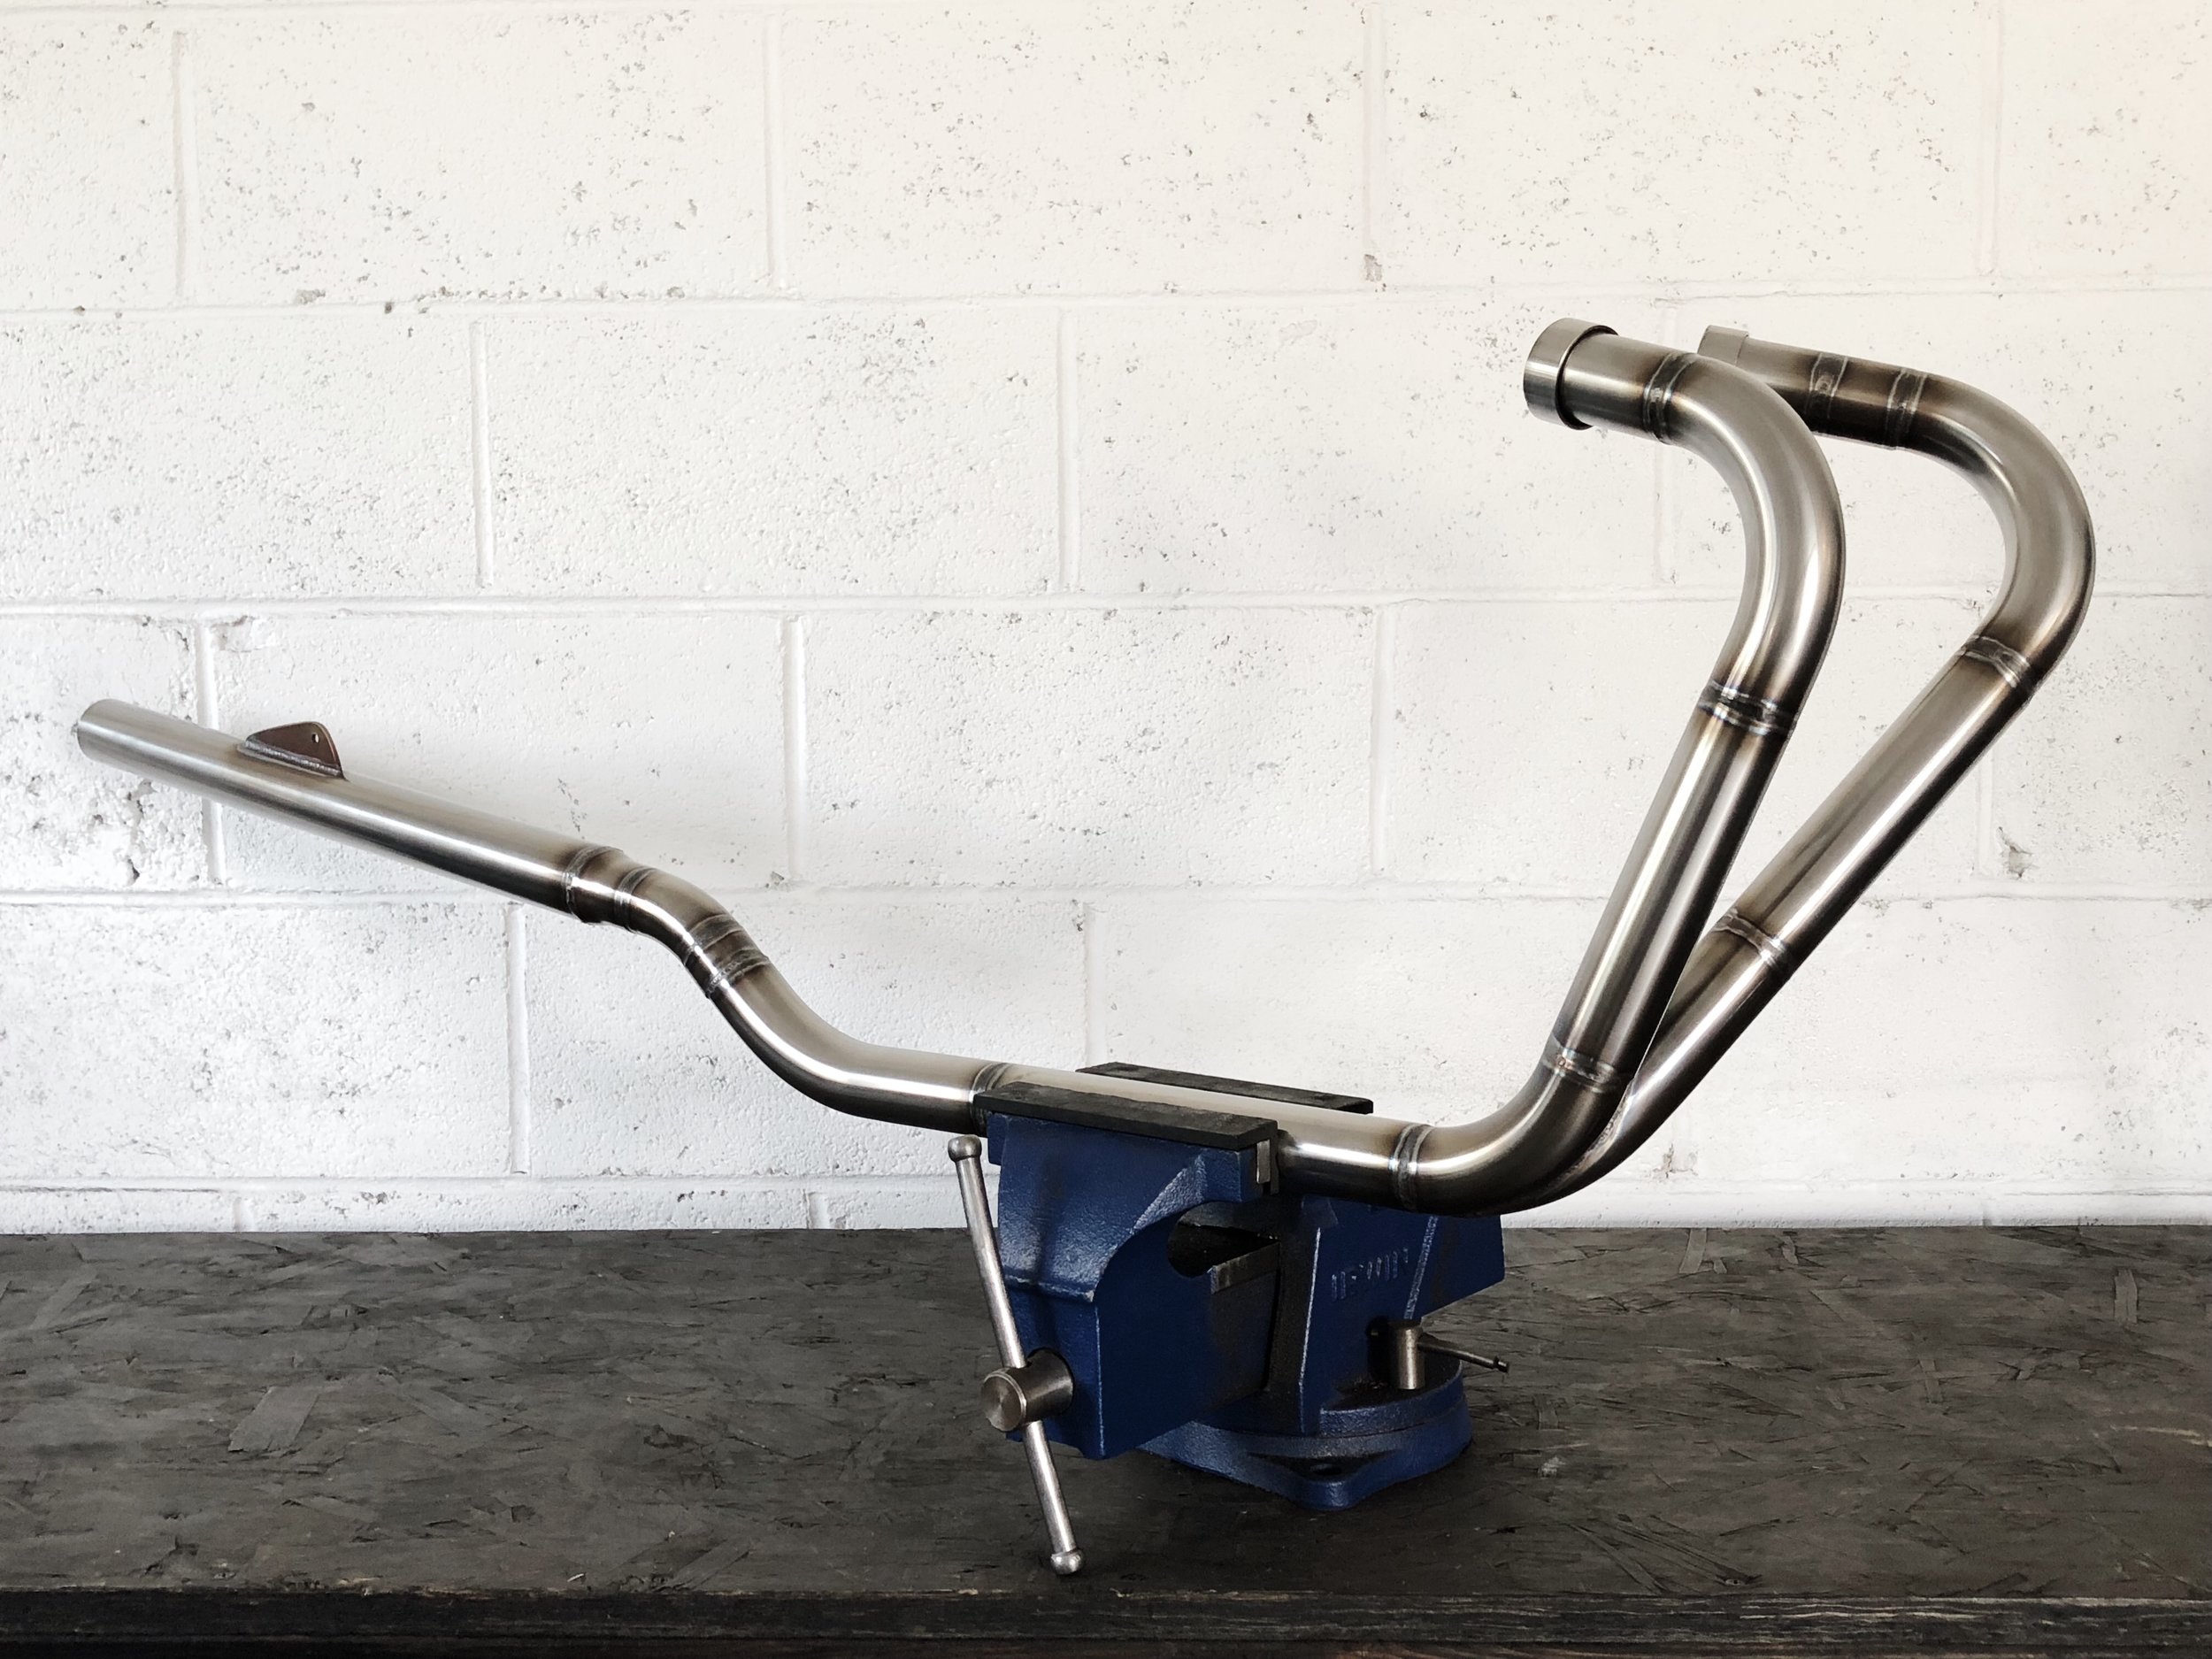
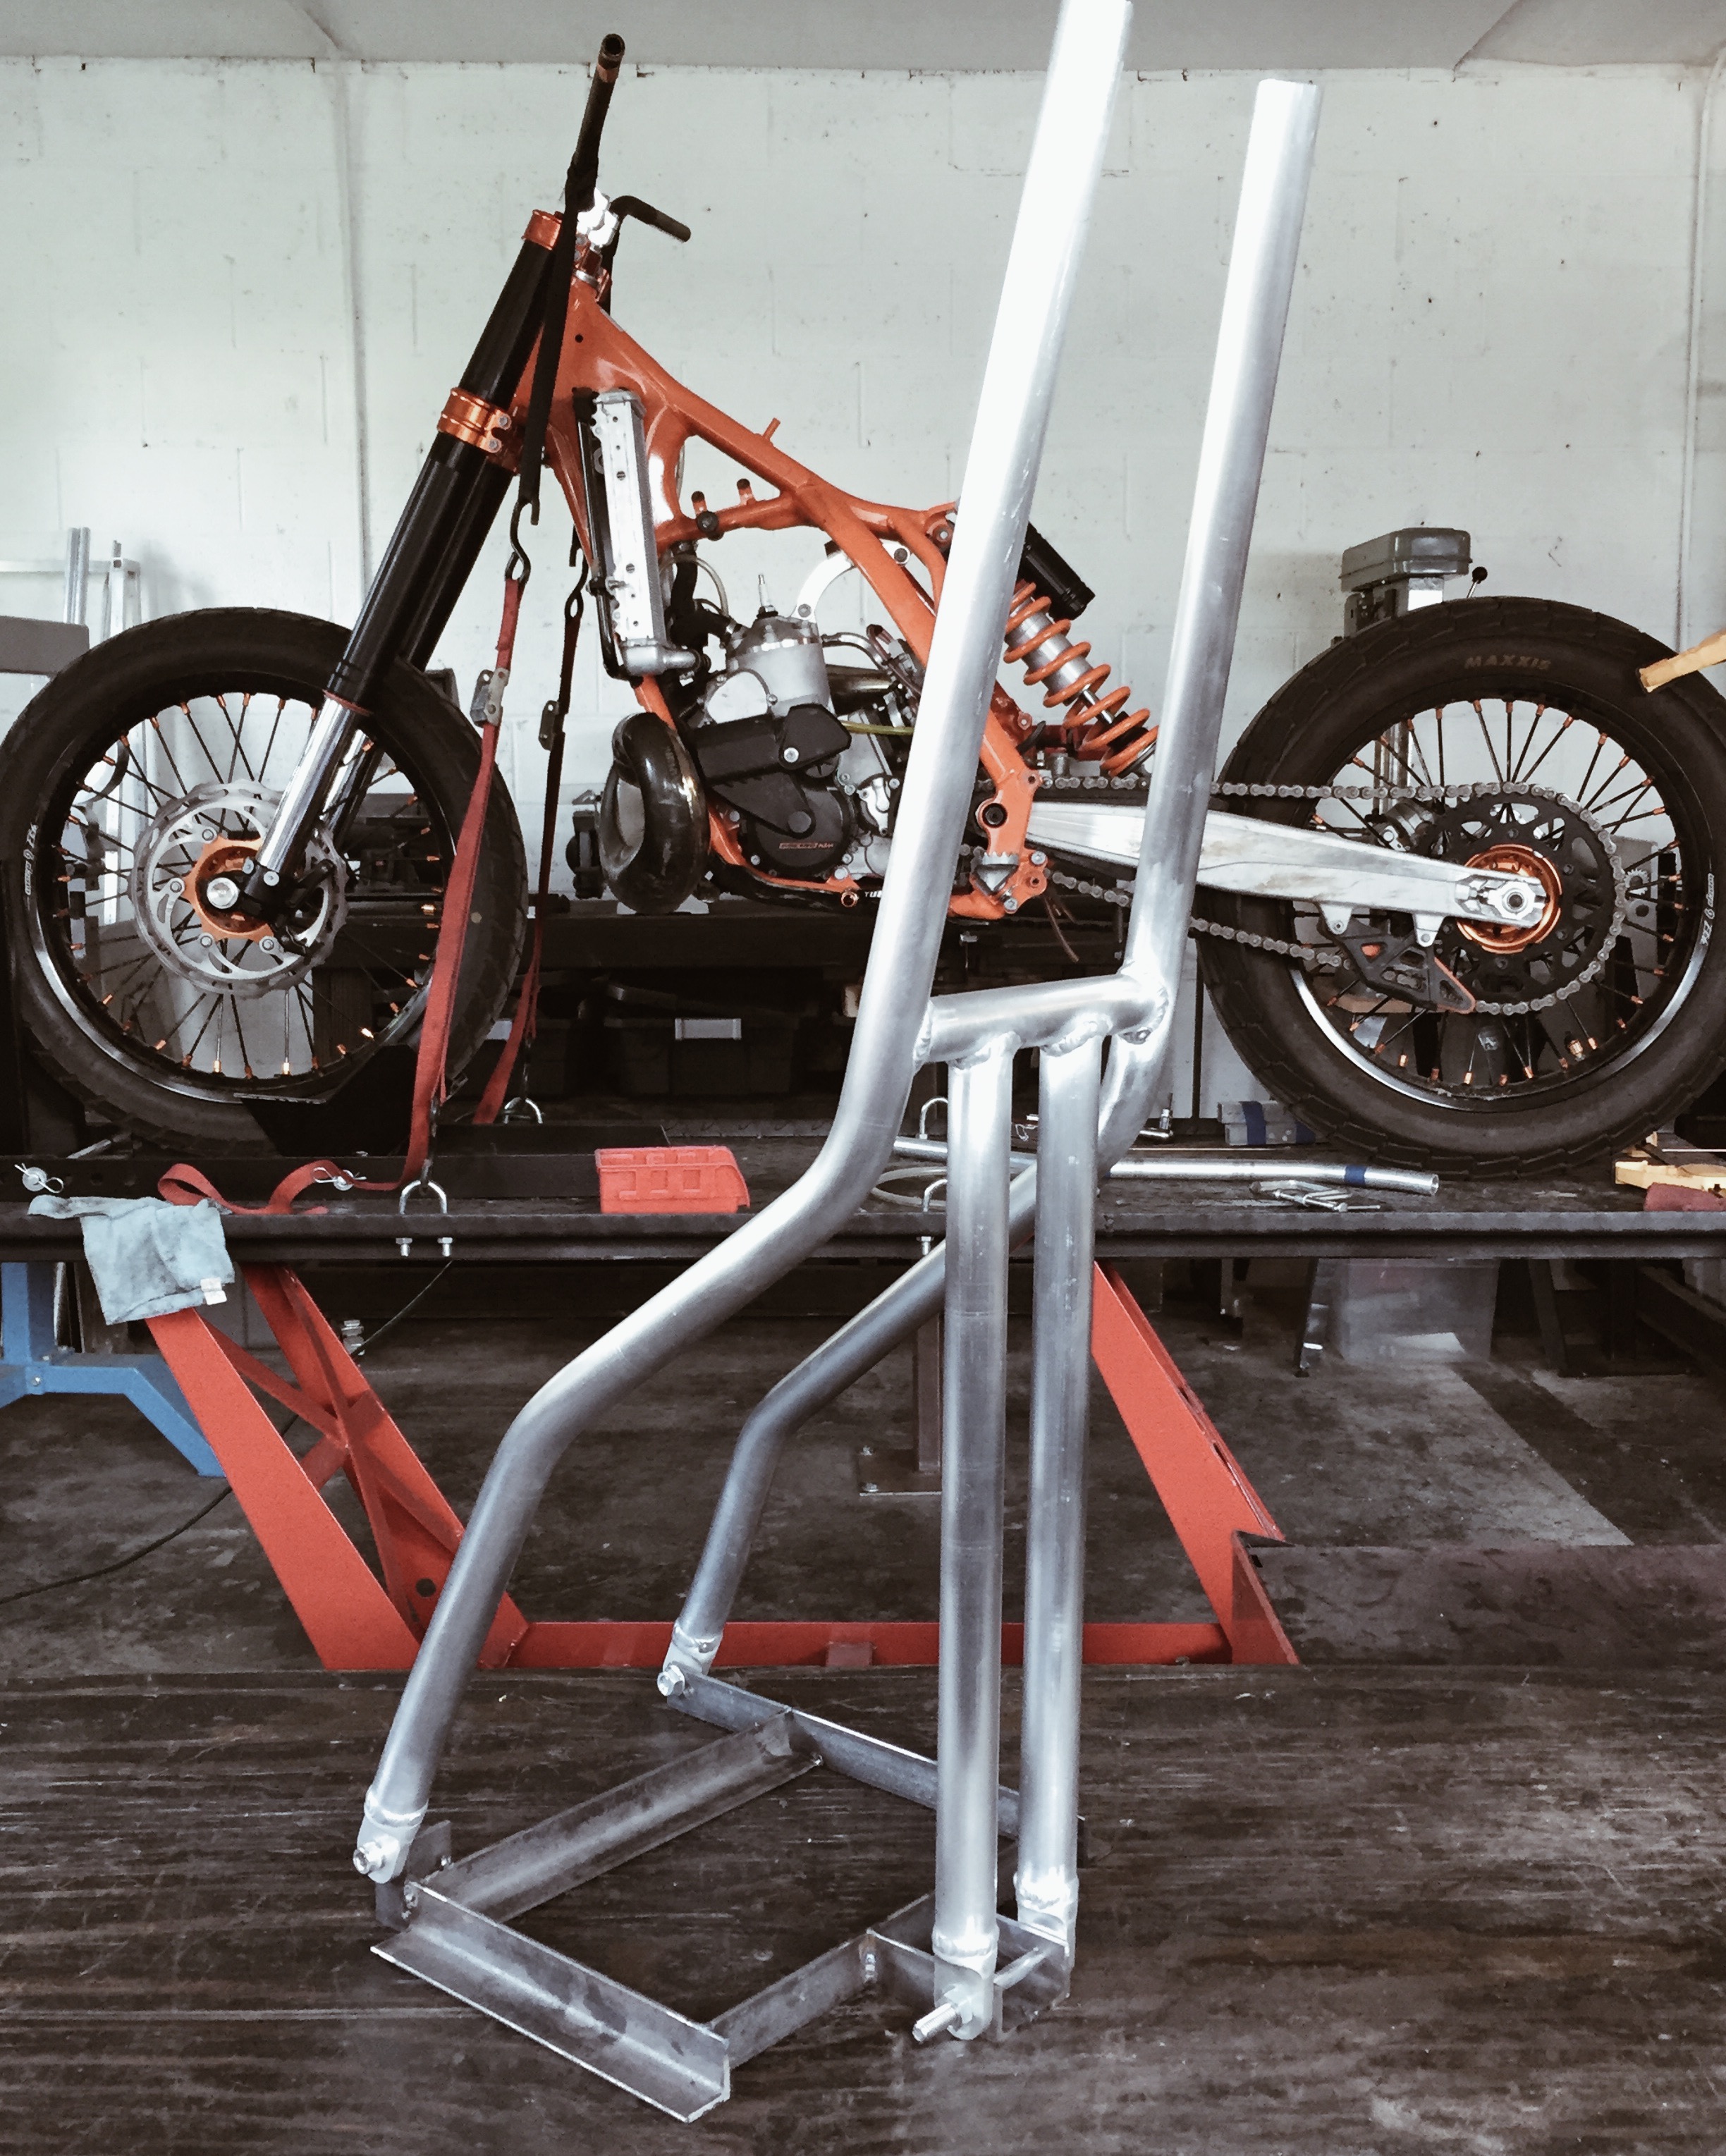
MOVING SHOP SALE!

We're moving and unloading lots of parts, tools, furniture, and storage items. Will be giving away a lot of it so swing by and grab something. 

Here's a partial list:

- Honda CX500 - cables, controls, badges, body panels, lighting, gauges, shocks etc. 
- Yamaha SR250 - seat, body panels, helmet lock & key, headlight, etc.
- Honda CA95 - tank, fender, headlight fairing, etc.
- Solid wood industrial stools, heavy duty - $50/ea
- Honda and Yamaha seats - $25 ea
- Bell custom 500 helmet, Medium. Burnt orange flake - $40
- Pipe bender - $40
- Motorcycle lift table - $75
- 10" Alpine subwoofers - $20 ea.
- 200W Jensen amplifier - $20
- Clarion head unit - $50
- Volvo 240 repair manual, new - $20
- Volkswagen Mk3 Golf / Jetta repair manual - $10
- Volvo 240 hub caps - $5
- Bosch hammer drill, 2 batteries - $50
- EU electric drill, jigsaw, angle grinders (Bosch, rotozip, Skill, Fein) - $20 ea.
- bar end signals, new - free
- Hardware storage bins - free
- wrenches, screwdrivers, hand tools - free
- Harley sportster mufflers - $15
- IKEA standing and table lights - free
- R65 rear fender - $20
- Bike cover - $5
- Emgo rear shocks - $10 ea.
- BMW 17" Borbet Type T wheels - $100

2031 W. Fulton St. Chicago, IL 60612 - Sunday, Noon to 4pm. 

DIY: Removing / Replacing Riveted Clutch Basket

A quick how-to on removing and replacing your worn clutch basket. Baskets will usually get grooves worn into them over time from the plate tabs and eventually restrict movement, causing the clutch to drag. The Husqvarna was doing just that so a replacement basket was purchased. 
Many baskets are riveted to the steel ring gear behind them. Here's how to remove the basket without damaging the gear.


Use a center punch to mark the center of each rivet then drill through with a small bit (1-2mm). Use some cutting paste to save your bits from all the drilling you're about to do. I use "Coolcut" from Walter.
This clutch has a sleeve bearing. Make sure not to touch the inner bearing surface. It'll likely have metal shavings on it and you don't want to scratch it. I put my gear under running water and then blew it out with compressed air after separating the 2. If yours has a ballbearing tape it off before drilling.  


Step up to a 4-5mm bit and drill a slightly larger hole. Make sure your bit is narrower than the holes in the gear so you don't bore out the steel. (check out the grooves in the basket and the broken prong.)


Here's what it'll look like from the backside. What you've done is weakened the structural integrity of the rivets and given yourself a guide hole for the next step.


Now choose a bit that has the same diameter as the rivet head.


Drill down until you start hitting the aluminum of the basket. You can feel the different between the steel rivet and aluminum basket. What you need to do is drill away the rivet's head. Eating into the basket a bit is fine since it's trash. 


Next find a punch that's larger than your pilot hole but smaller than the hole in the steel gear. Punch out the remaining rivet. It should pop right out with a few whacks. If not then you probably haven't drilled away the rivet head entirely. 


Here's what's left of the rivet. Repeat, repeat, repeat.


Off it goes. Remember, wash the shavings off with running water and compressed air before applying assembly grease to the bearing surface.


Many aftermarket clutch baskets are reattached with bolts instead of rivets. I scored this lightweight Surflex billet clutch basket off eBay. (One of the few company's that makes one for the TE) It came with steel rivets instead of bolts. To reapply the rivets you'll need a rivet hammer (pneumatic) and bucking bar. Here's a video on how to use a rivet hammer. Otherwise you'll need to find a shop that has one. 
I happened to have everything from a previous project with Snap-on. The steel rivets require a higher PSI to squash. I had my gun setup at 120psi in order to get them to deform enough (1.5x the size of it's start diameter). Use several small c-clamps to hold the 2 pieces together while riveting so there's no play in the fitment. Sorry, I installed the new basket on a different day and forgot to take photos.

ART&DESIGN: Ducati Sixty2 "Desert Sled" Concept

This is the "Desert Sled" concept I worked on with photog Scott Toepfer last year, based on the Scrambler #Sixty2 platform. The goal was to highlight the baby Scrambler's potential as a low priced hoon machine; the Miata of motorcycles. We concentrated on off-road capability and trimming the fat while retaining a design aesthetic Italy would approve of. ...anyone want one?


ART&DESIGN: Inside Ronin Motorworks

Inside Ronin Motorworks
Denver, CO

Ronin Motorworks, creators of the "47 Ronin" concept bikes, announced at the end of September that their story had reached it's end. The brainchild of a few Magpul engineers began back in 2009 after Harley shed itself of Buell and was offering up the rest of it's inventory. The team set out to design a custom platform built off Buell's 1125R. Production of the 47 bikes, each appointed a Samurai name from the Japanese folklore, has seemingly ceased. According to the website 19 of the 47 bikes are still available, ranging from $38,000 - $75,000.  
Back in February 2015 I had the chance to tour their shop in Denver. Shane, one of the designers, lead me around their lofted design studio and through the production floor where the bikes were being worked on. There were original sketches on the wall, prototype samples on the tables and clay models from their R&D days. I took a lot of photos with the intention of getting it all up on the blog and somehow it fell to the wayside. So, here's that photo set and what I can remember from that day. Although it's sad to hear the doors are closing, it was a storybook tale from the beginning and it's fulfilling to know they've completed their journey.
Here's the original short film from 2014 that started it all.


Each frame is stripped of it's nonessential features, brought down to raw aluminum and recoated per it's colorway.


There are a handful of original aluminum castings on the Ronin's, including the front fork assembly, handlebars, and foot controls. The casting finish is too raw straight from the mold so each piece is hand finished to remove all surface imperfections. 


A room full of Buell engines and the original prototype bike.


Minor modifications are made to each motor to prevent a few known issues with the 1125 powerplant.


A prototype clay model of the front end is leaning against the wall in the design studio. These type of models are built to view the design in the real world before giving the manufacturing "go-ahead." It's amazing how different a design can look when you're able to see it in front of you instead of on a screen. Clay is used because it allows both additive and subtraction modifications to be easily made. After the model is finessed the clay is 3D scanned and CAD geometry is built around the data points. That CAD is what get's sent to the manufacturer.


And you thought your $38K only got you a kickass ninja bike? Nope! Turns out Ronin squeezed some of that awesome into a few accessory products as well. Here's a range of bottle opener prototypes the design team went through before settling on the long handled with bamboo inlay.


Each bottle opener is scribed with it's Samurai name and number. The steel is "case hardened," a process of strengthening the outer layer of metal. It's commonly used on firearms.
...something Magpul knows a bit about.


This, is the crown jewel of accessories. A CNC cut bamboo toolkit, each with, you guessed, it's name and number carved into it. The coin seen here in the clasp is a magnet that interacts with a sprung loaded lock cylinder. To open the box you must remove the coin, flip it over and reinsert it. The magnet's reverse polarity overcomes the sprung lock cylinder and pushes it into the open position. Yea....holy shit.


Inside you'll find a pair of RFID keyfobs and a case hardened multitool. Inlaid within is a set of bits that fit into the chuck at the tool's base. Honestly this would probably be on my mantle with gallery lighting and lasers while a roll-up of Craftsman wrenches is stuffed under the seat.


That's all. I'm glad I finally got this up. It was one of the most inspiring spaces and stories I've had the pleasure of seeing. A big thanks to the Ronin team for their hospitality and contribution to the custom motorcycle field. They've been one of the biggest players in my eyes and I'd like to hope there's a sequel to their story.

ART&DESIGN: Huge Moto's MONO RACR Concept

MONO RACR
A motor-up concept bike by Huge Moto, designed around a Honda CBR 1000cc powerplant.


Bill Webb and the team at Huge Moto (the passion project of Huge Design, SF) have been working on an evolution of their original Honda CBR street fighter kit. Part by part the concept was formed around Honda's CBR1000 motor. In the design world this stage would be considered the "design release"; the point at which engineering is on-boarded to work through the structure and functionality of the concept. It's the concept car stage, used to generate interest in pursuing production. Huge is doing just that, putting their concept out there in search for a partner to help with back-end development. The frame and single sided swingarm are shown in carbon fiber, a process that's still being formulated by even the big sticker Moto GP teams. In that sense some concessions may need to be made but Bill describes the concept as being "80 percent real." 
"We tried as much as possible to learn from existing bikes and not re-invent the wheel on every component. Once we had a frame design we liked, we started laying out everything as efficiently and intelligently as possible."
Full Story on BikeEXIF


GEAR: ATWYLD Women's Motorcycle Apparel

ATWYLD
Women's Motorcycle Gear
A review by Kara Pierce (words) and Jenny Linquist (photos)

via the Dreamroll women's motorcycle campout.

If the motorcycle community were a high school, which it sometimes feels like, the ATWYLD girls would be the homecoming queens that didn't ask to be nominated. You knowww, the girls you're kinda jealous of but want to be besties with. The only shit you can talk is, "are they actually that nice?" The answer is a deafening yes.

In addition to big smiles, they're also genuinely enthusiastic about their brand and just want to share it with other women. My visit to the ATWYLD booth at the Dreamroll was complete with free patches and several Alltime Moto Jacket fittings. Those sleeves felt like cool butter whipped by angels against my skin. I kept coming back for more. Everything about the brand is thoughtful because they're actually riders with legit experience in art and fashion design. The gear implements stretch, Kevlar, and padding with consideration for women's bodacious bods. The S, M, and L jacket all fit me depending on how I'd want to wear it and the riding jeans stretch to hug those lady curves. But first, my heart eyes are set on that Convoy Armored Shirt to save my bones while I learn how to dirt bike.
In summary, class, if you're new to the women's moto campouts and aren't the type to ditch class or smoke in the bathroom - go find the ATWYLD booth.

Some of our favorites from the ATWYLD Line:

Alltime Moto Jacket - $650

CONVOY Armored Shirt - $175

Commuter Moto Jeans - $310

Shred Moto Jeans - $389