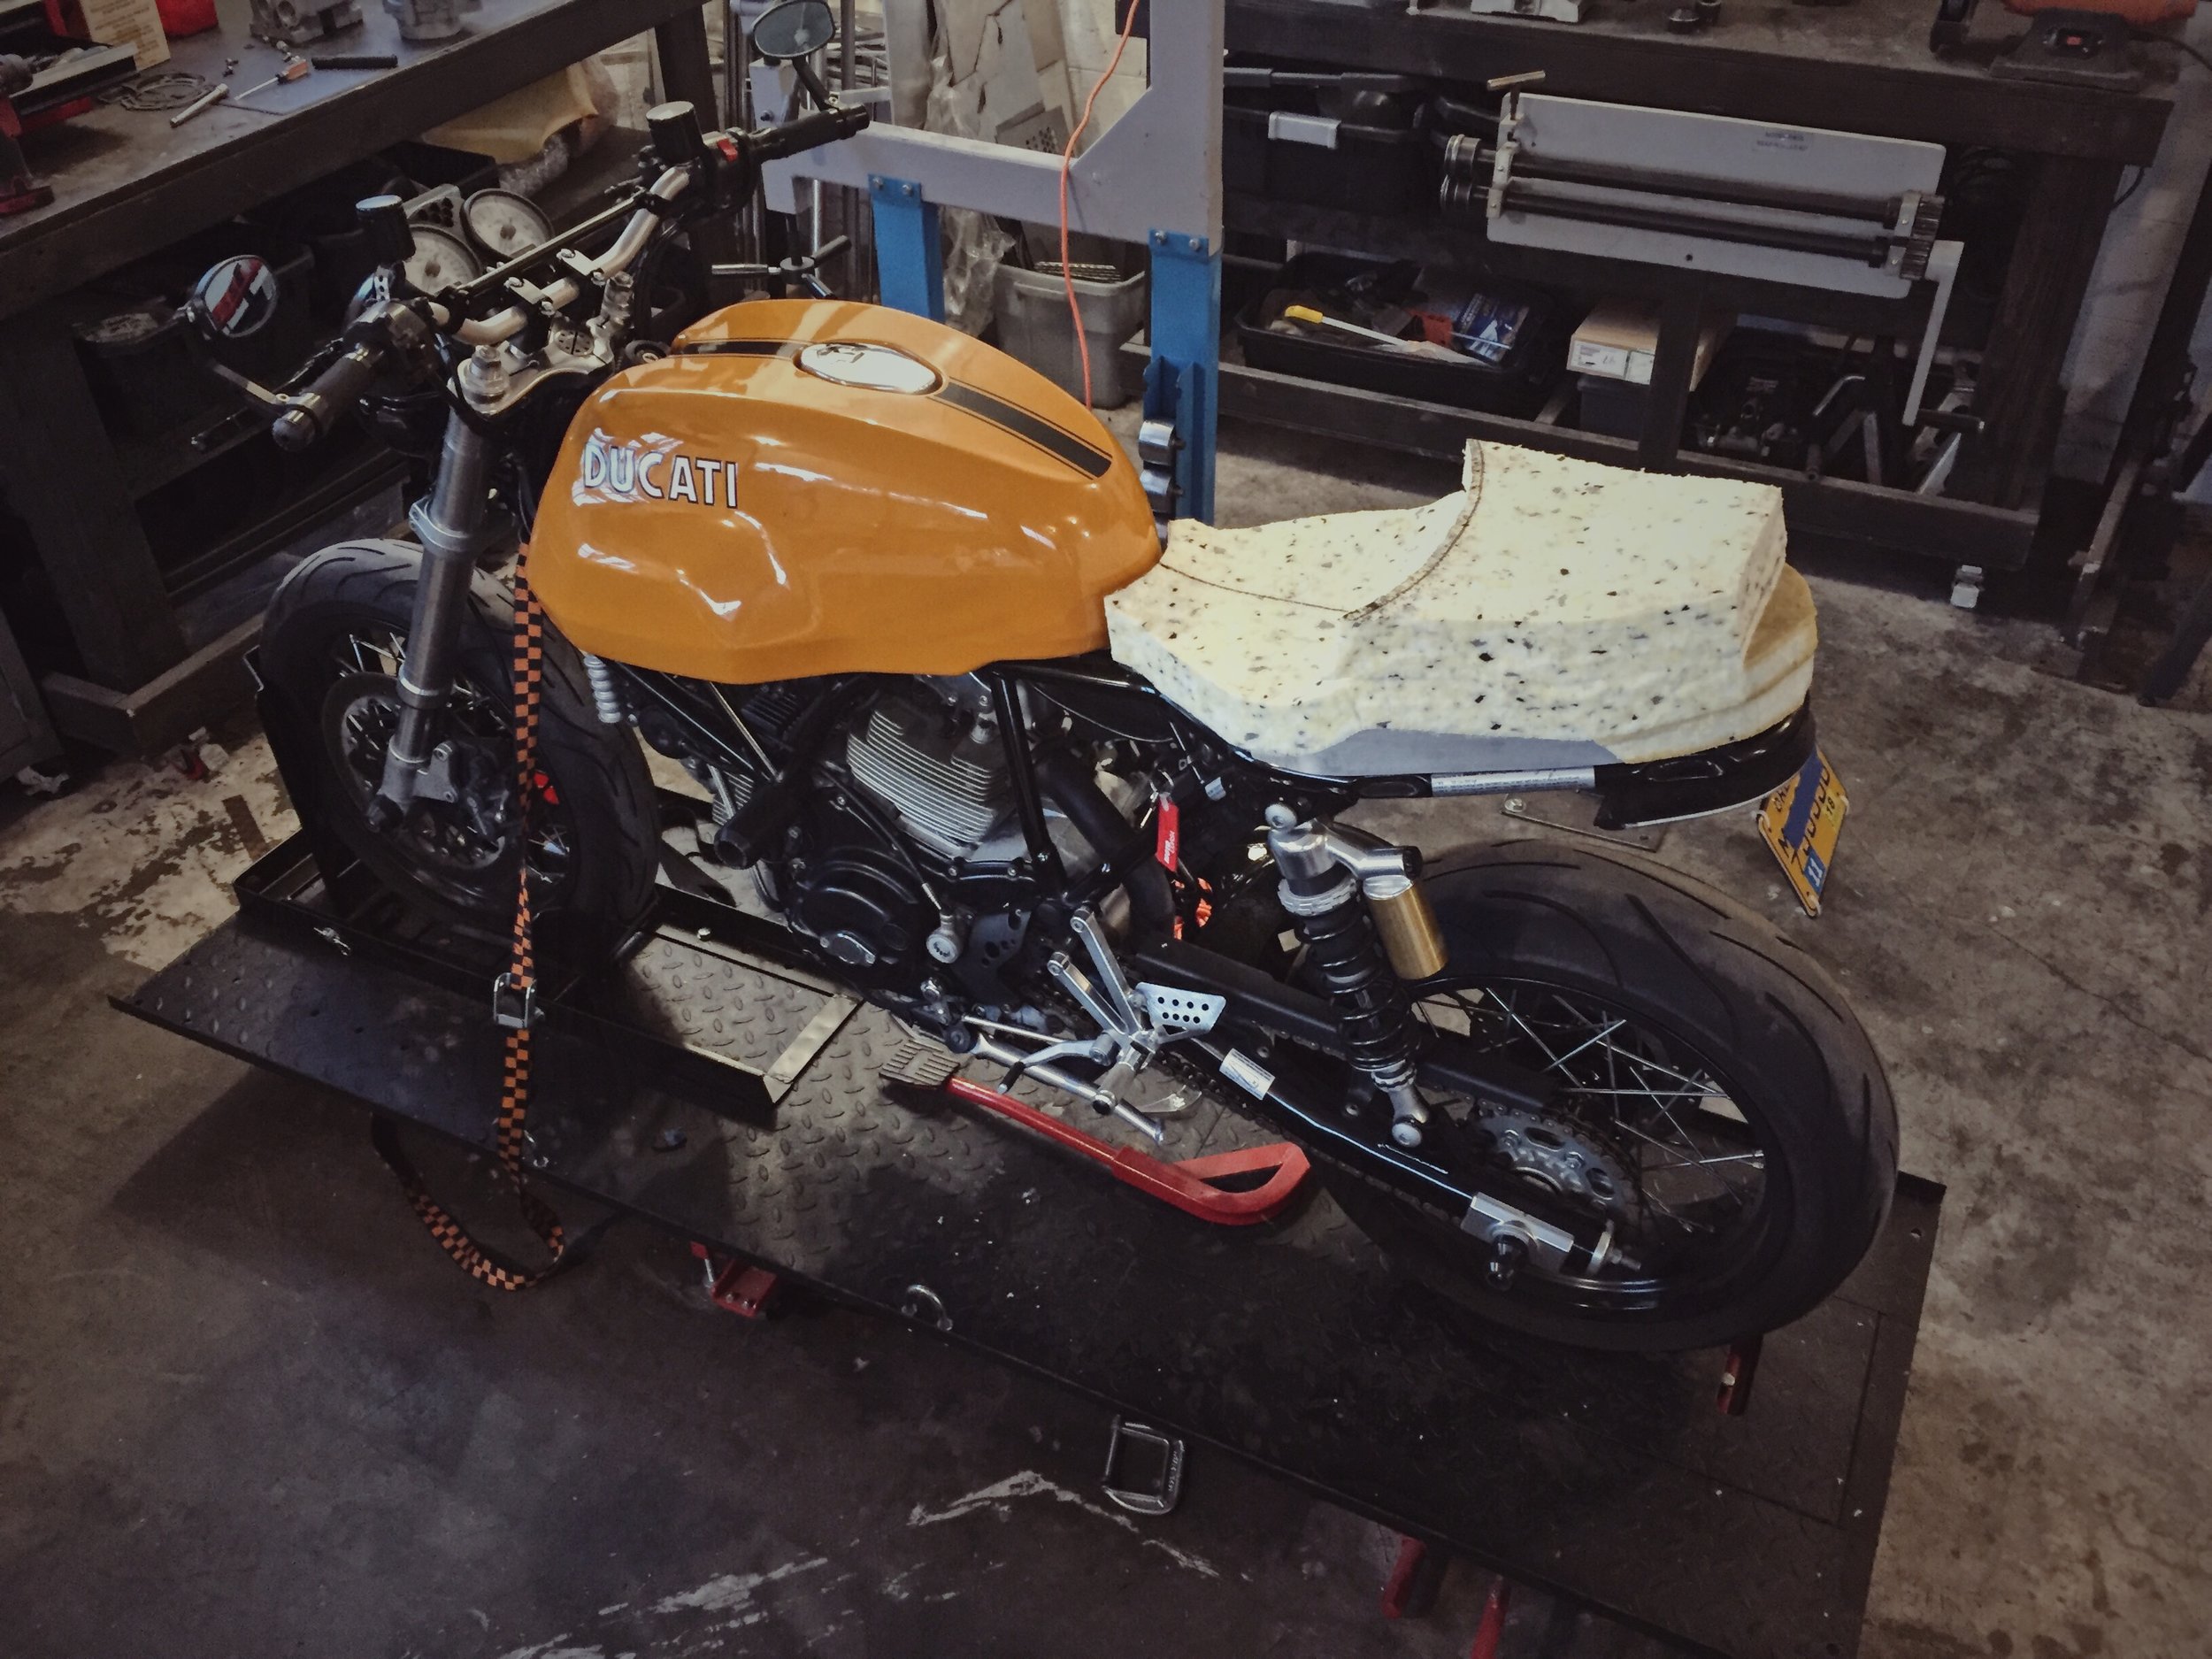
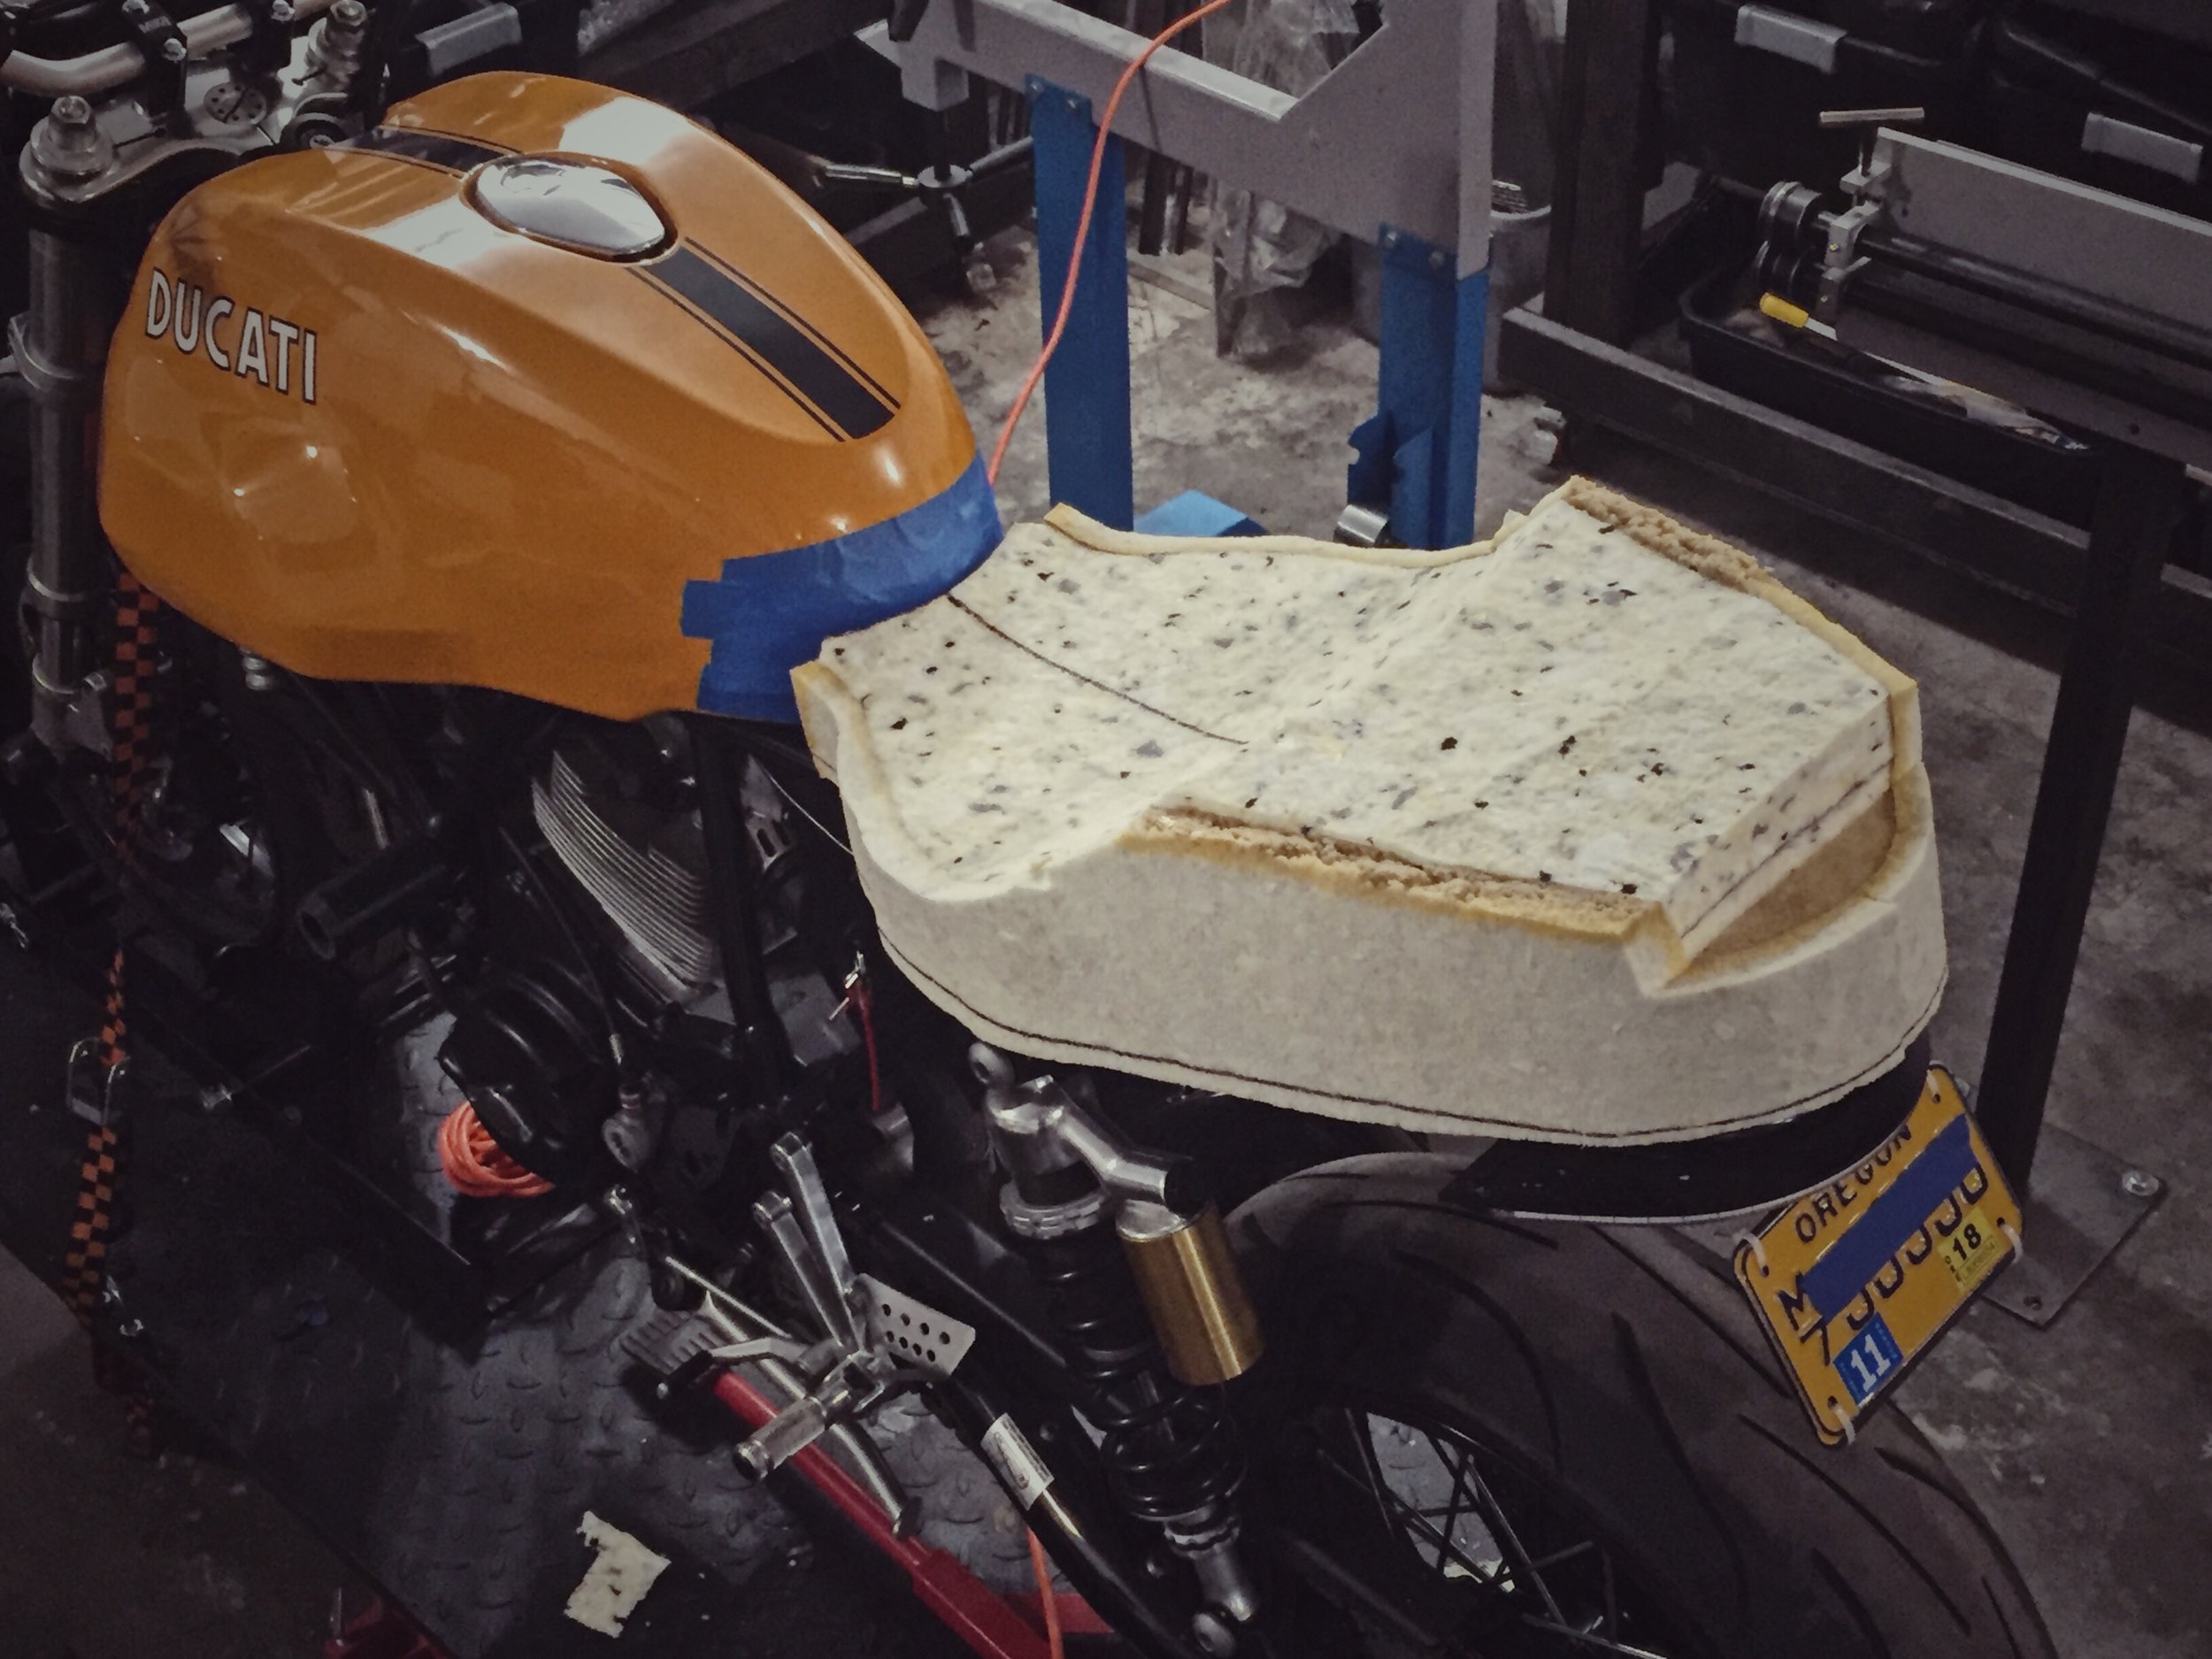
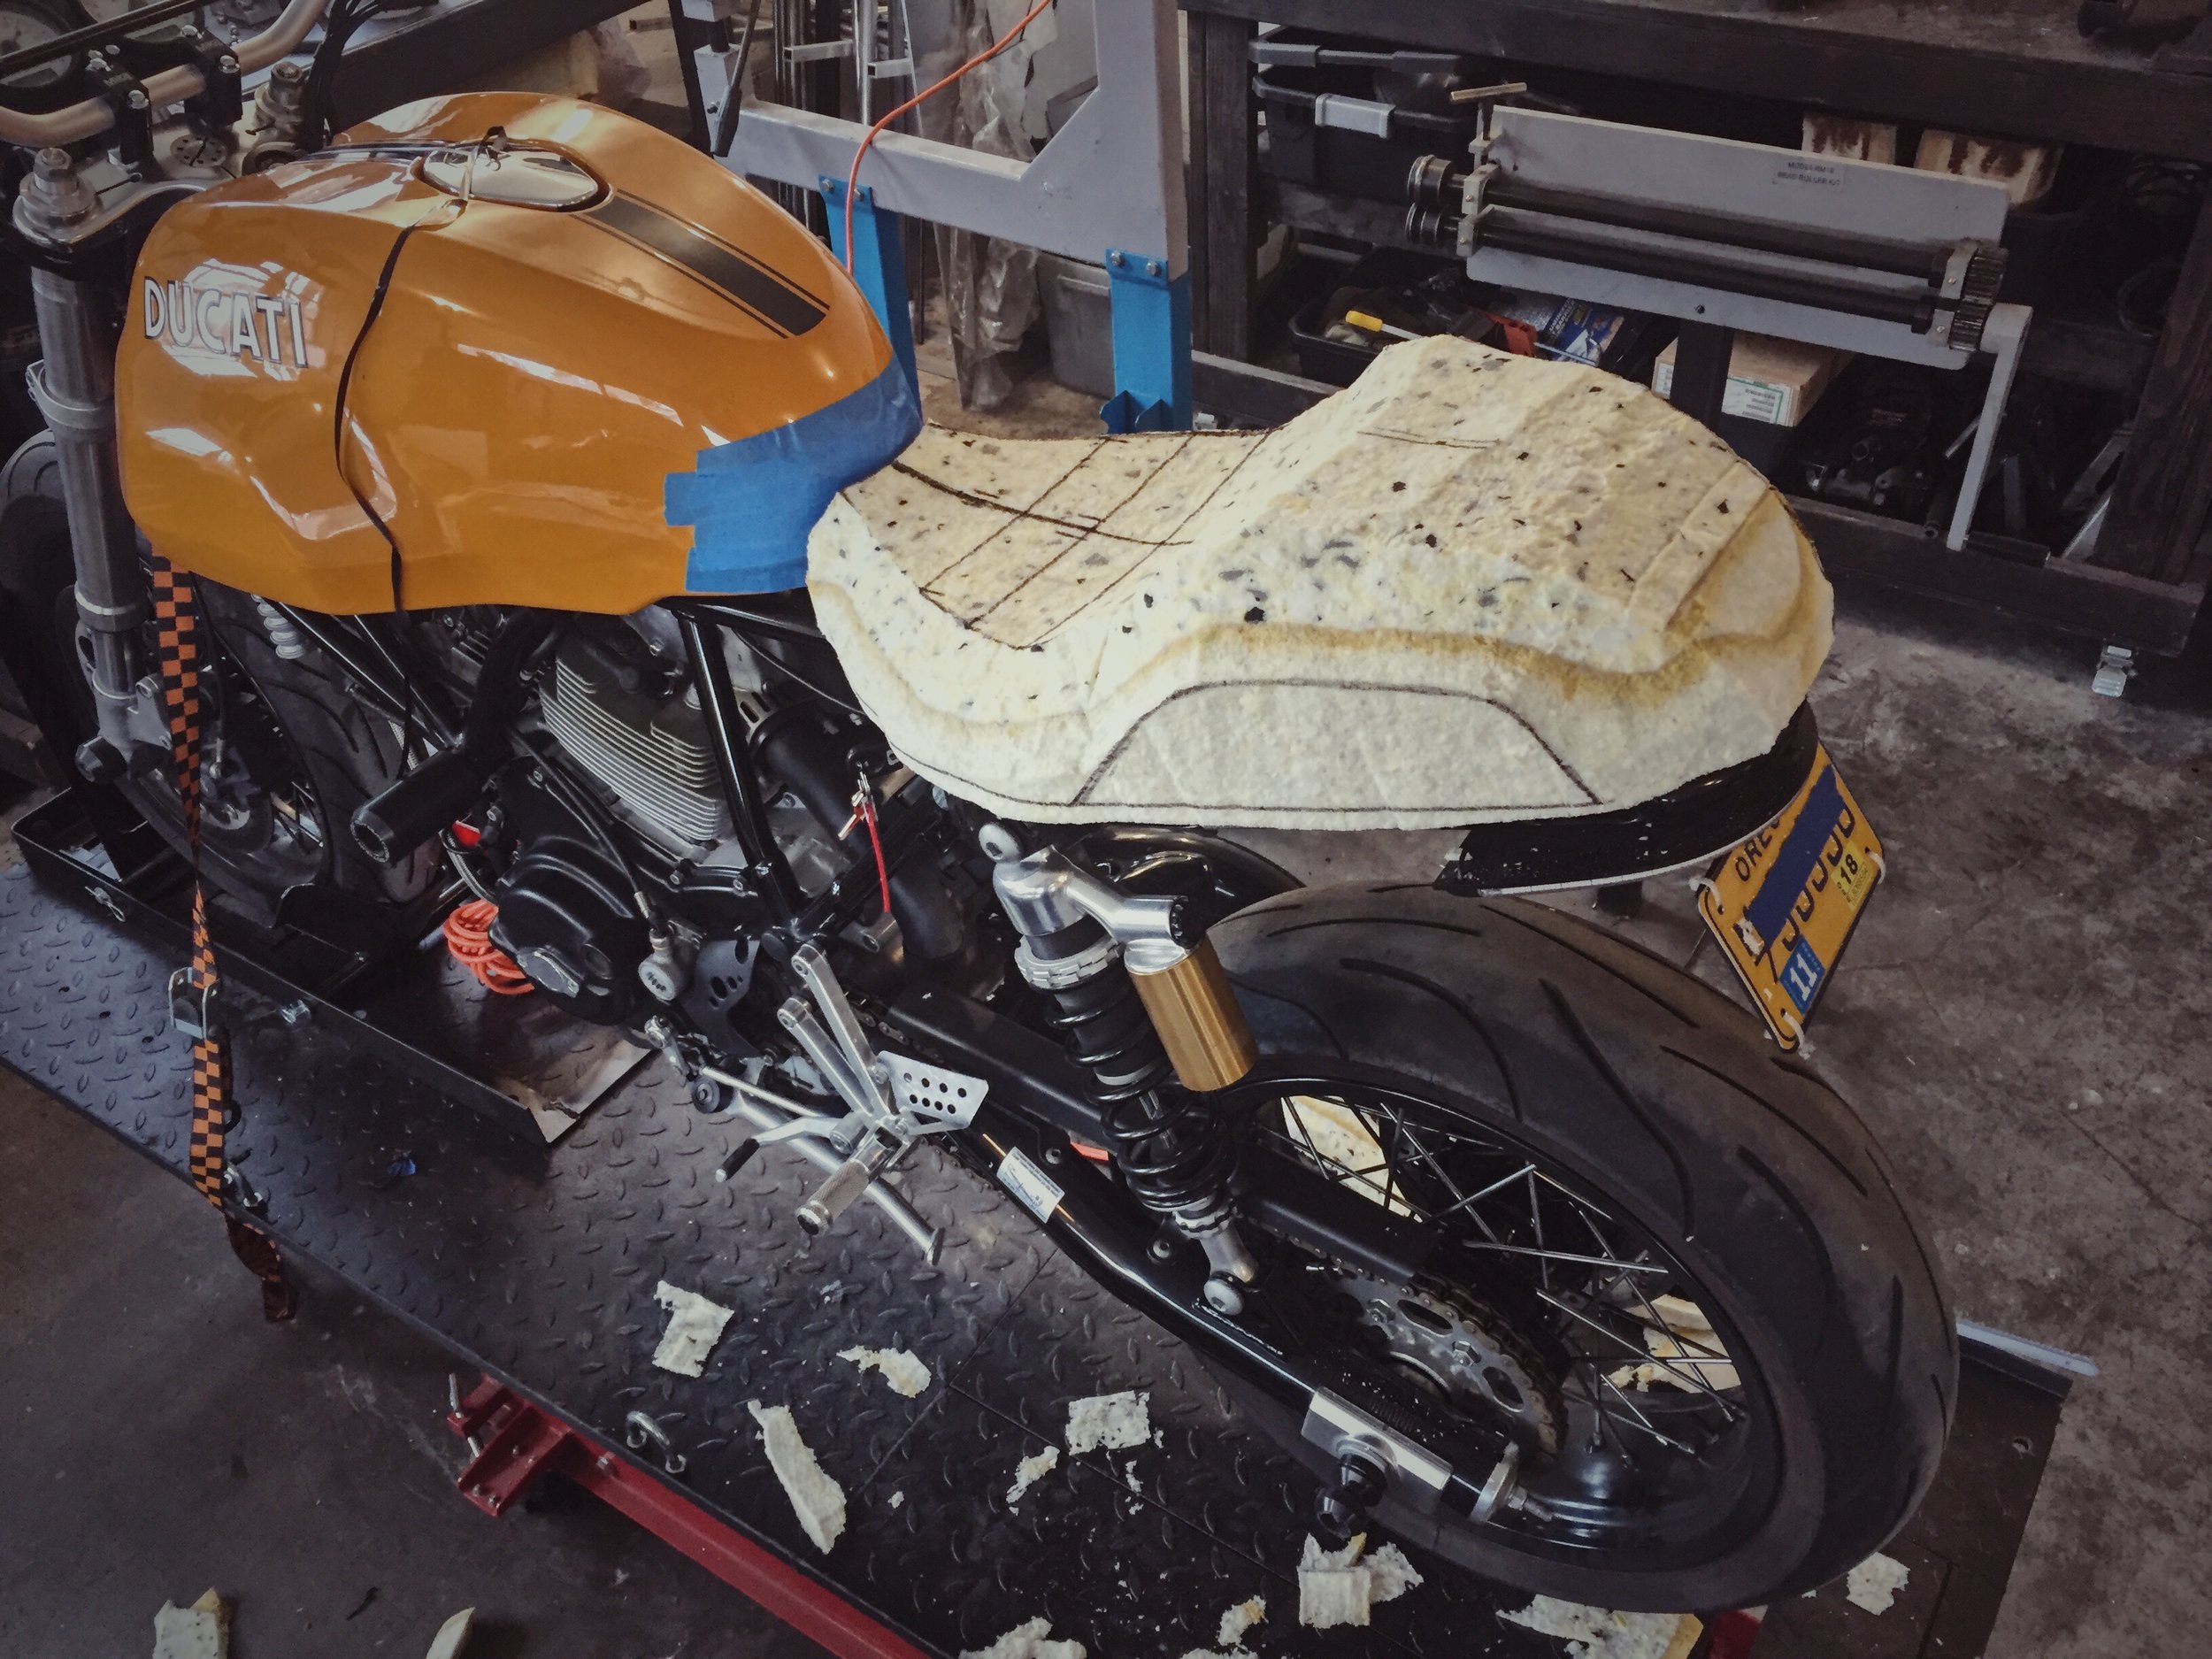
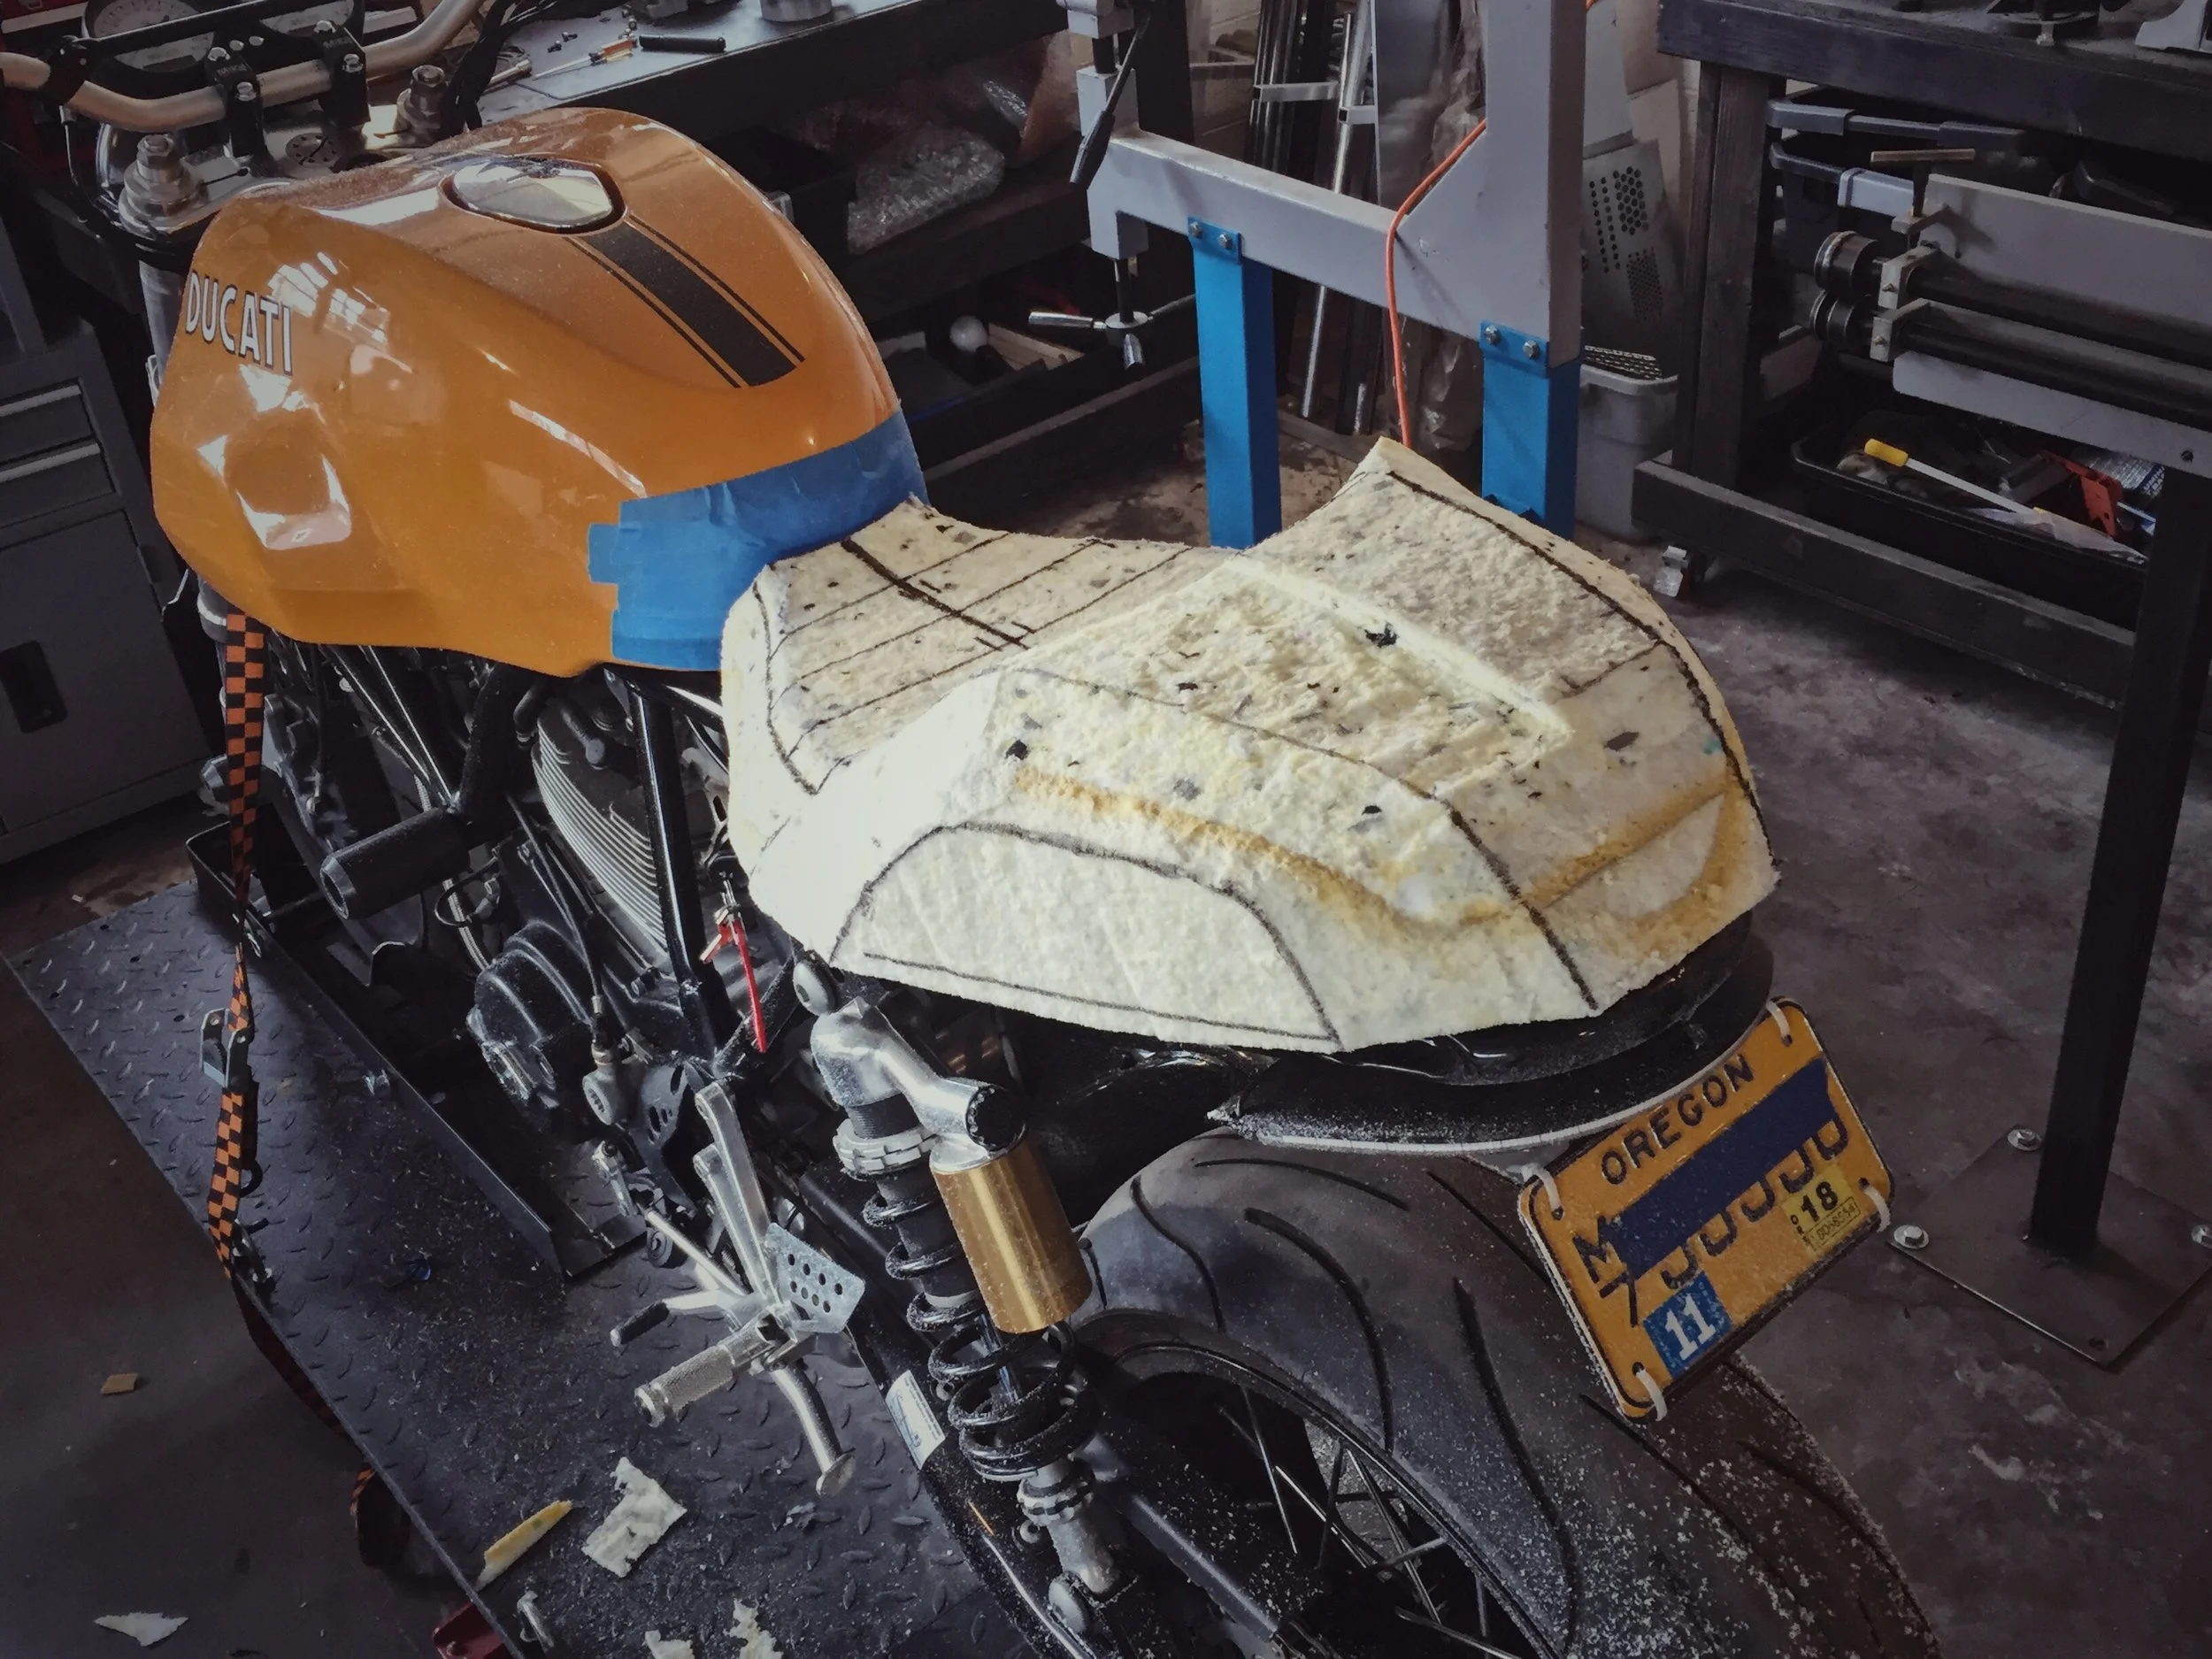
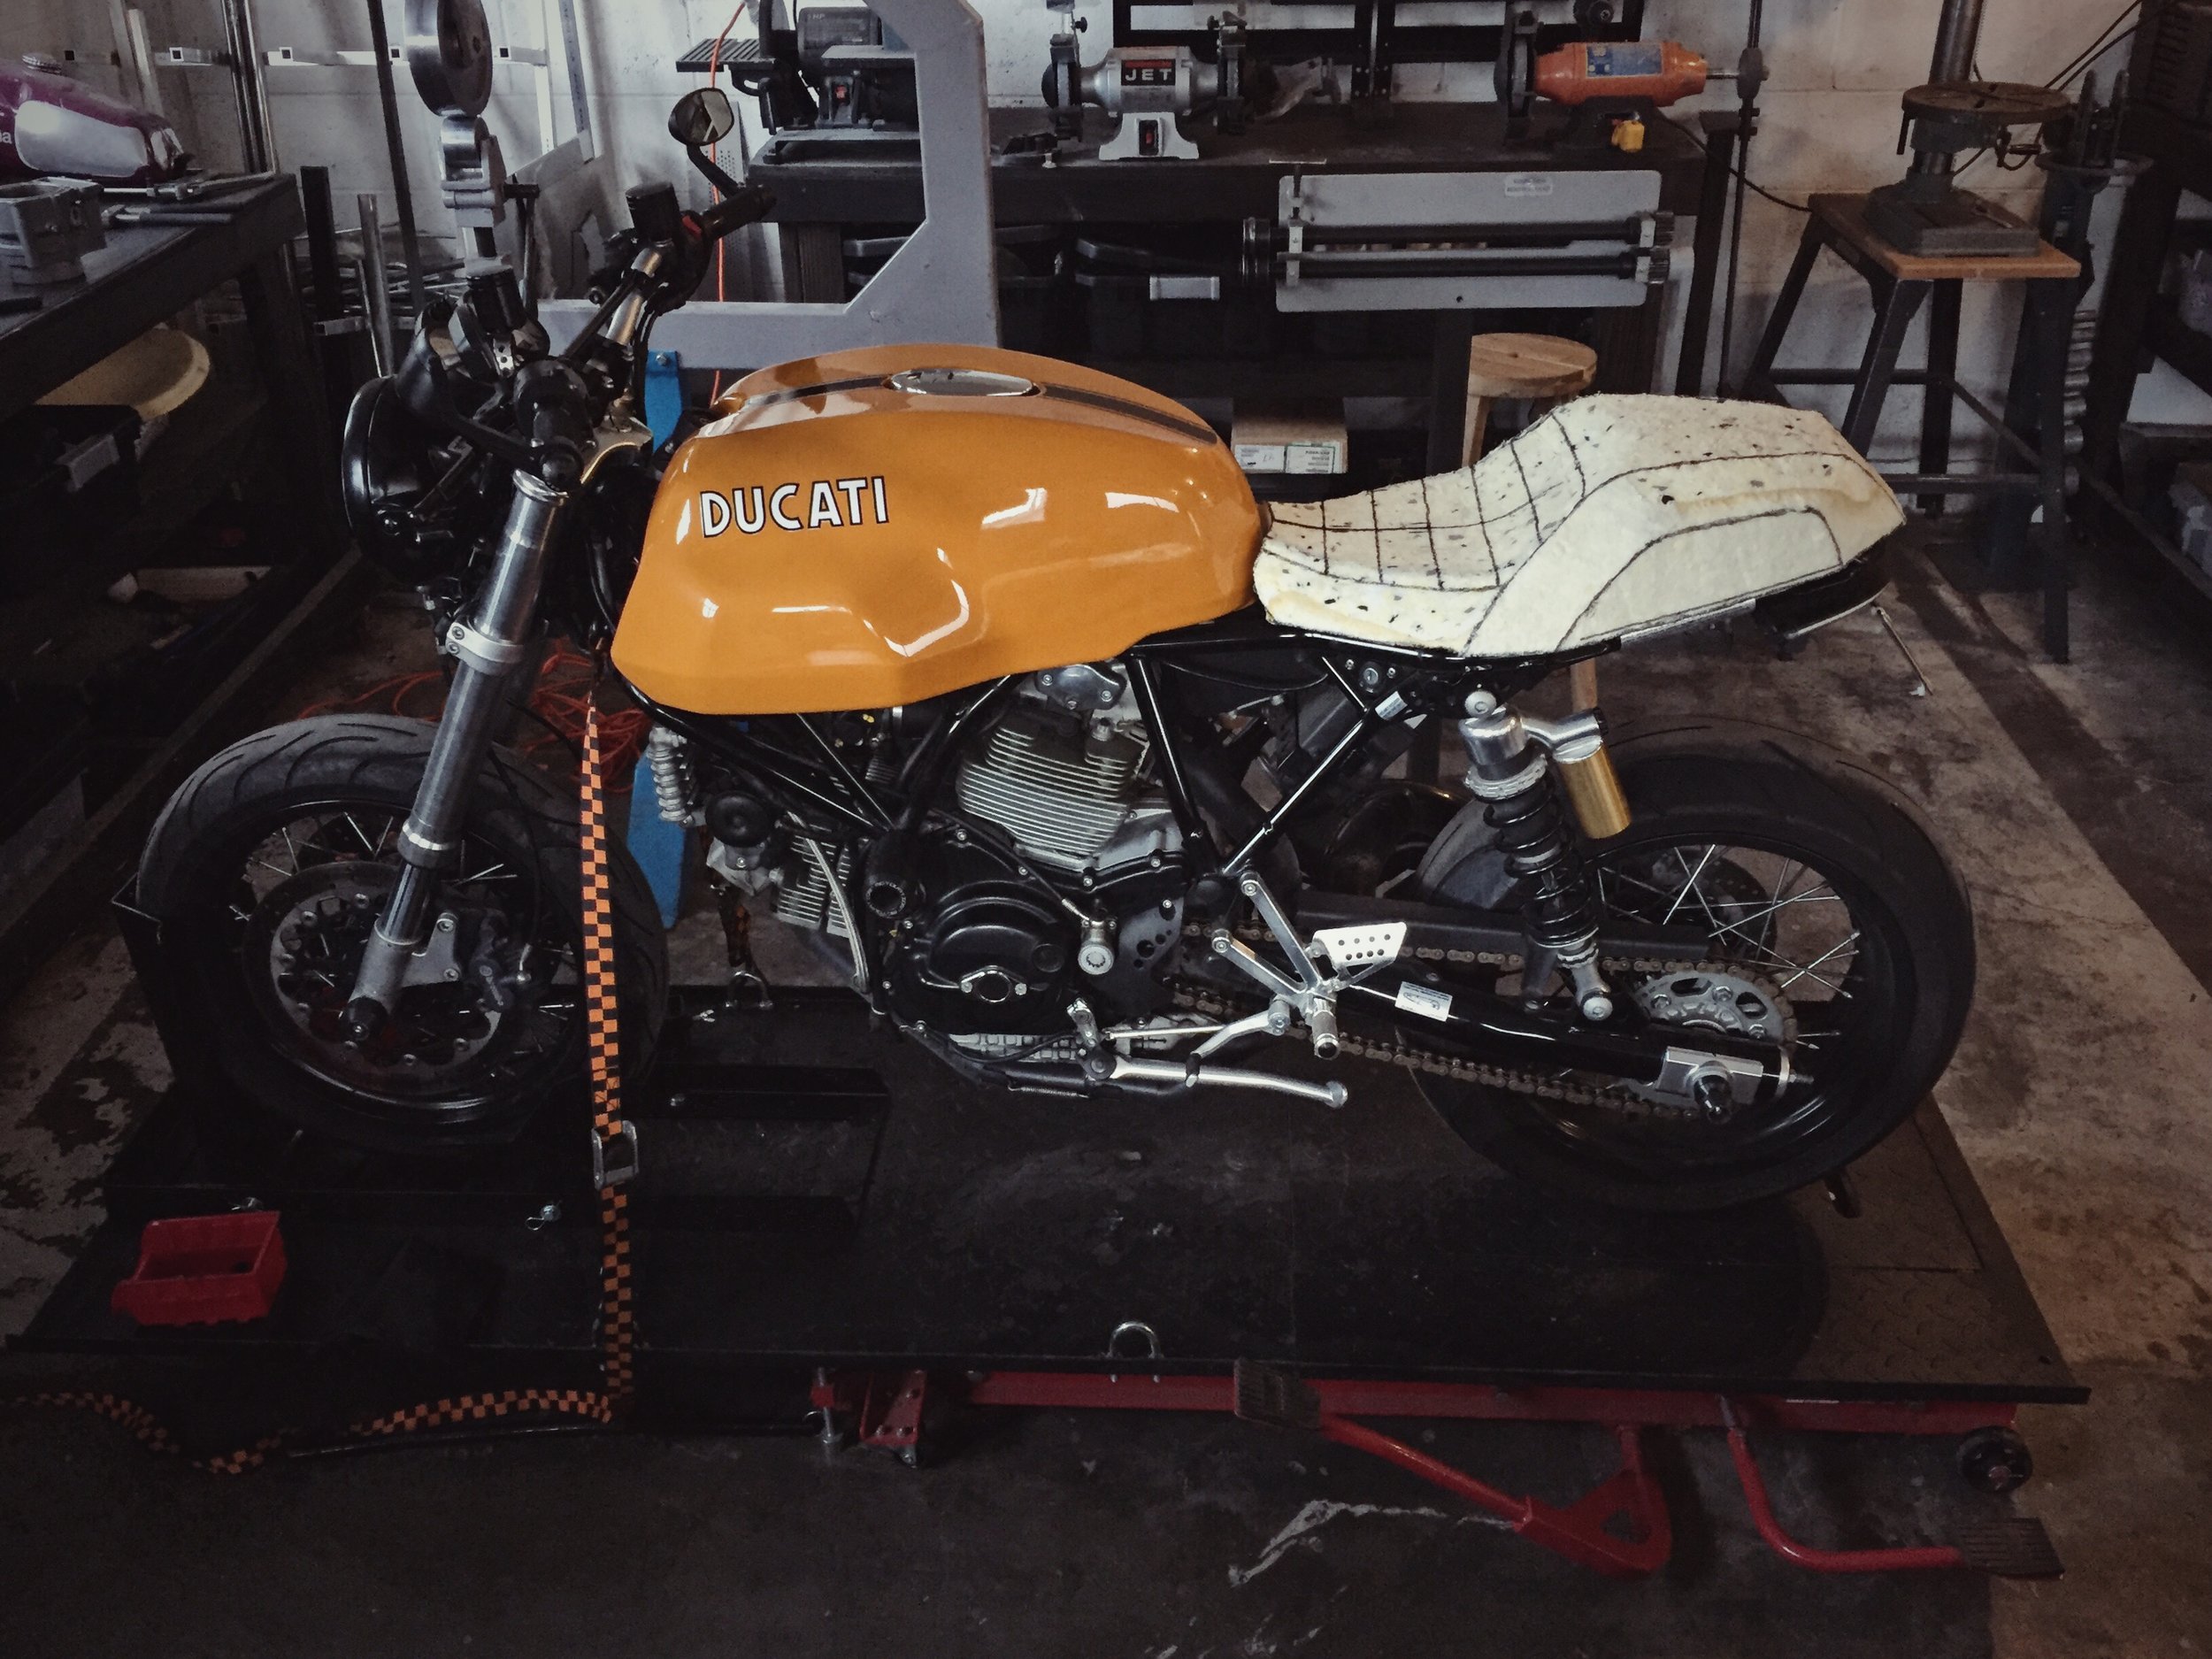
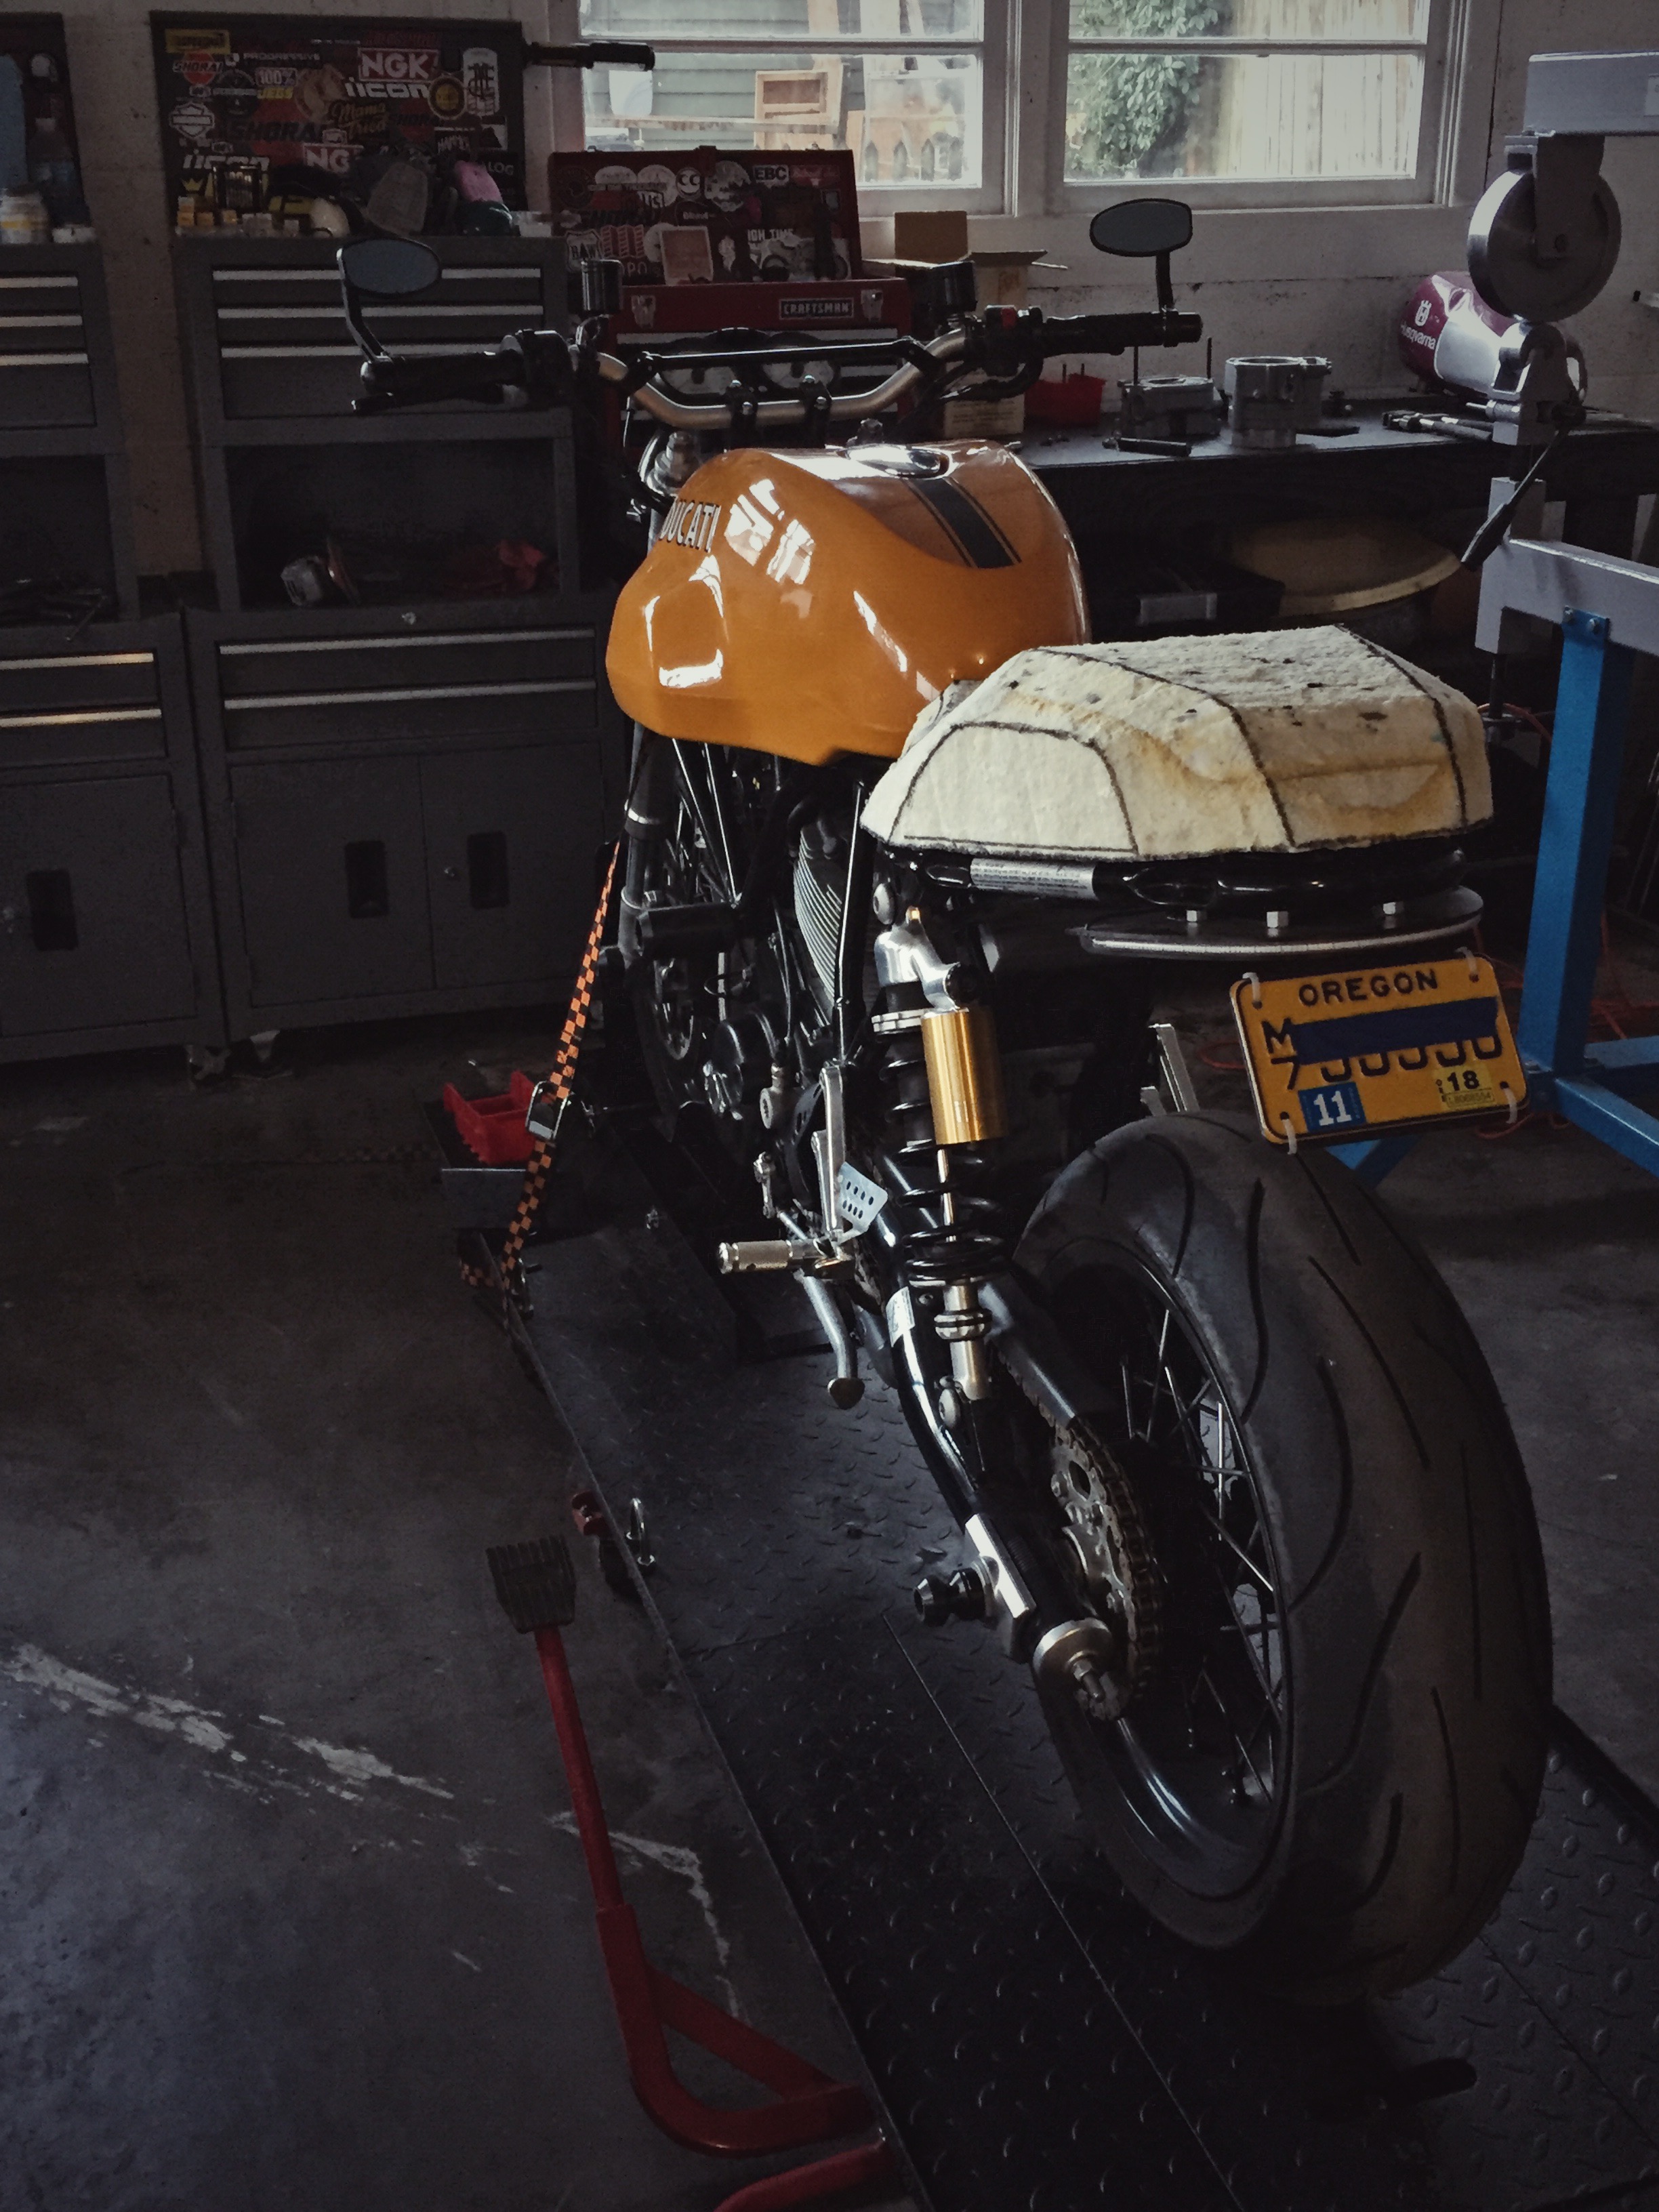
Pt. 5 Making A Custom Sport Classic Seat
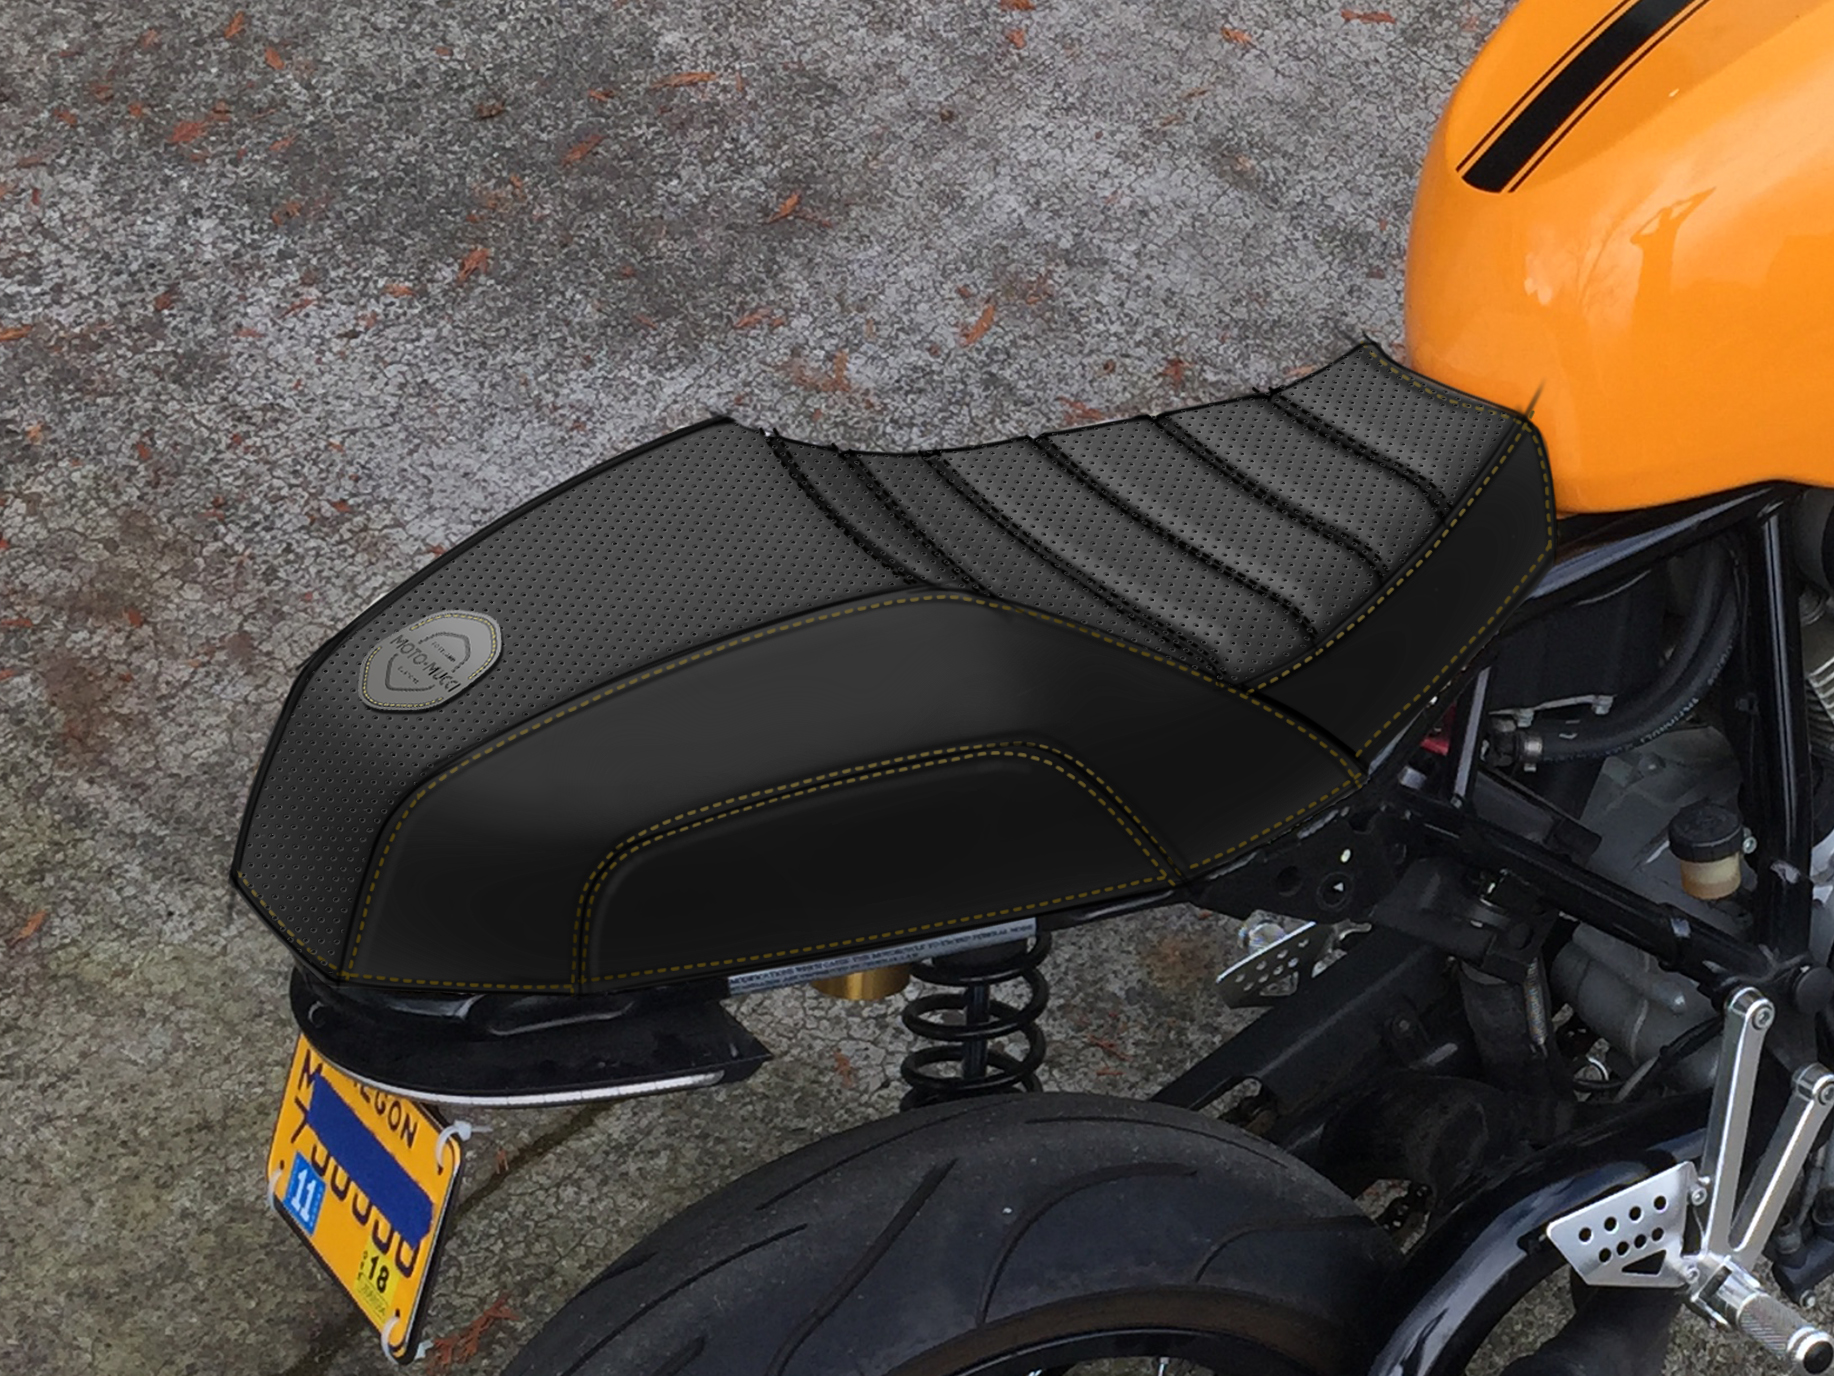
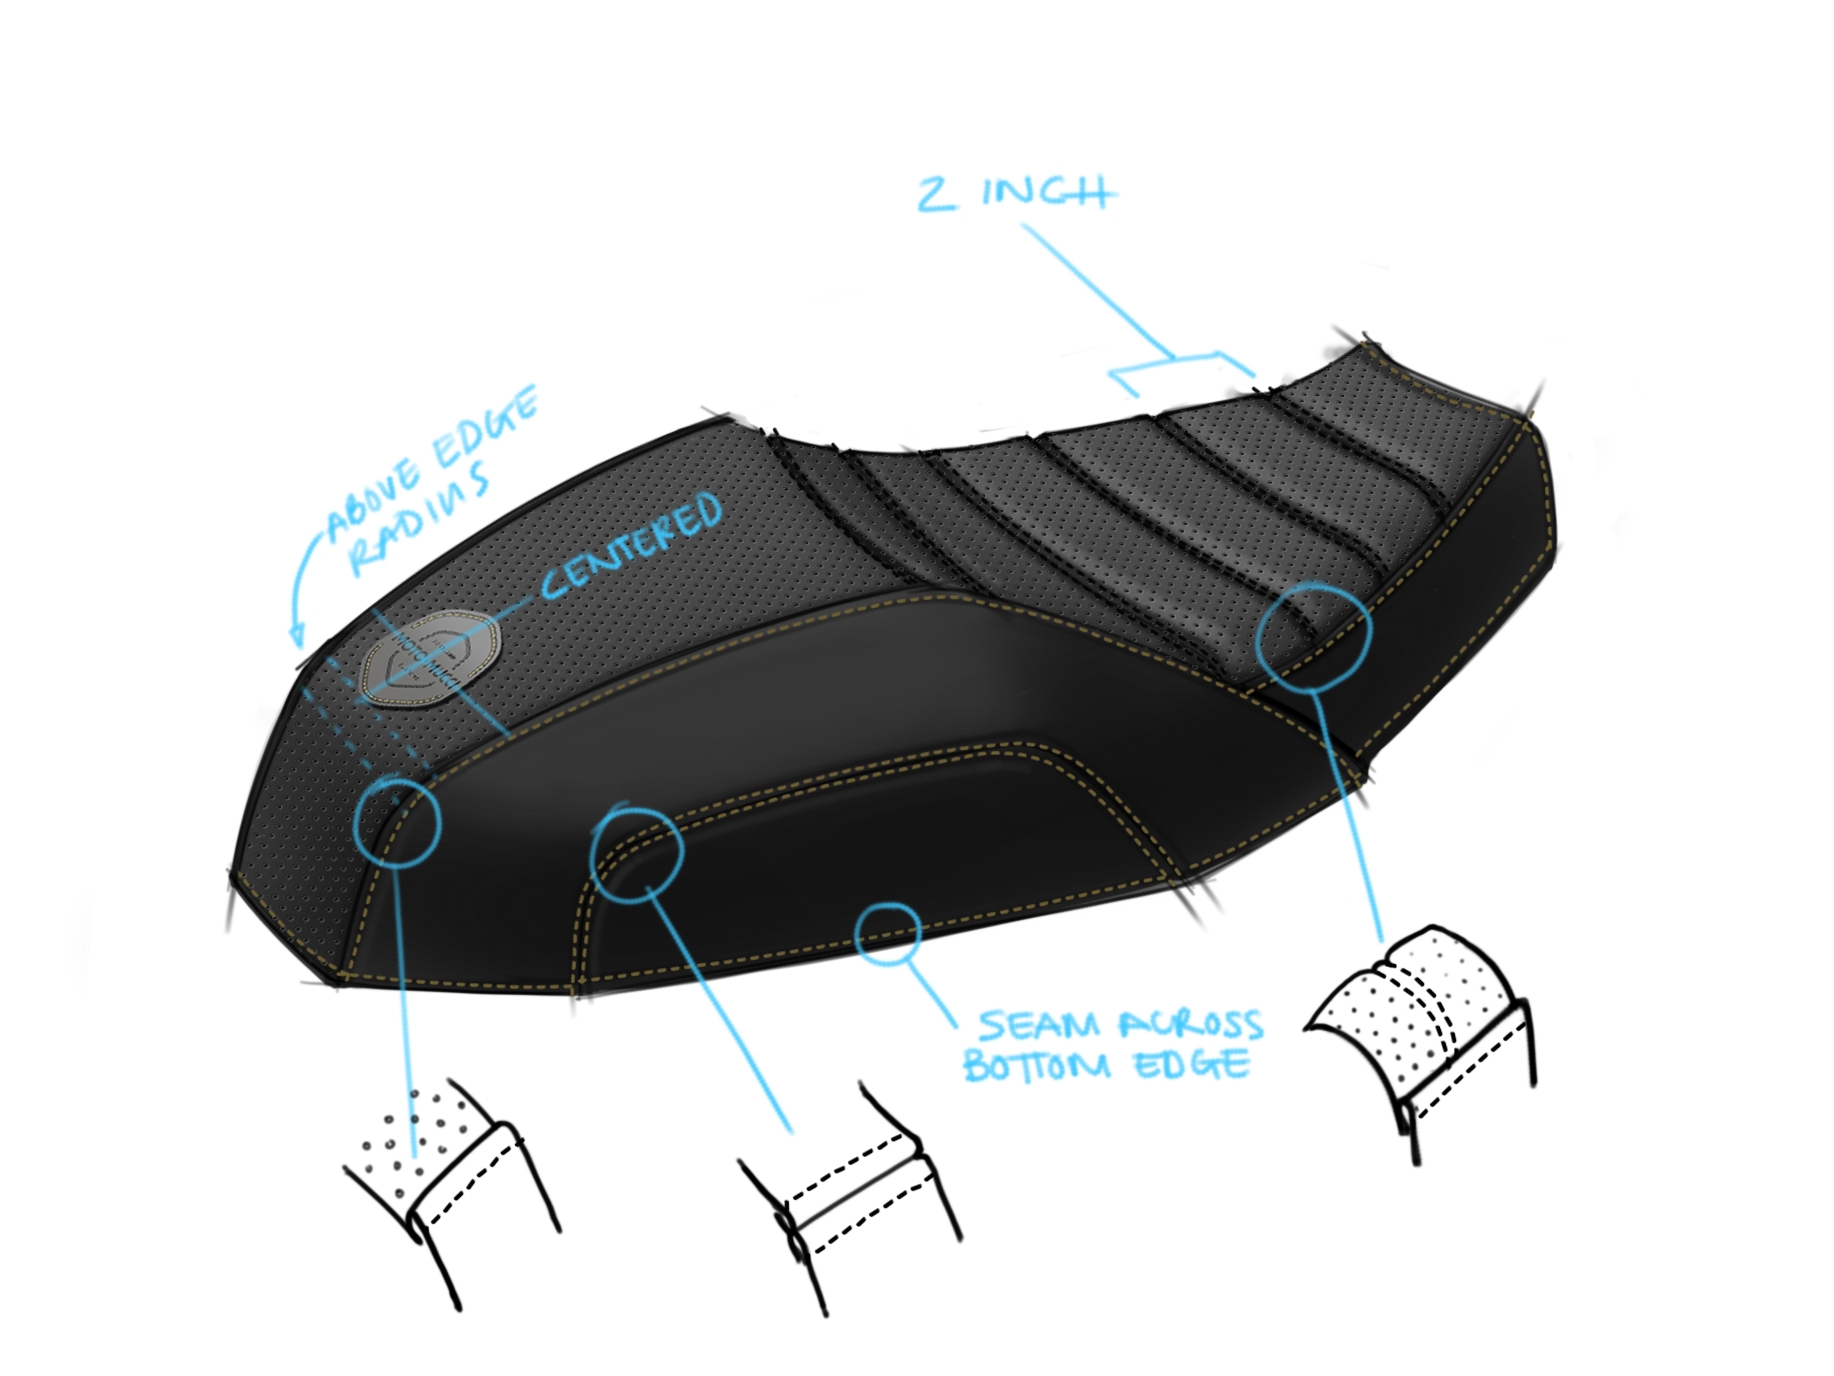
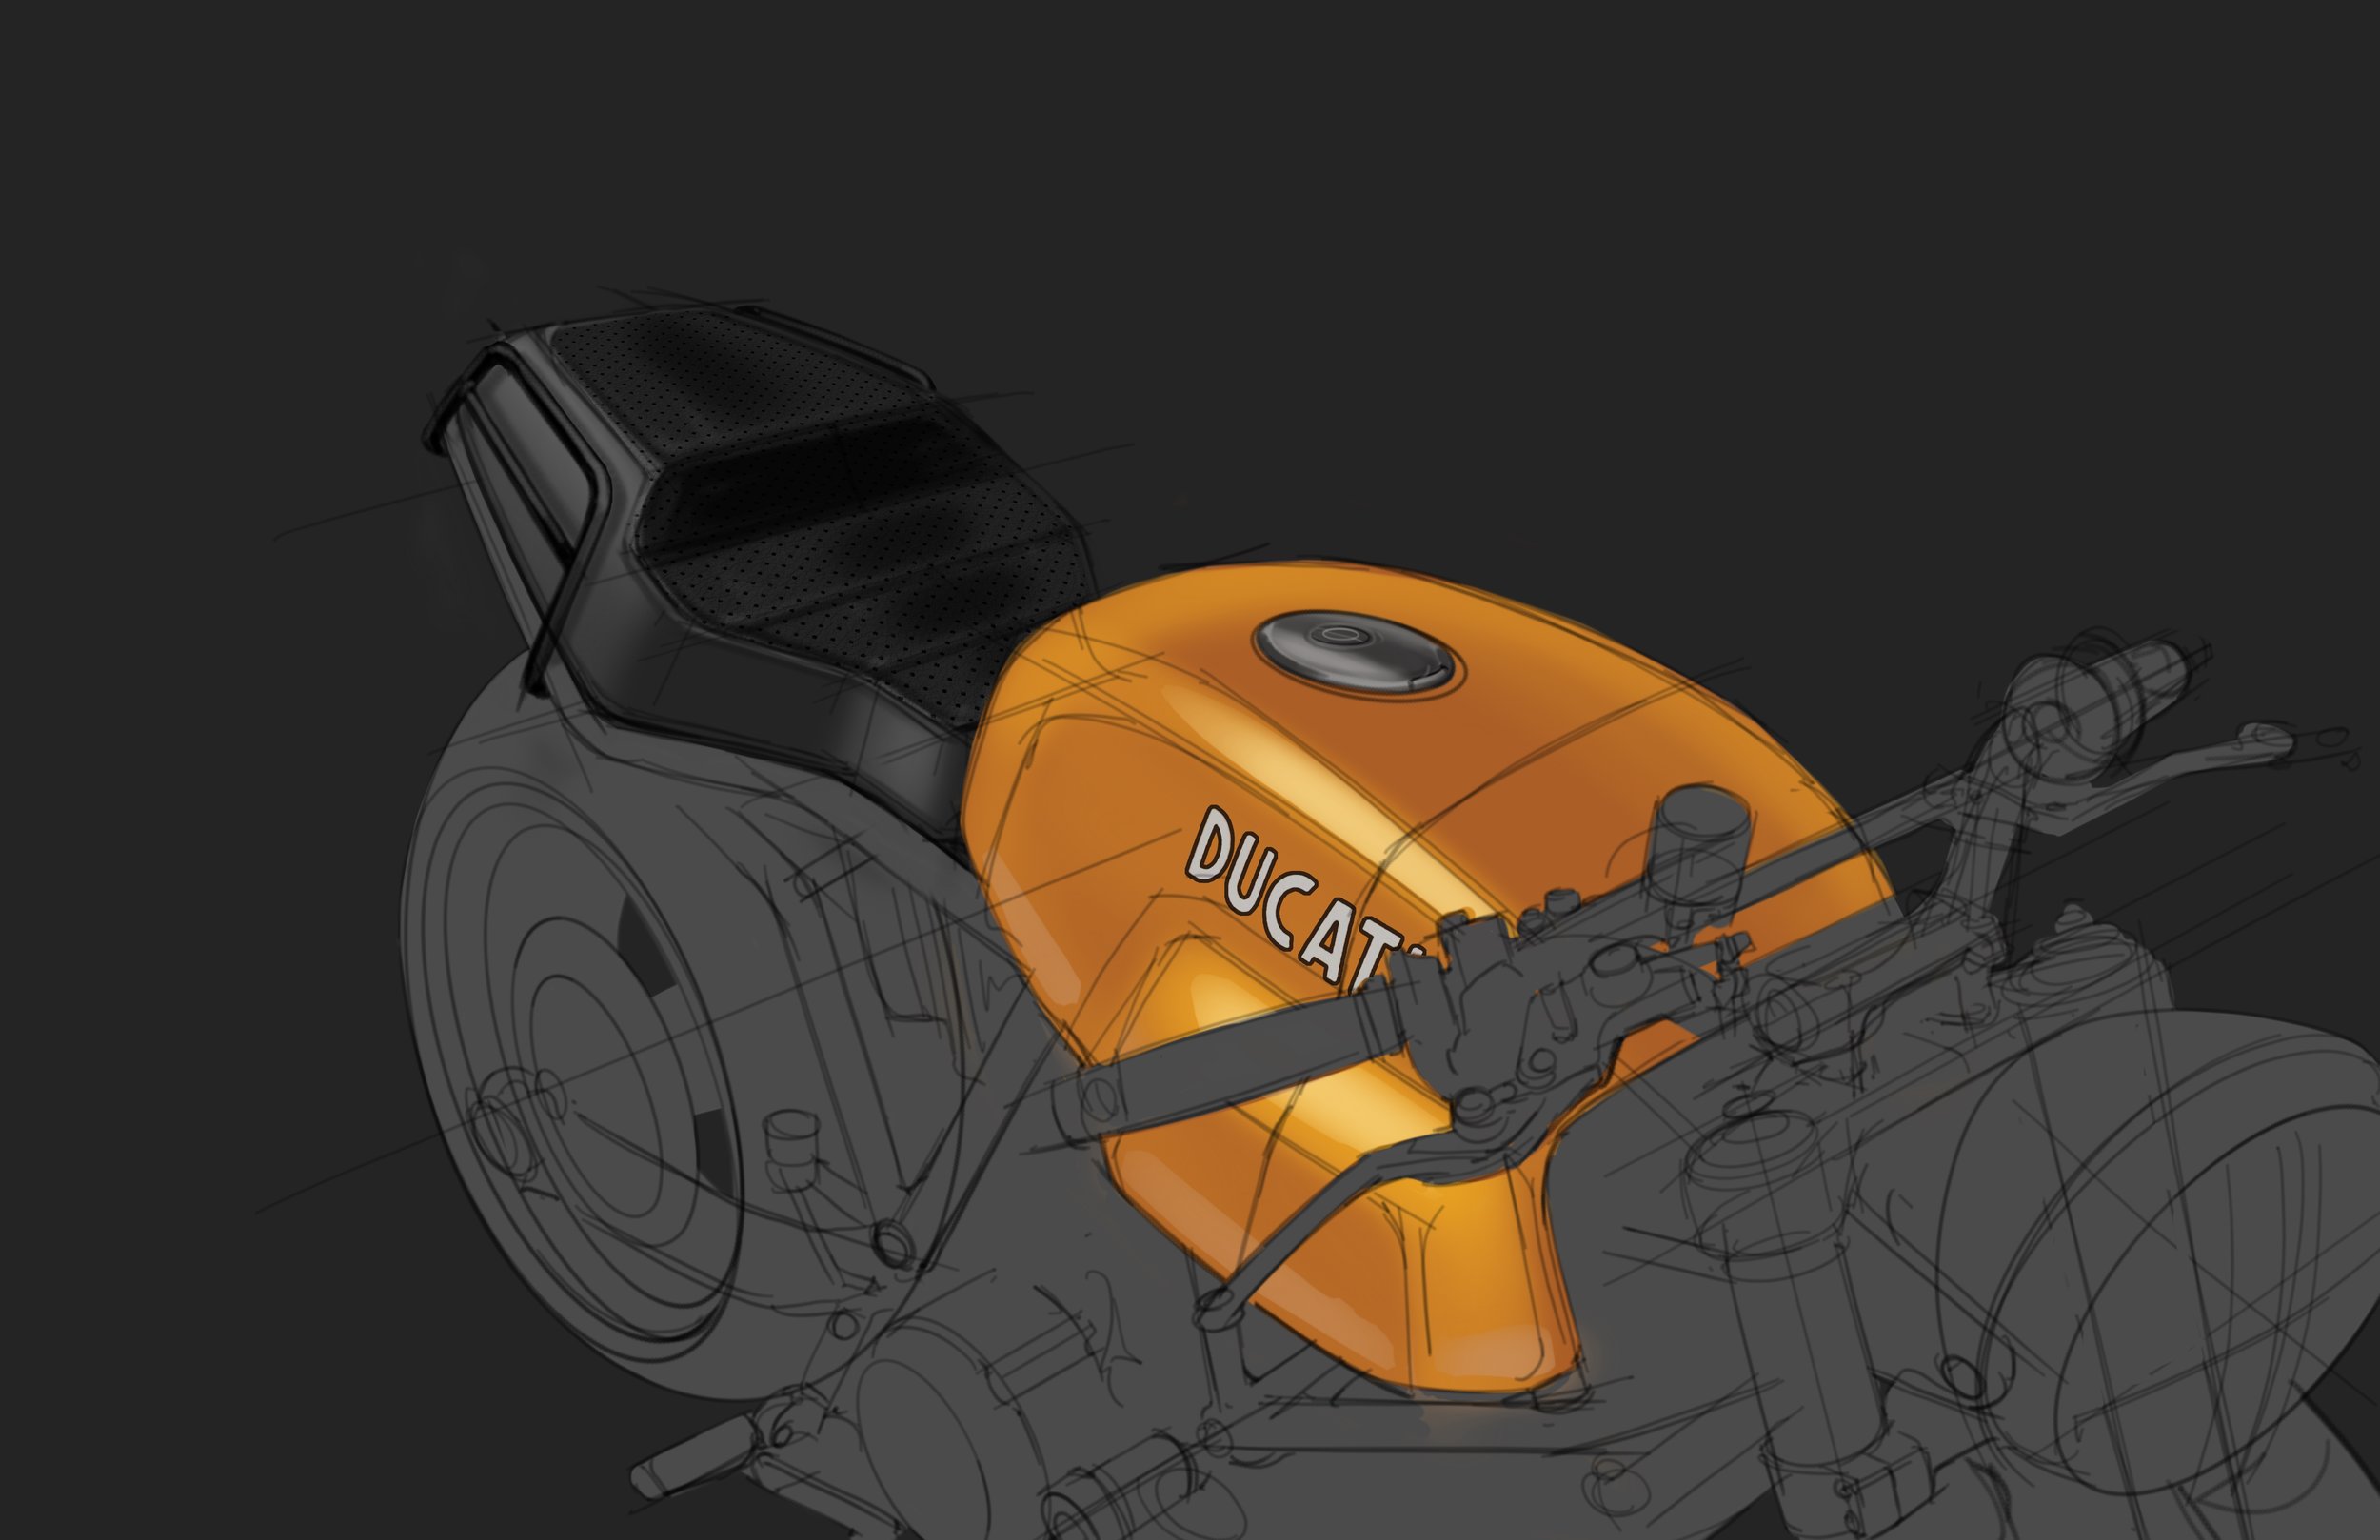
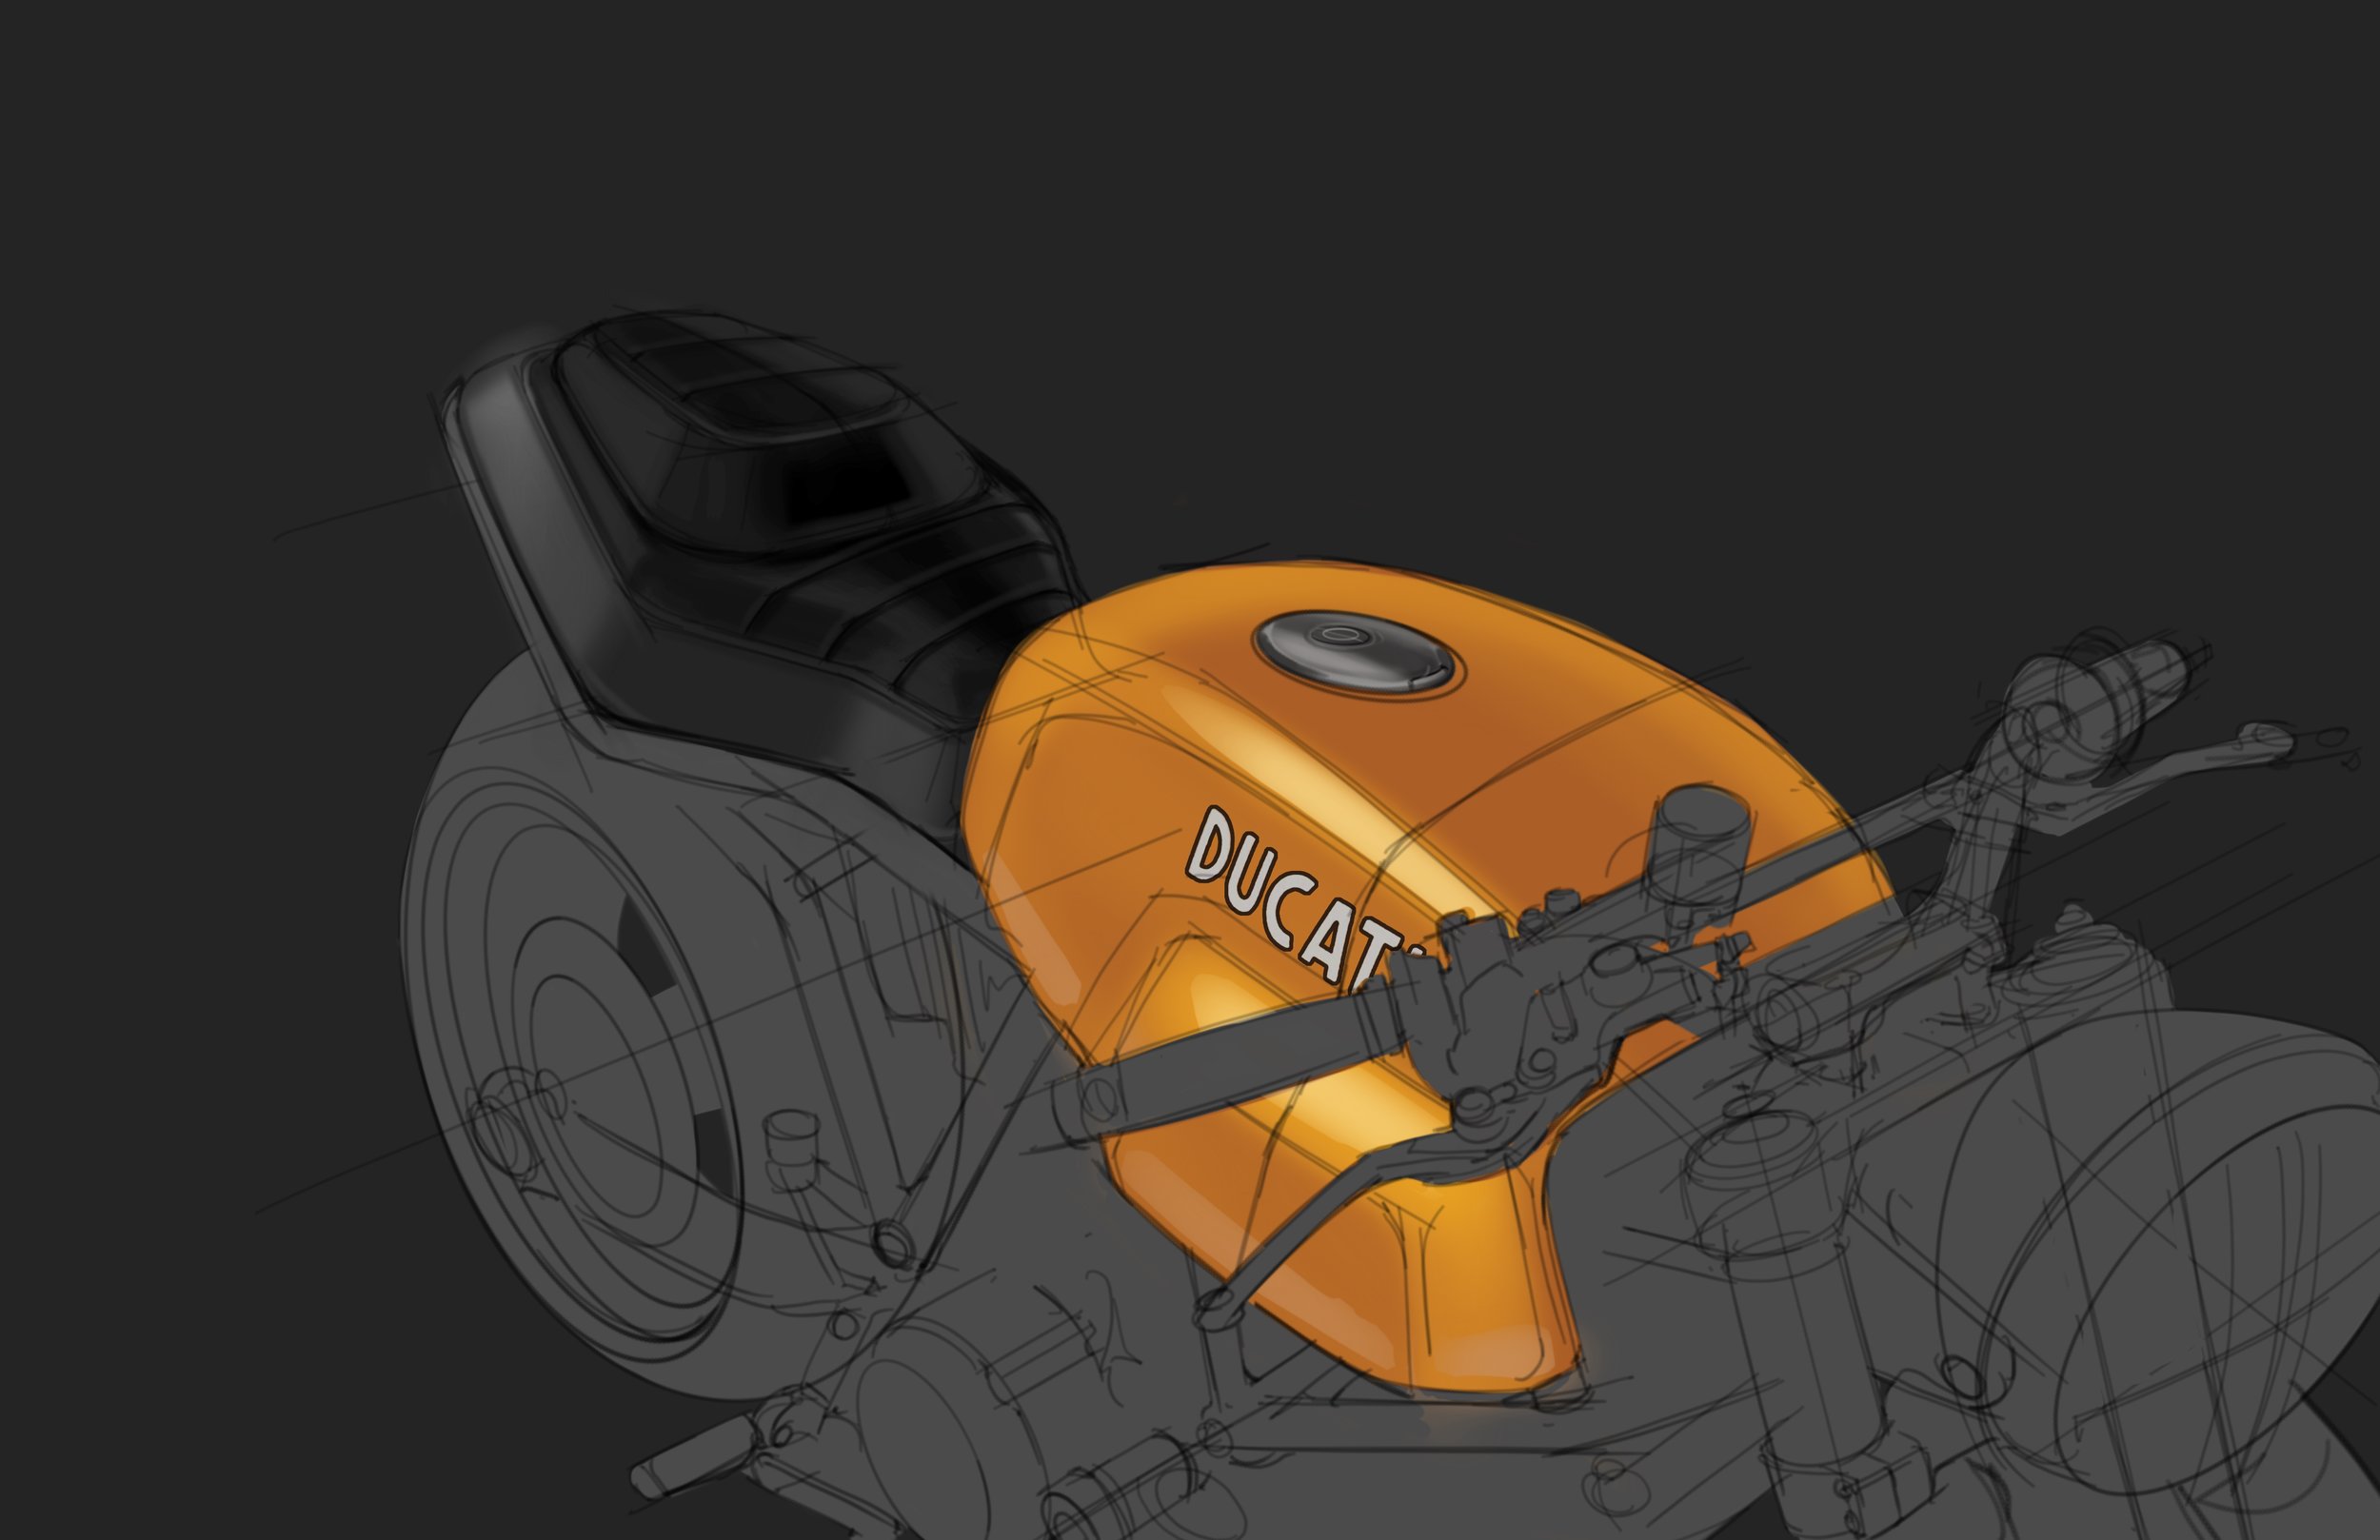
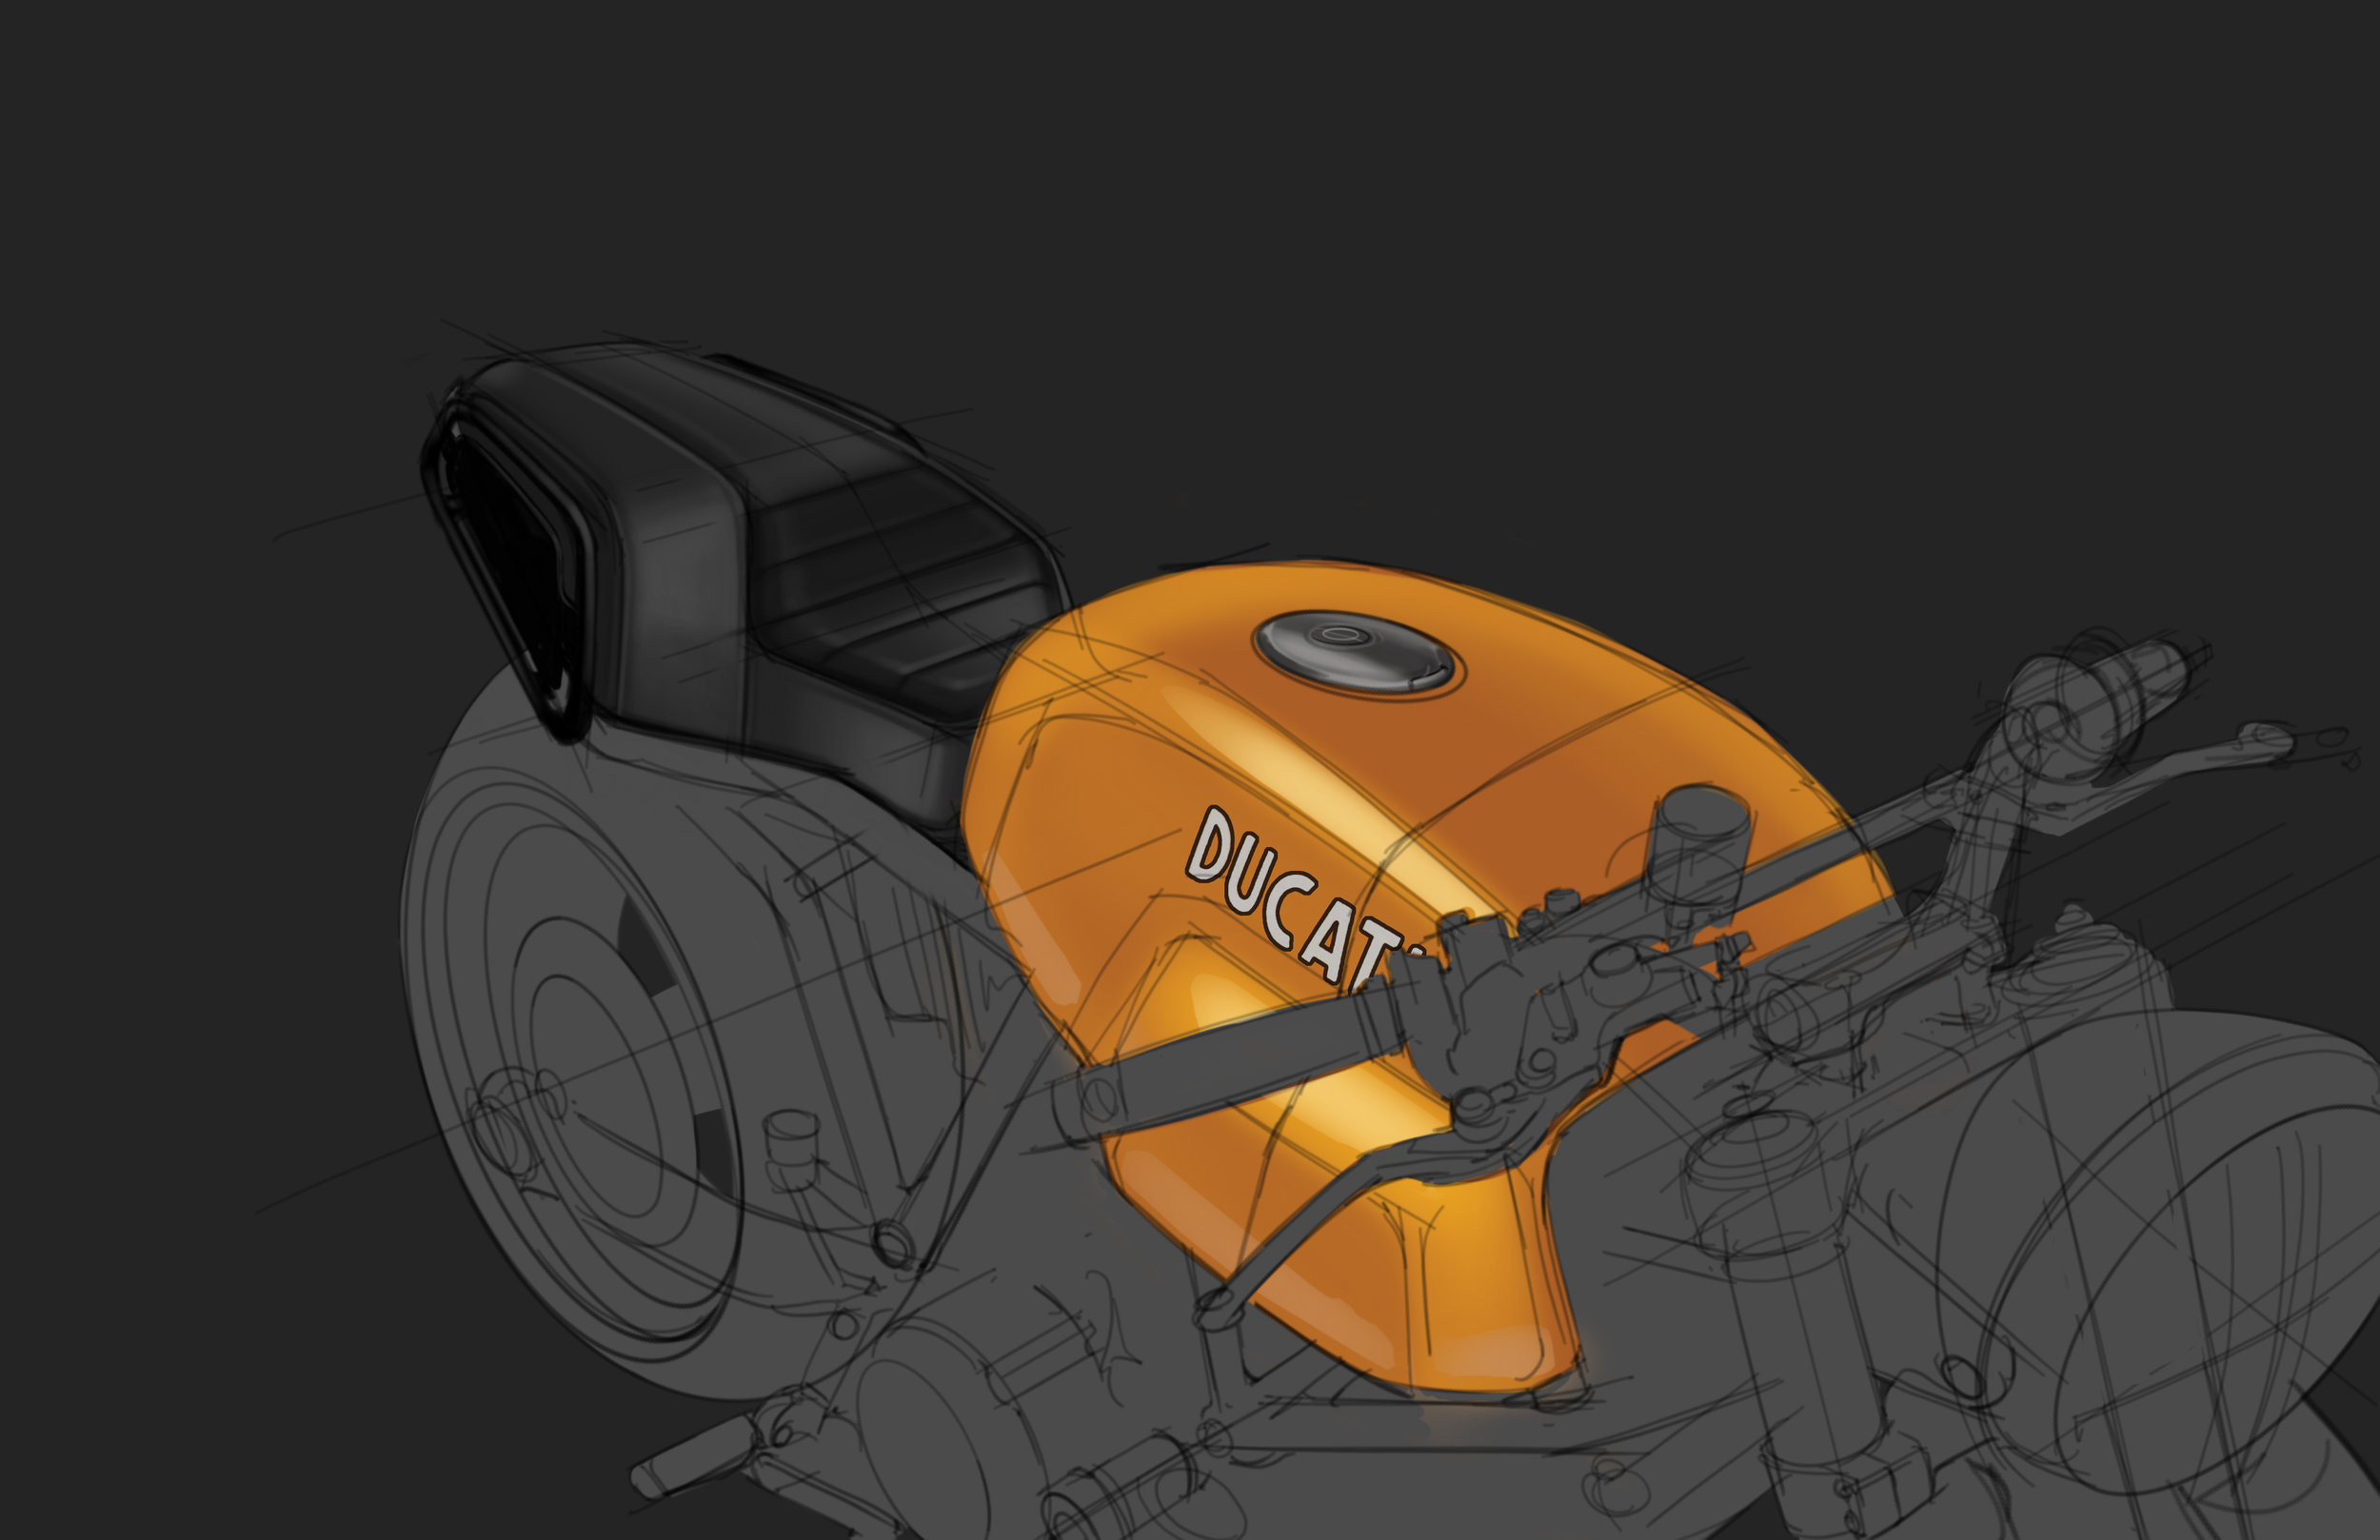
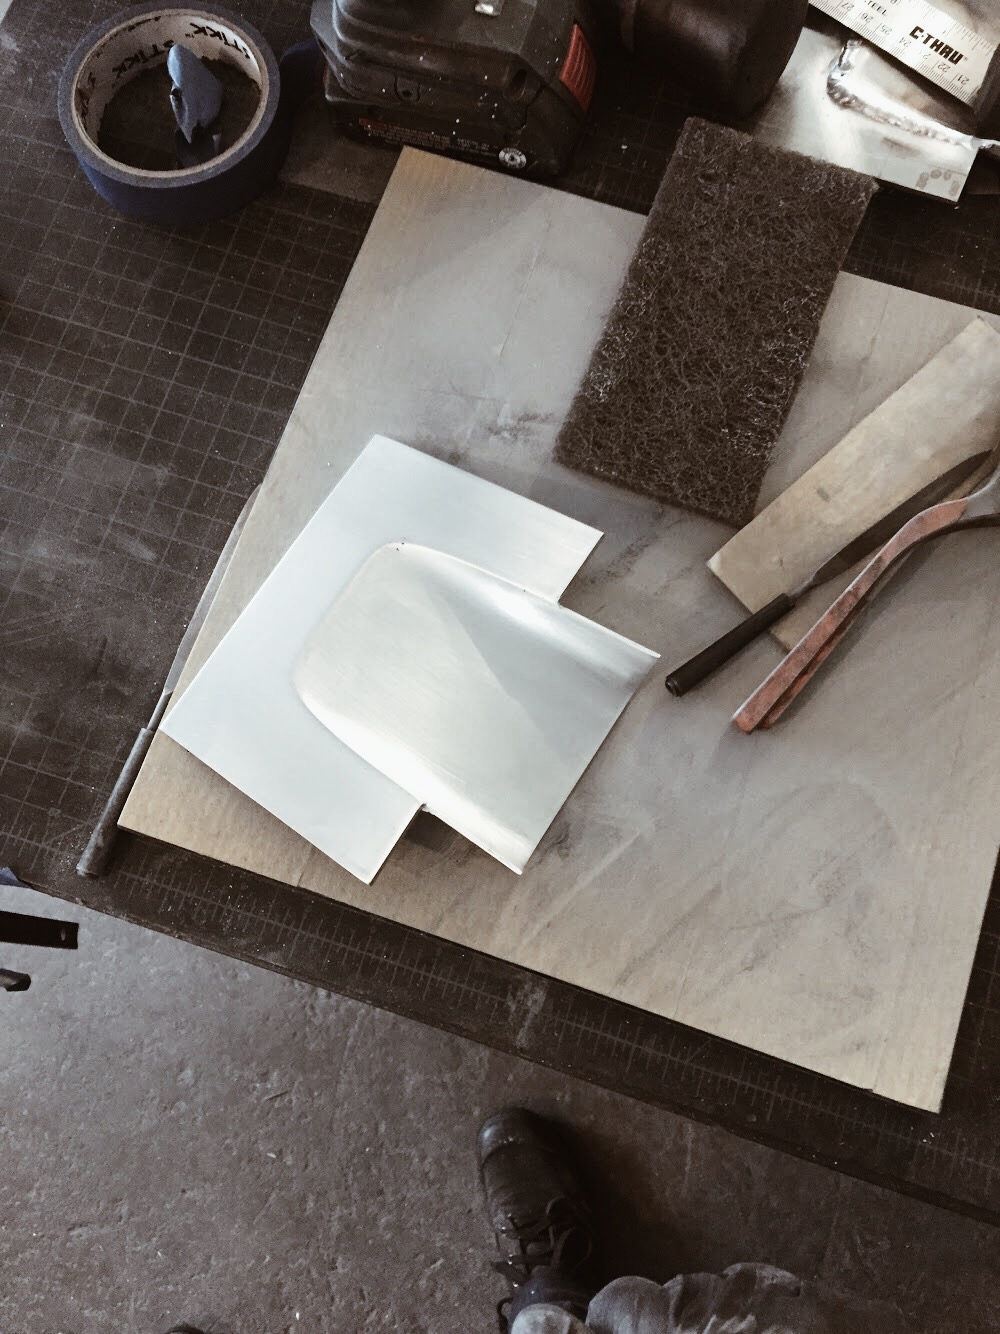
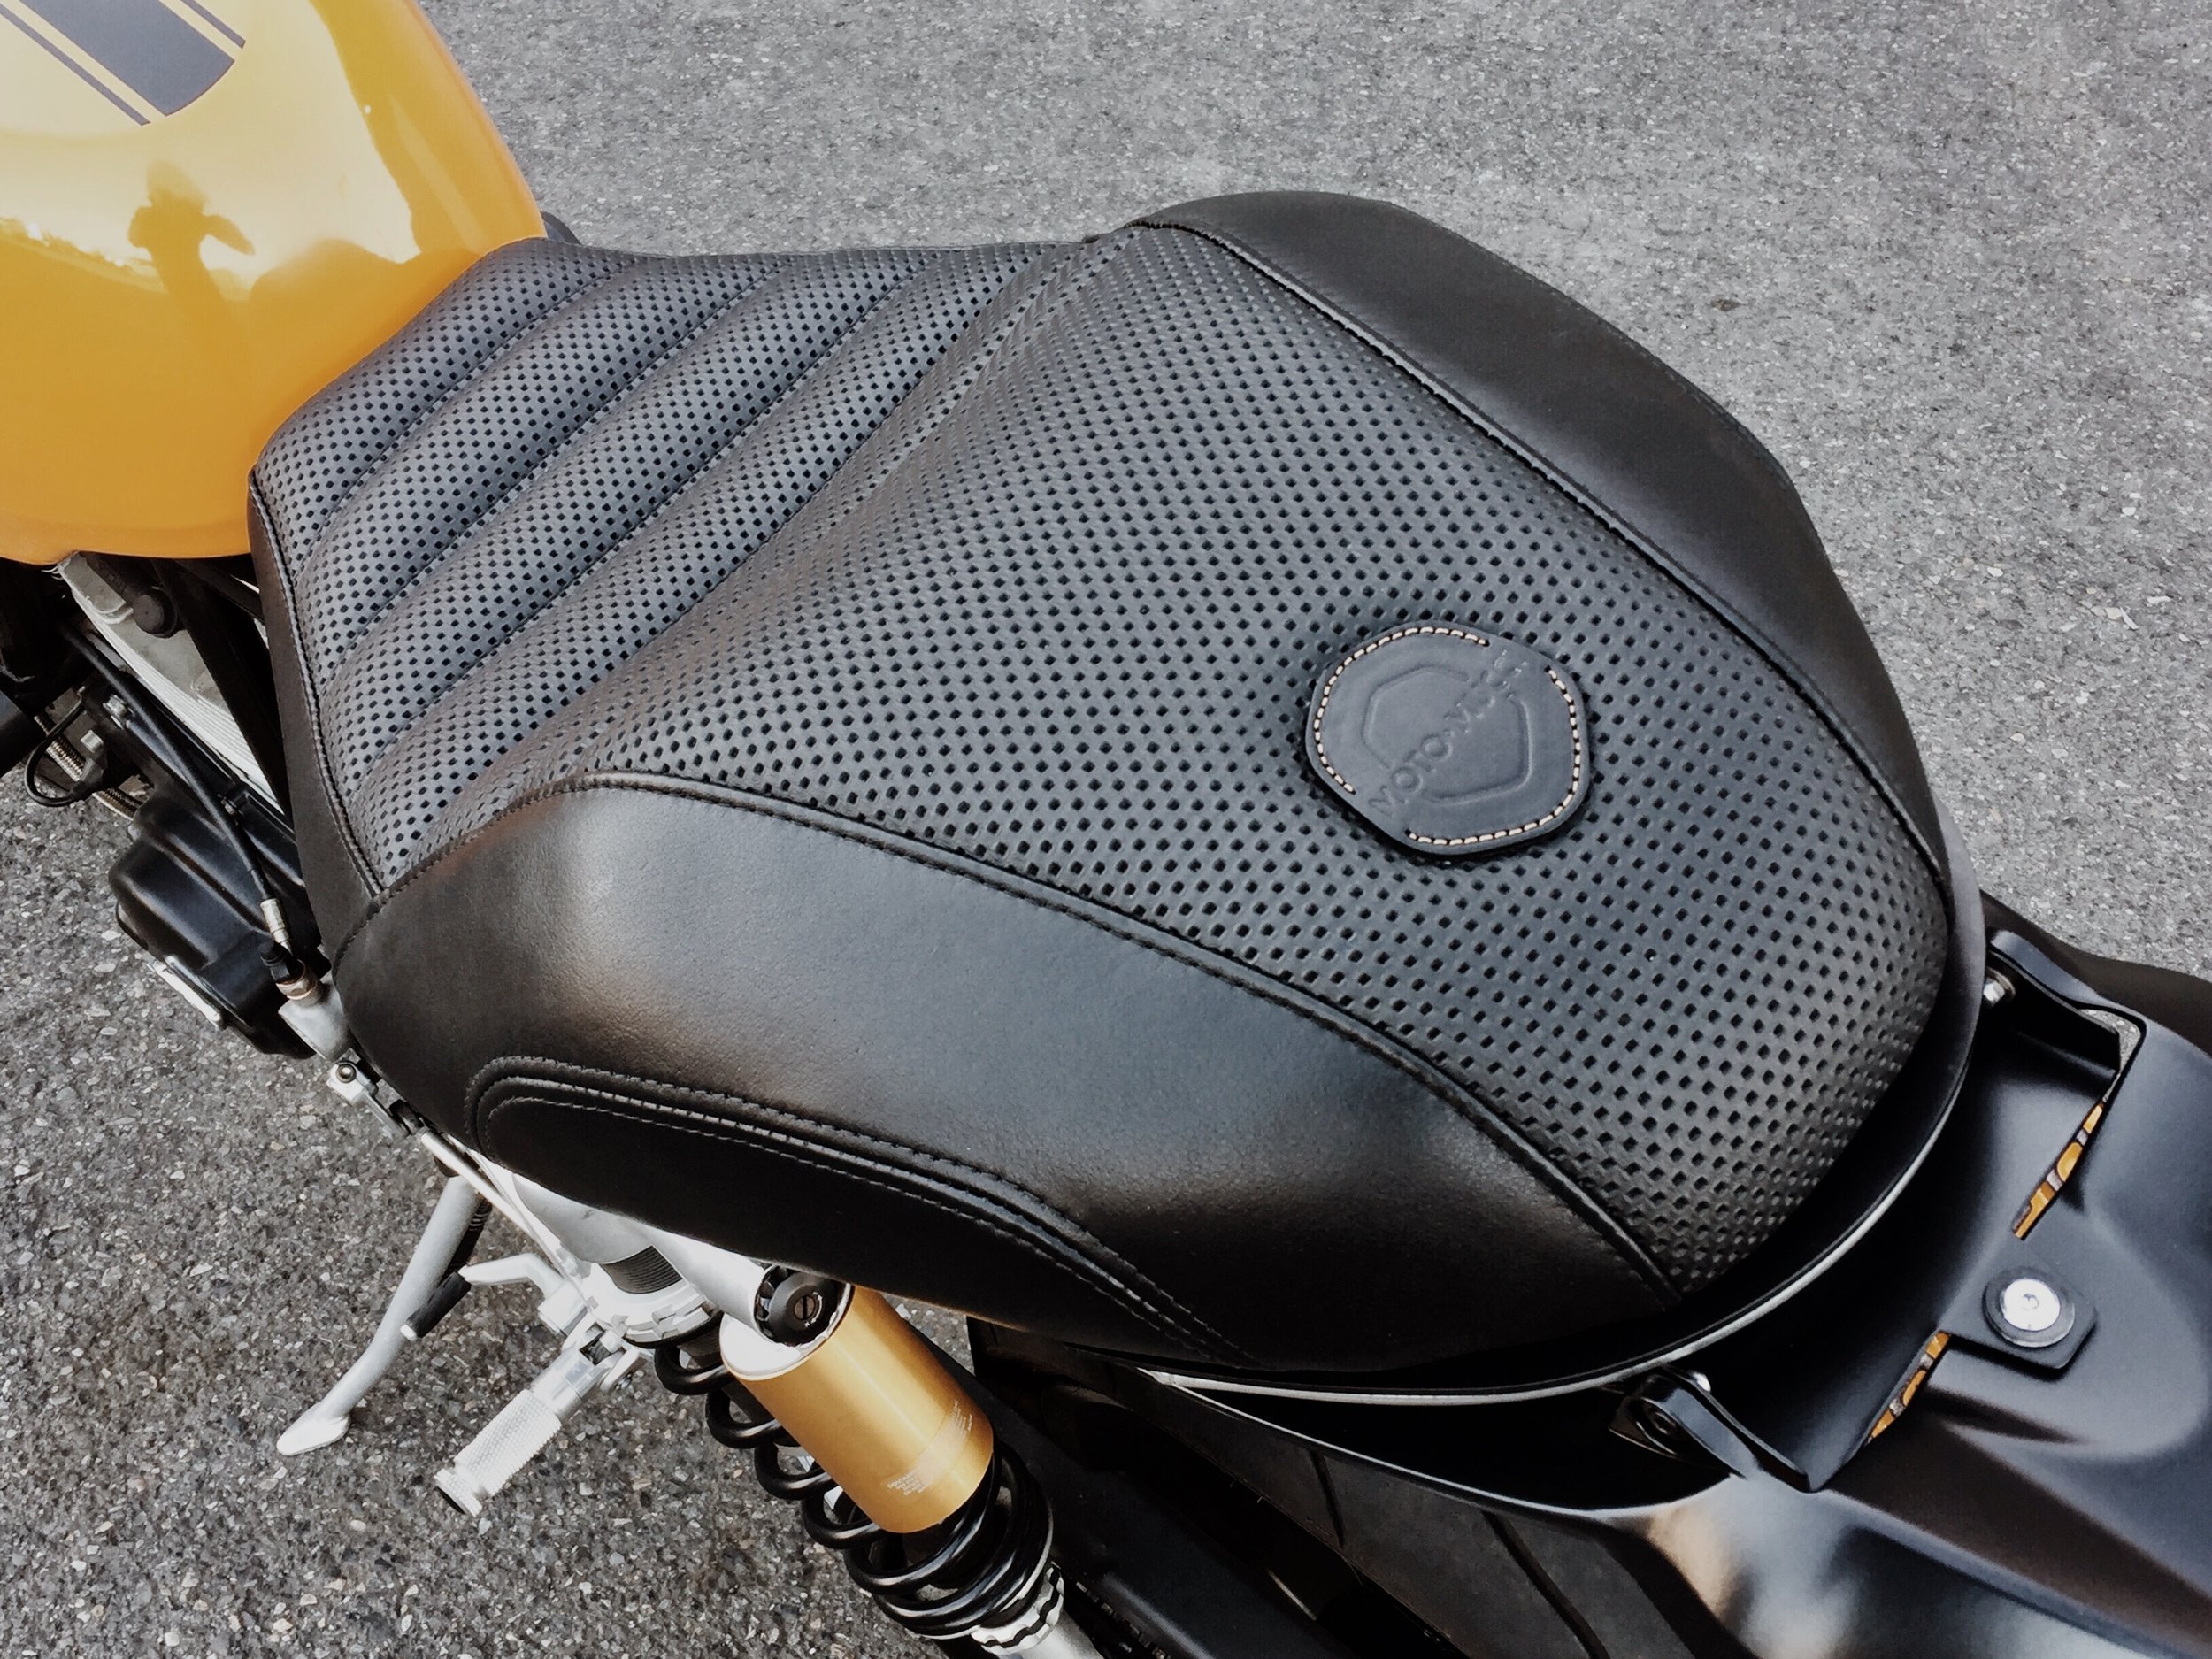
Part 1.
Part 2.
Part 3.
Part 4.

Part 5: I got the seat back from Newchurch Moto the other day and it came out great! Her stitch work is phenomenal. We went with a marine grade "perforated" vinyl. The vinyl allows you to do a looks-like perforation that doesn't actually put holes through the material. This means it's still water proof. The sides are leather. 

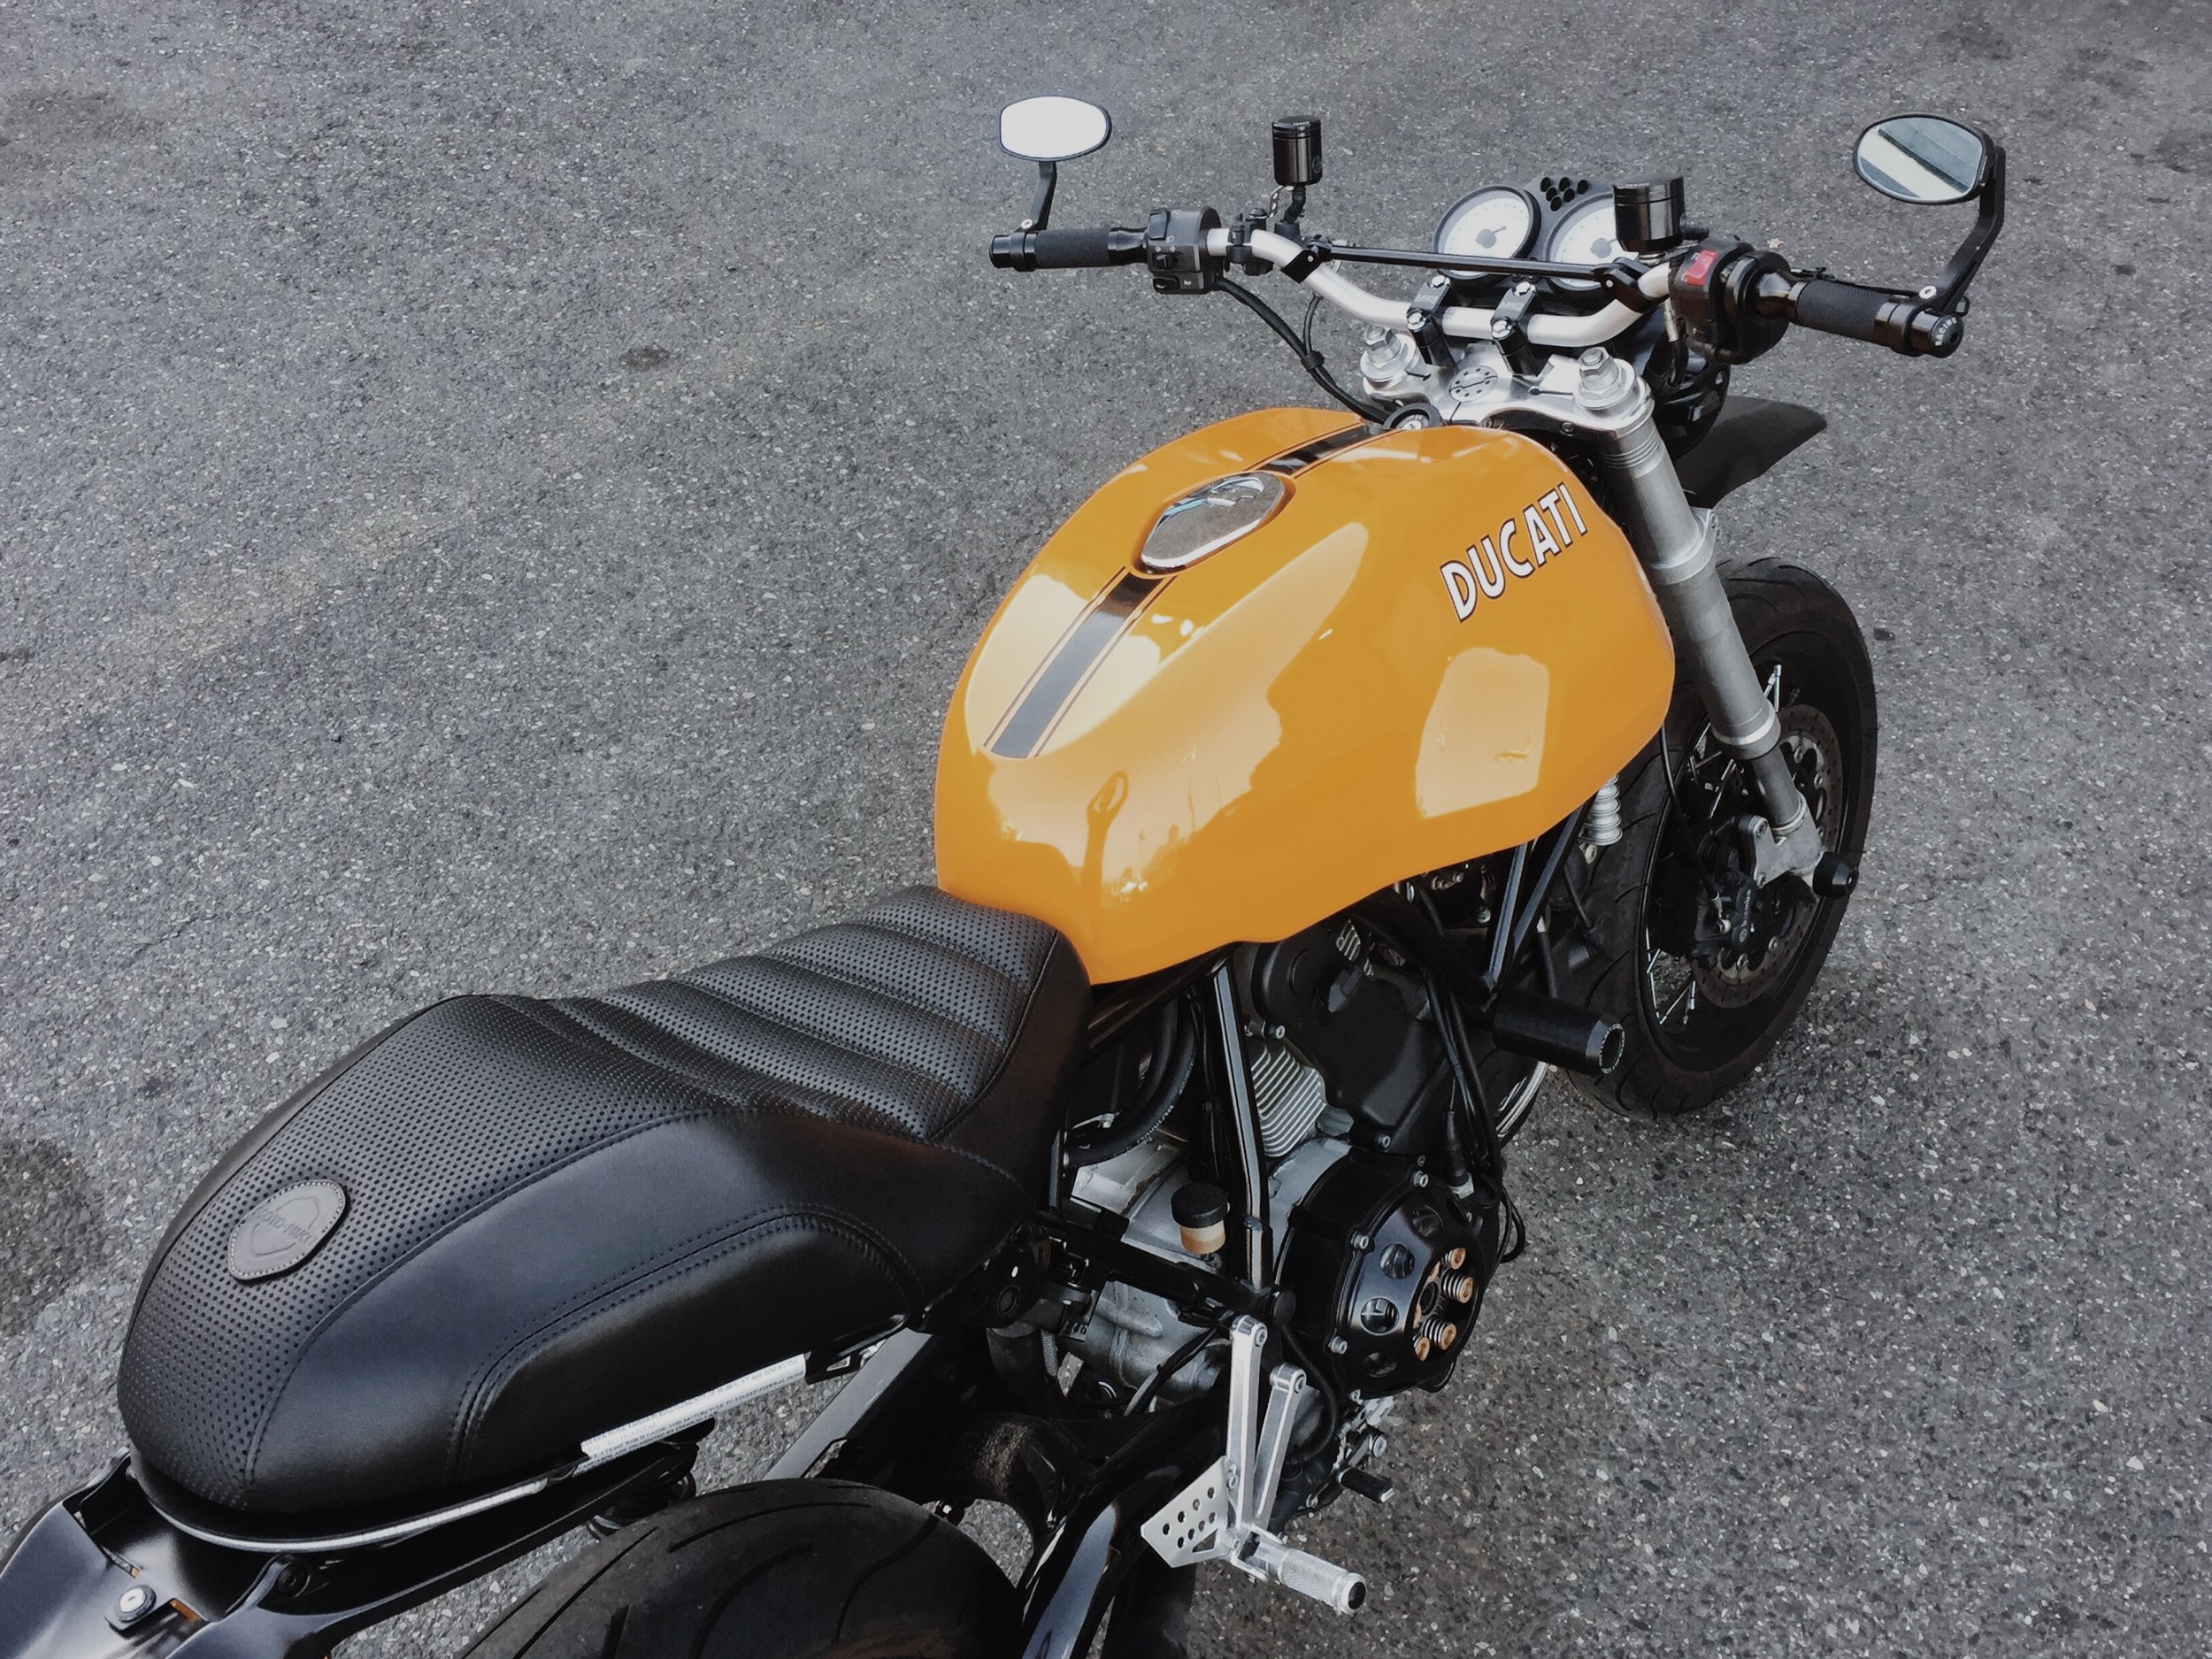
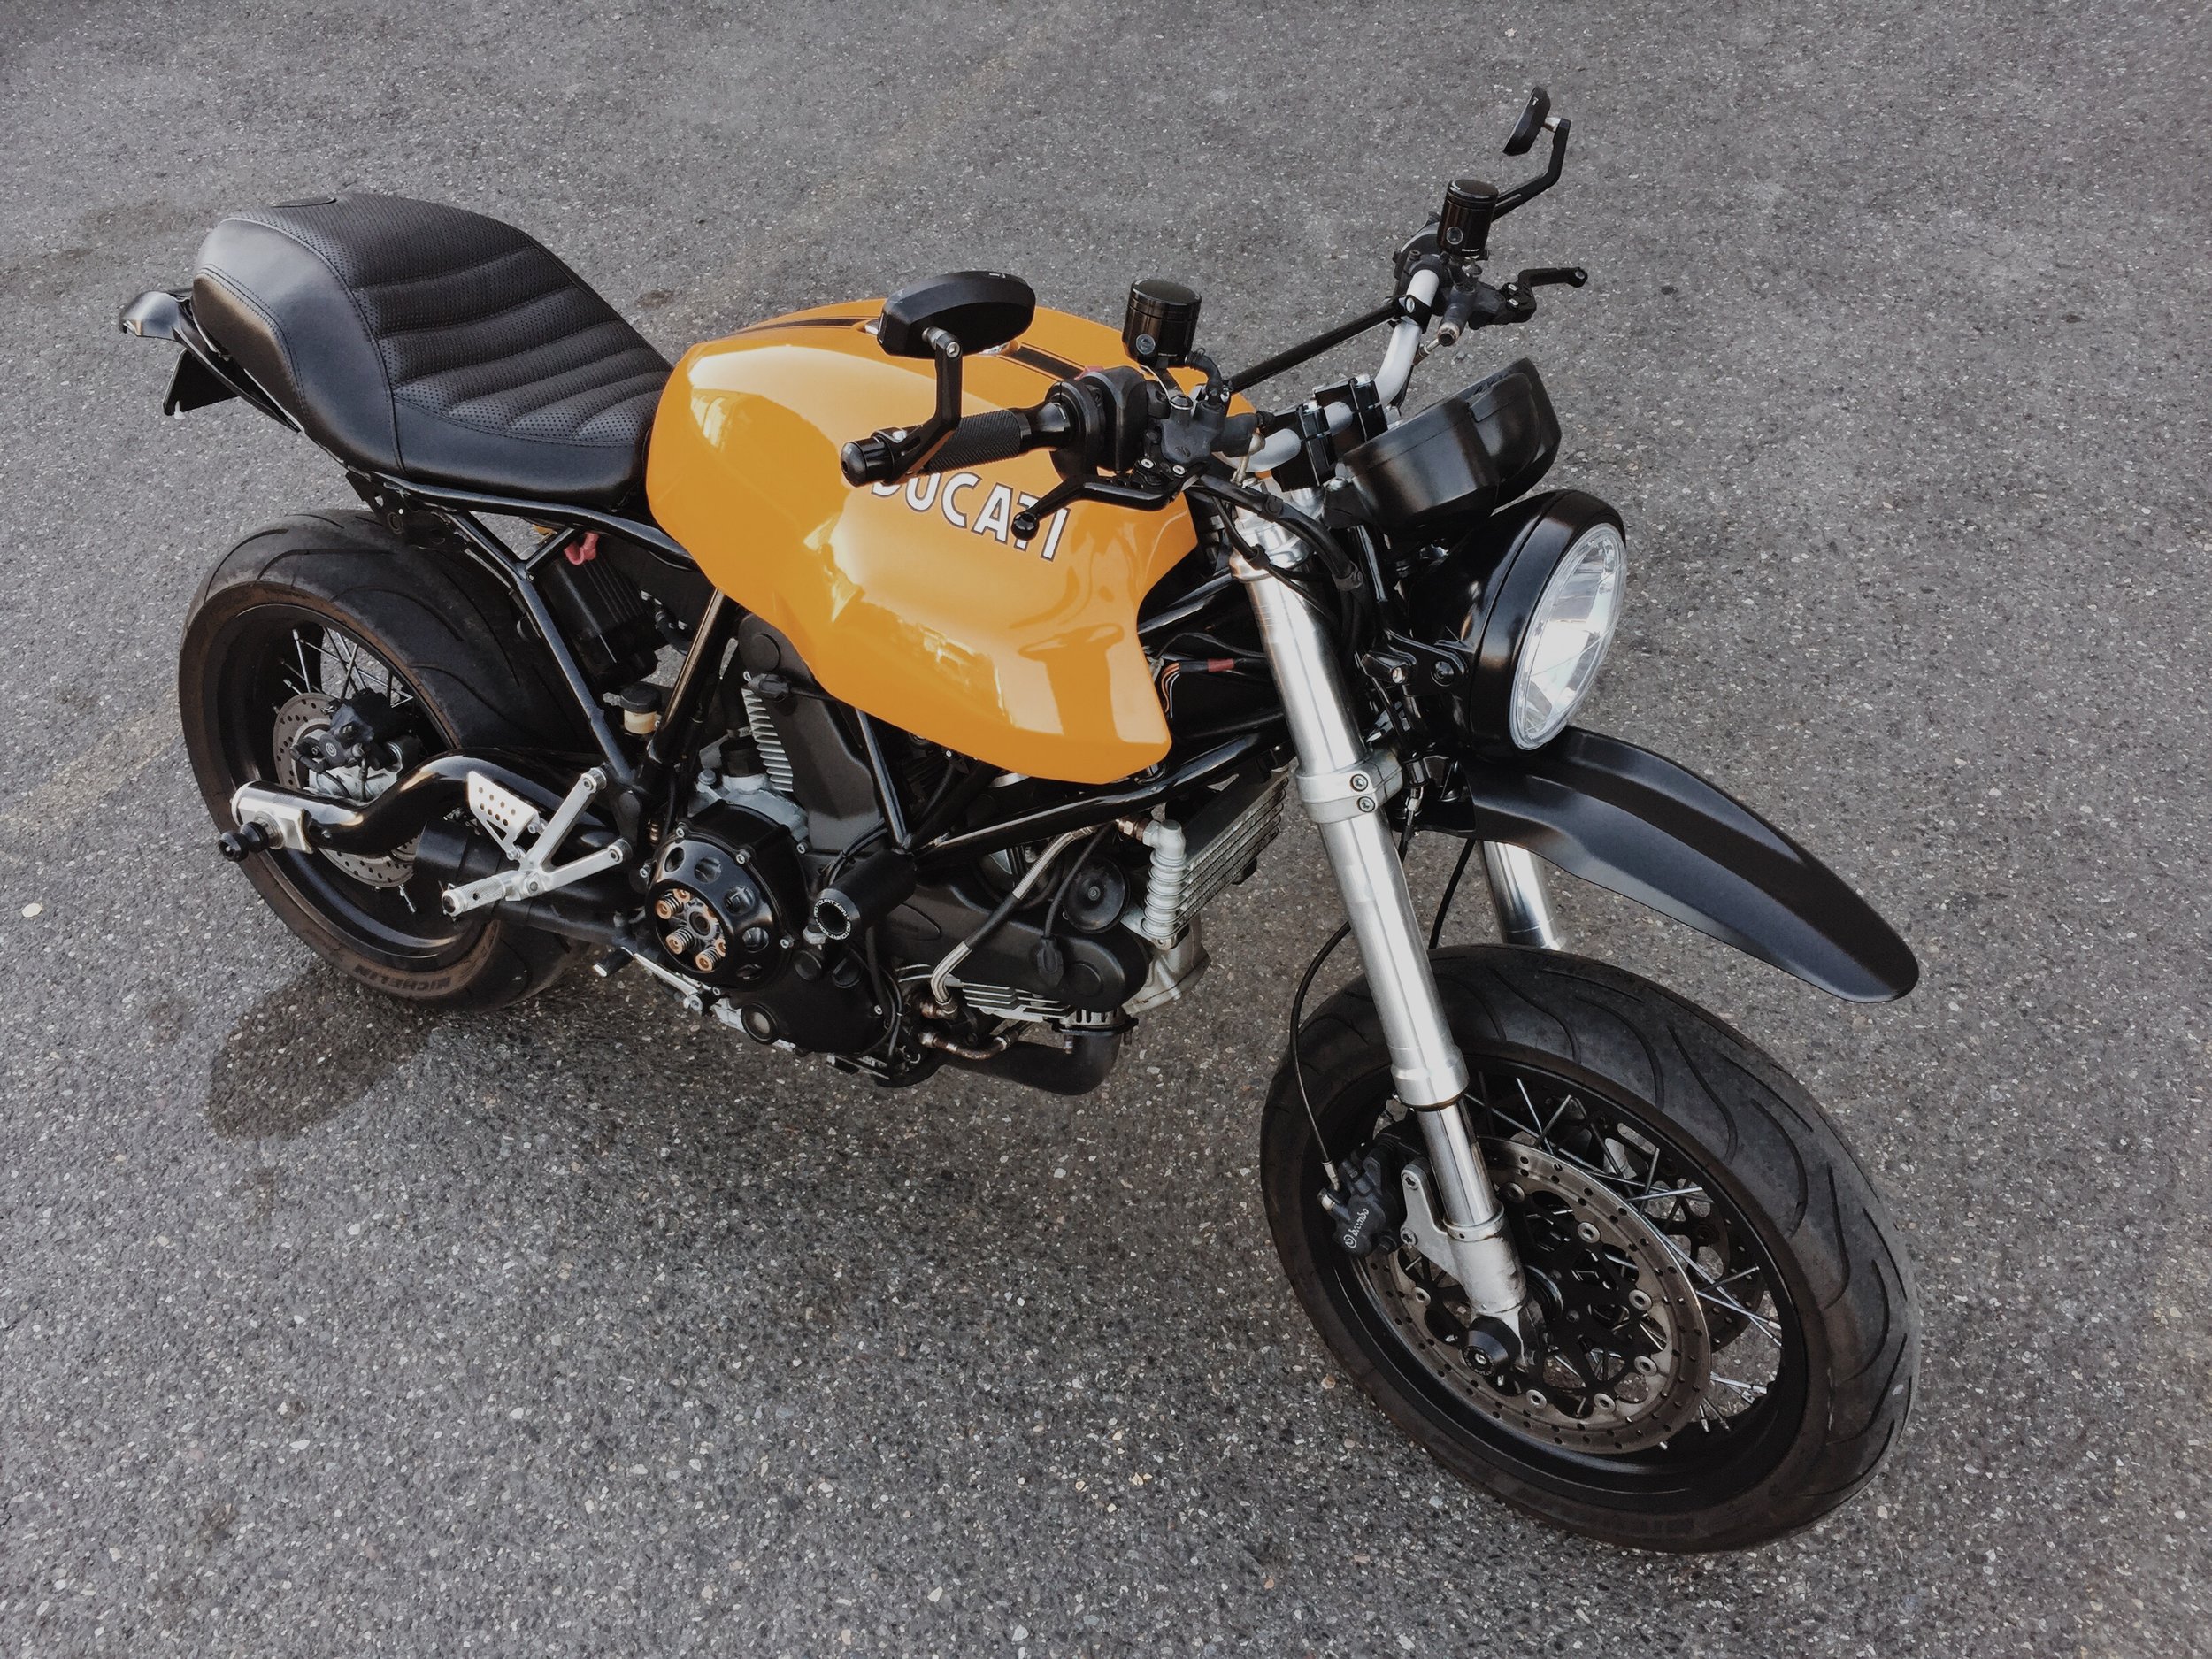
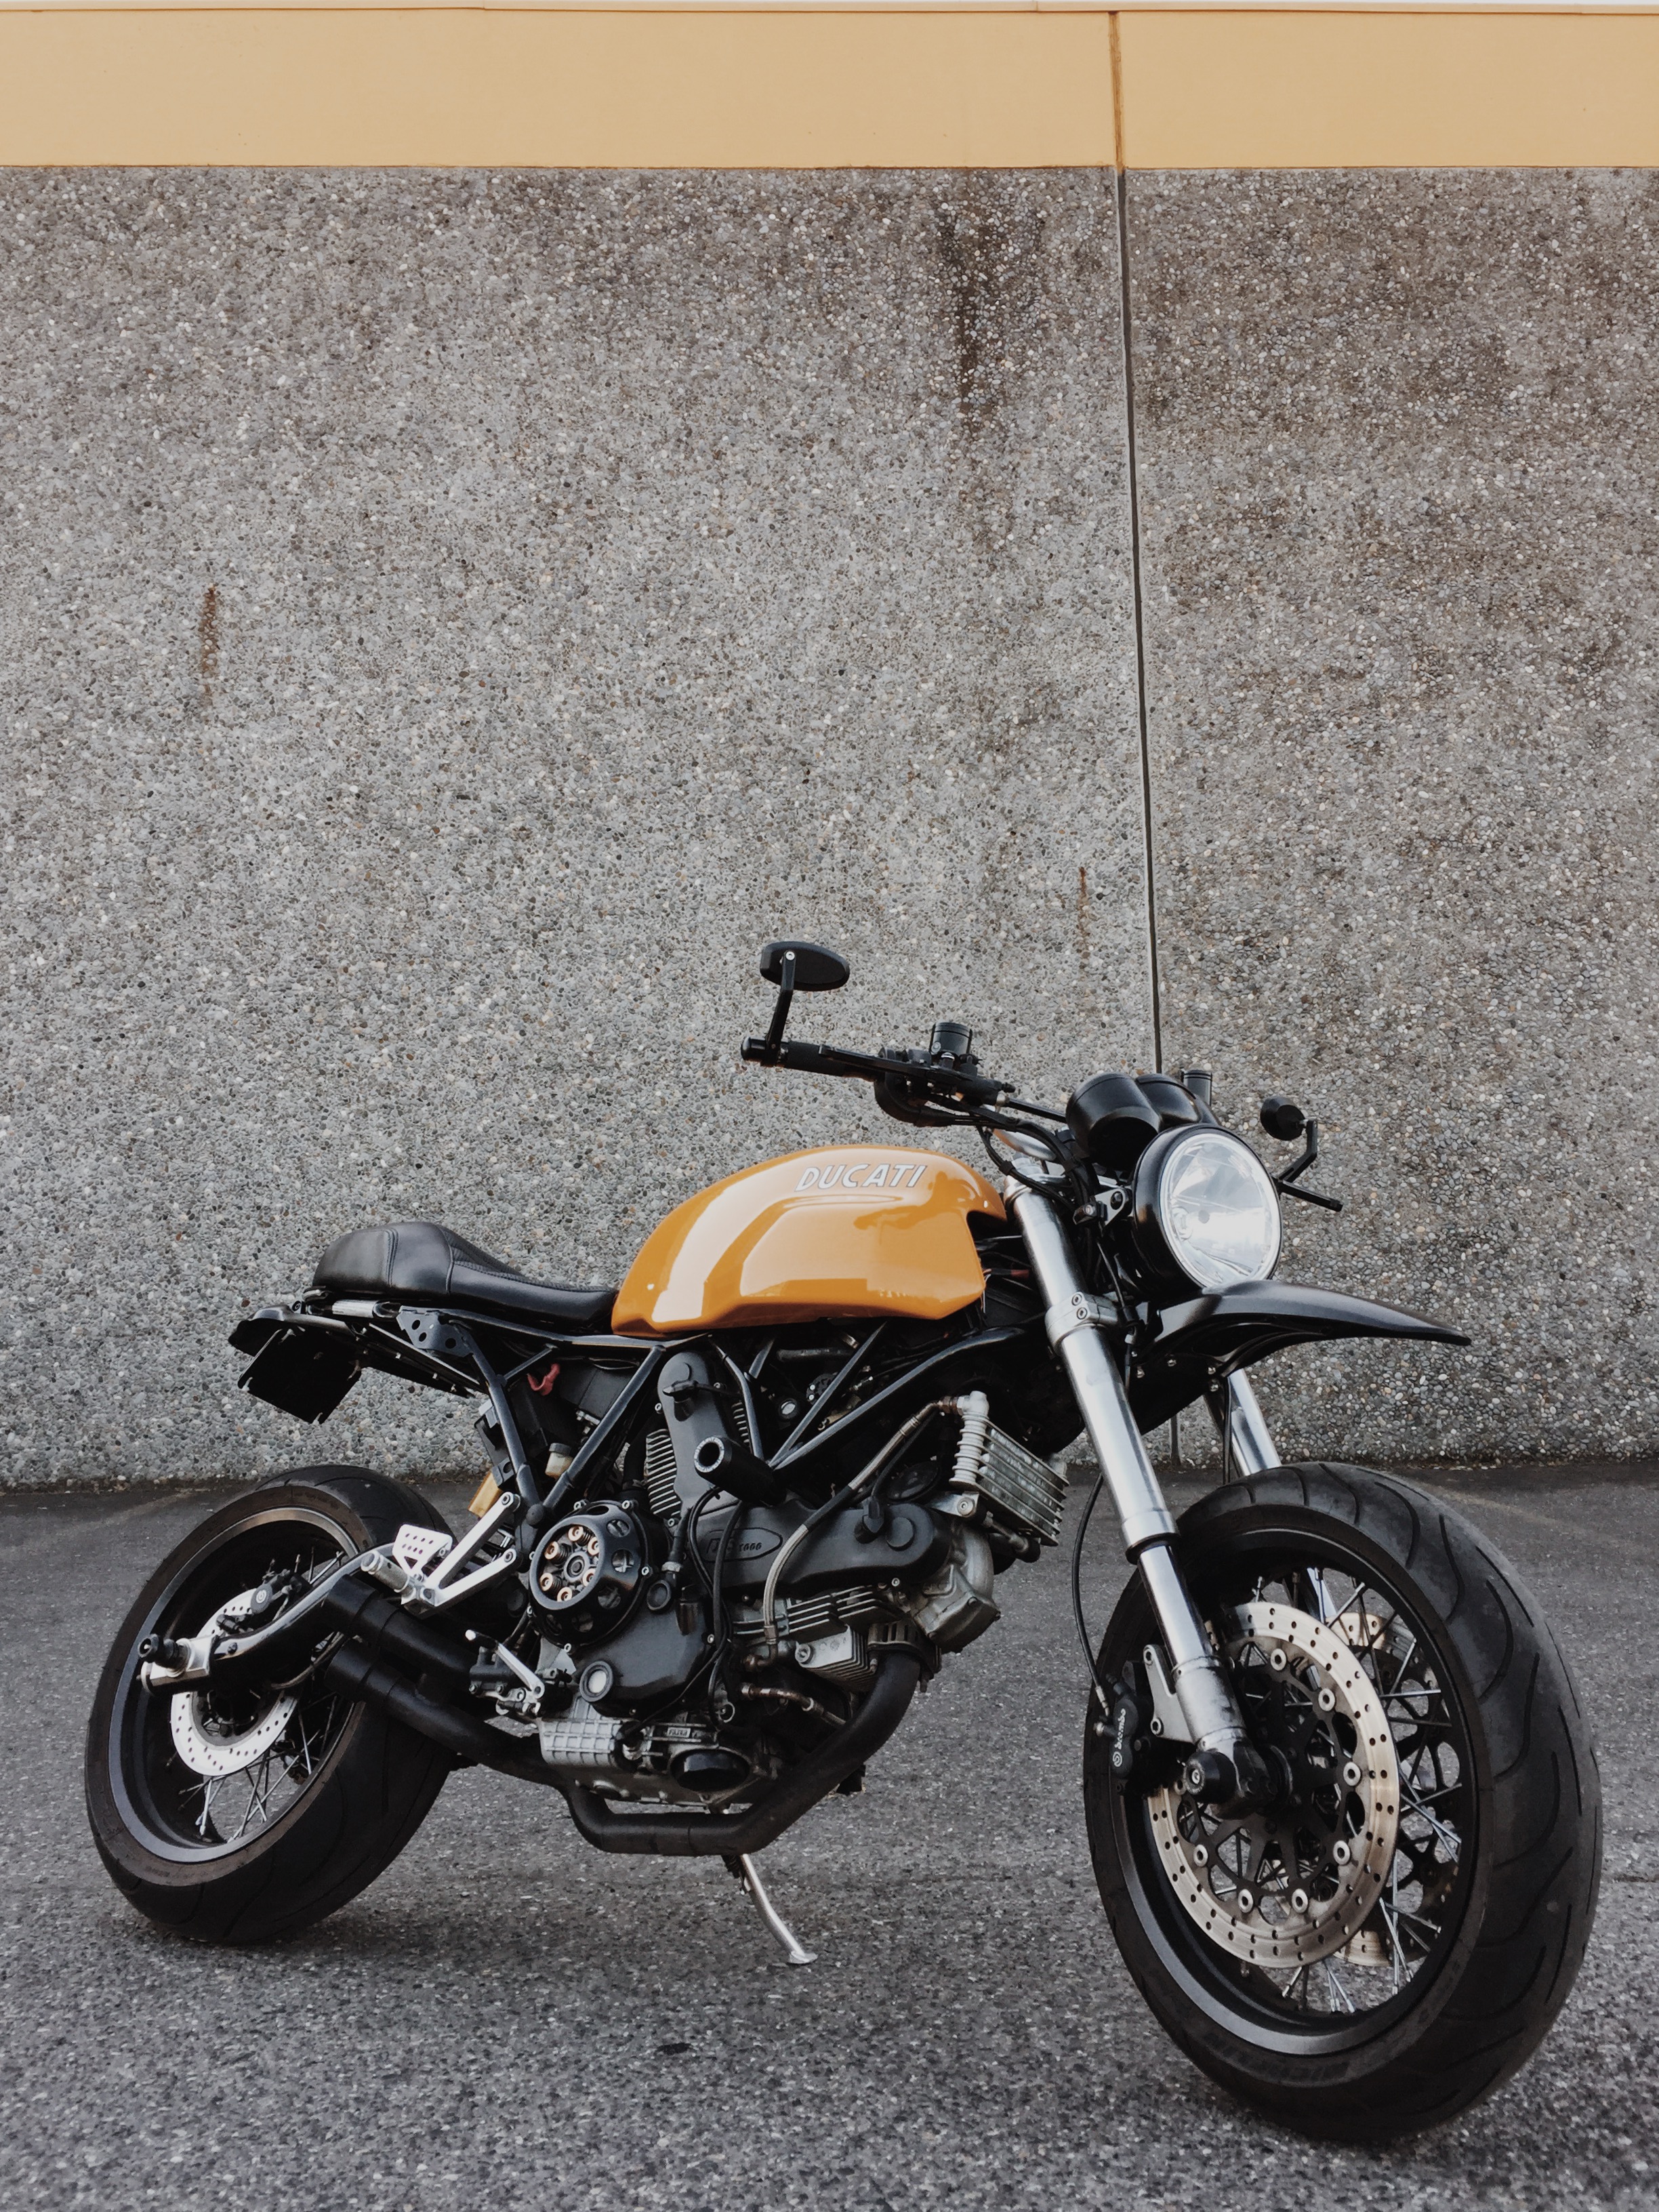
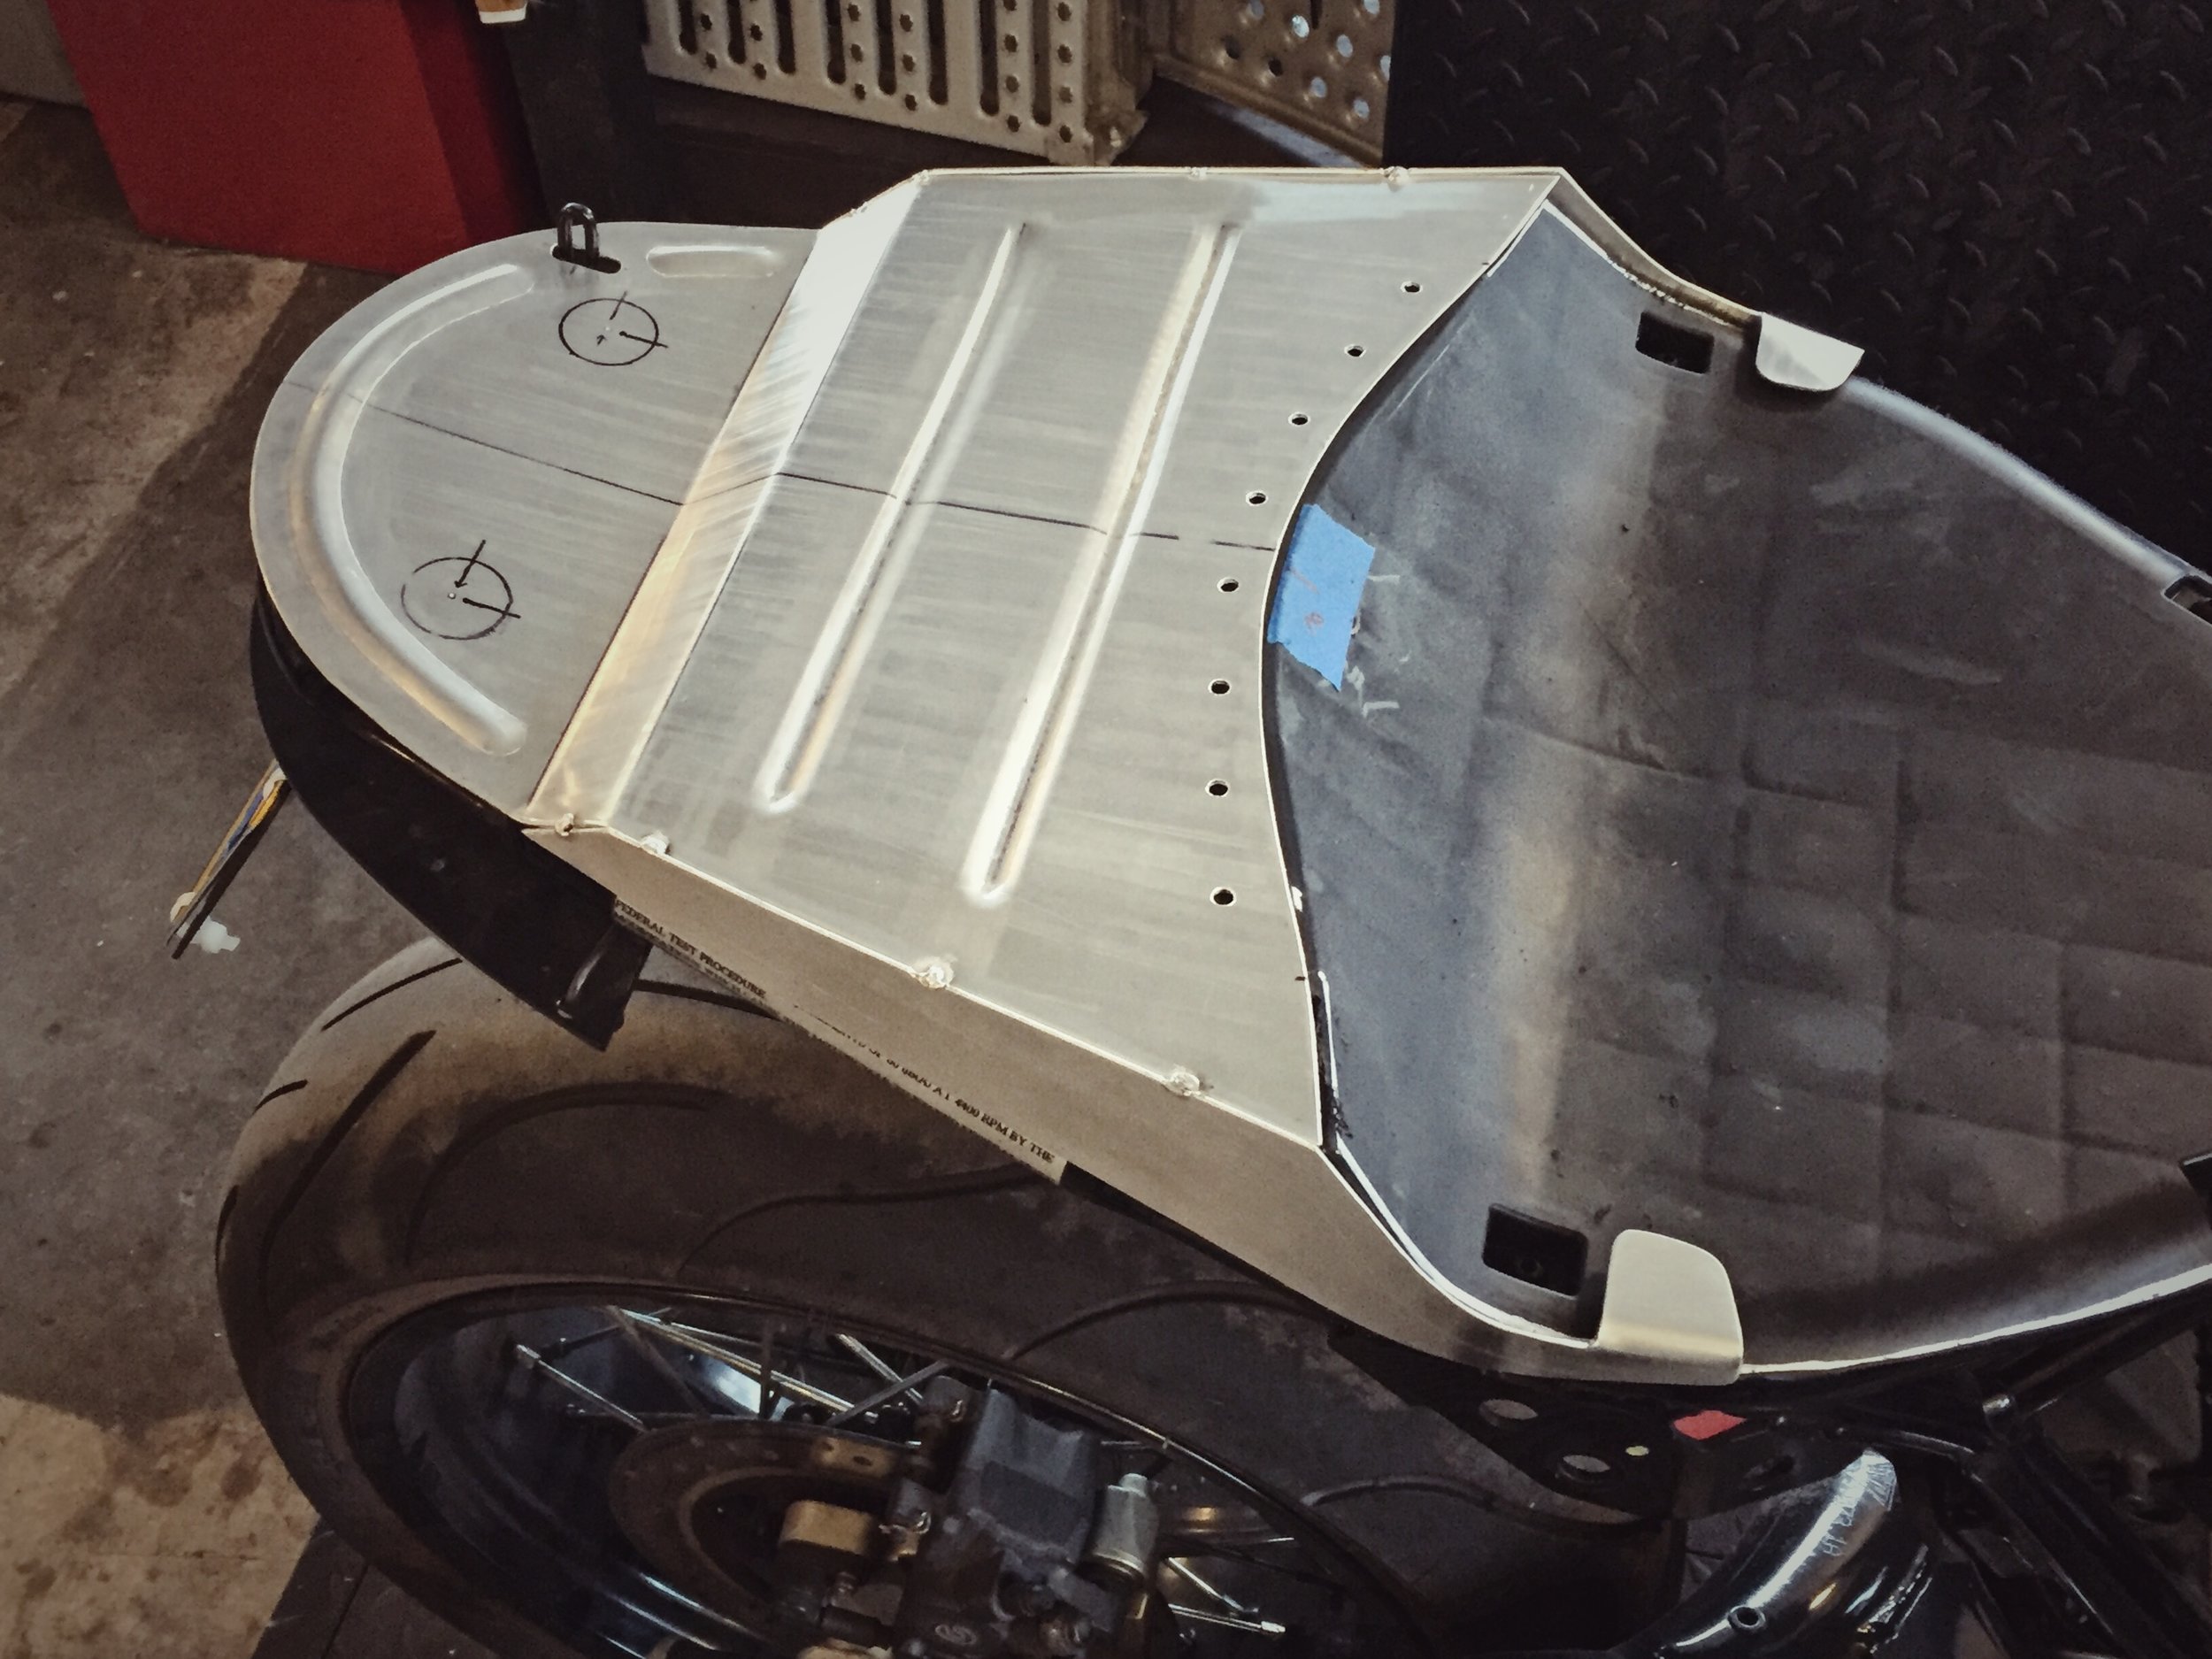
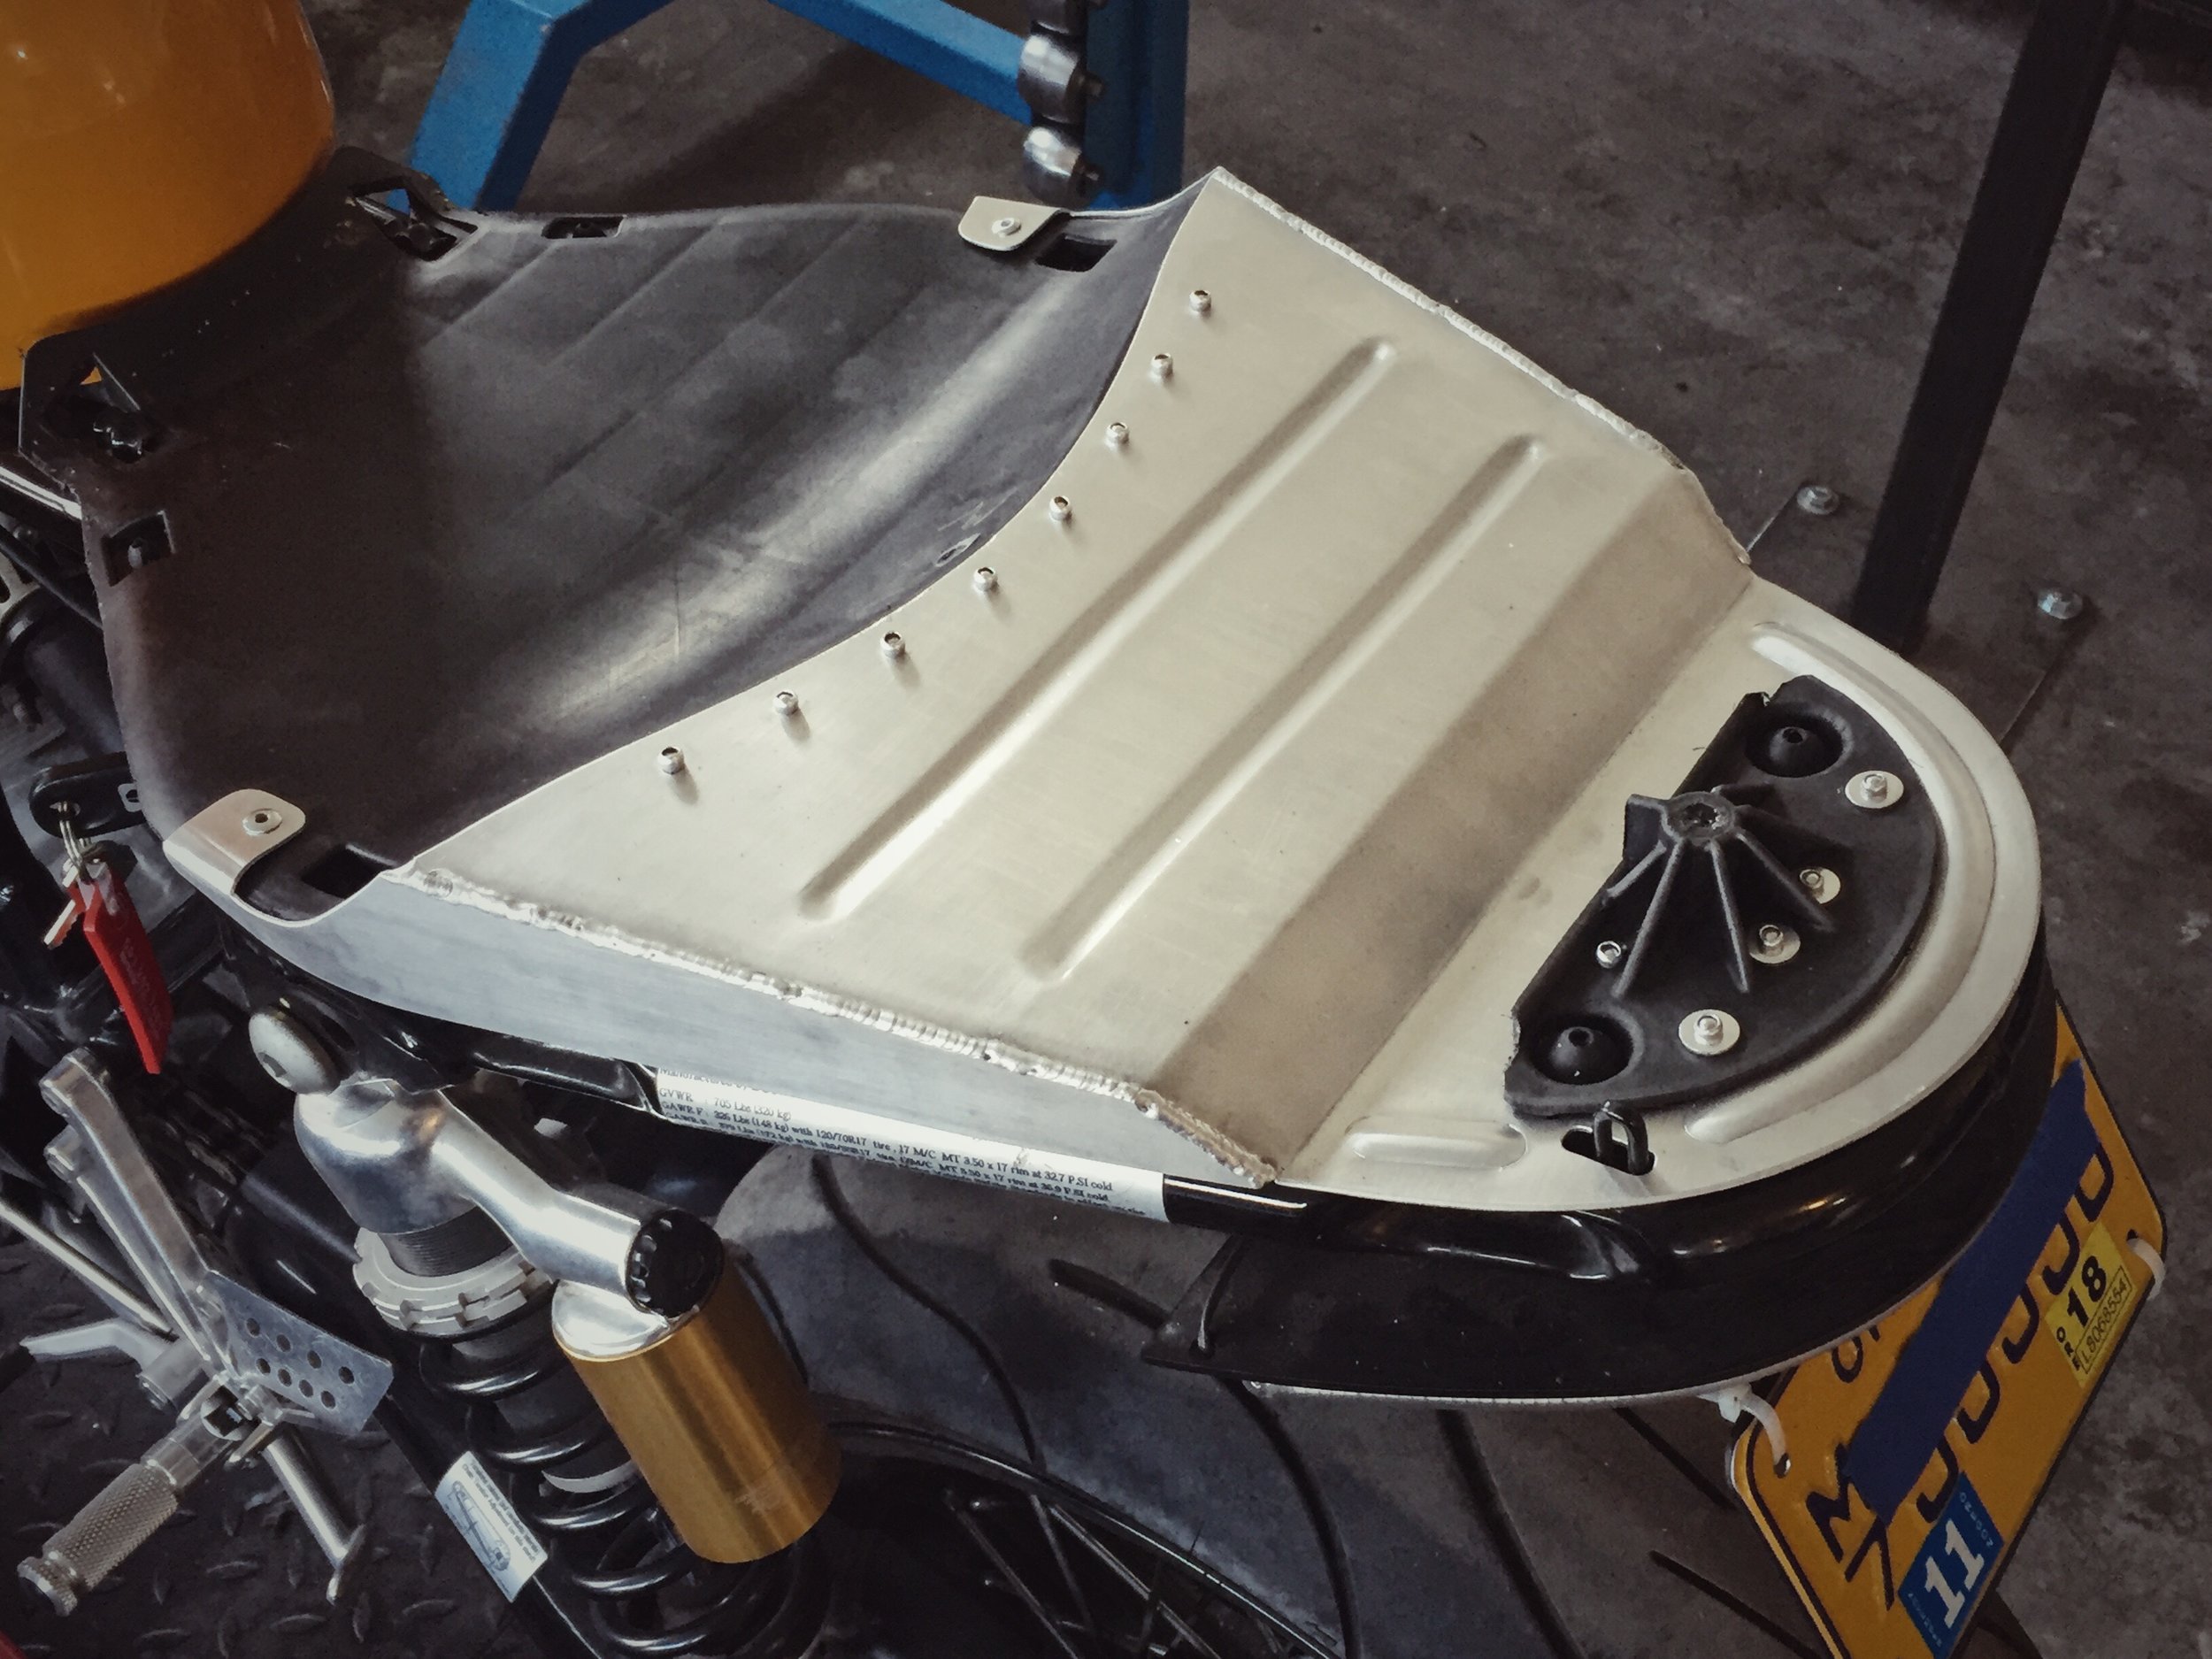
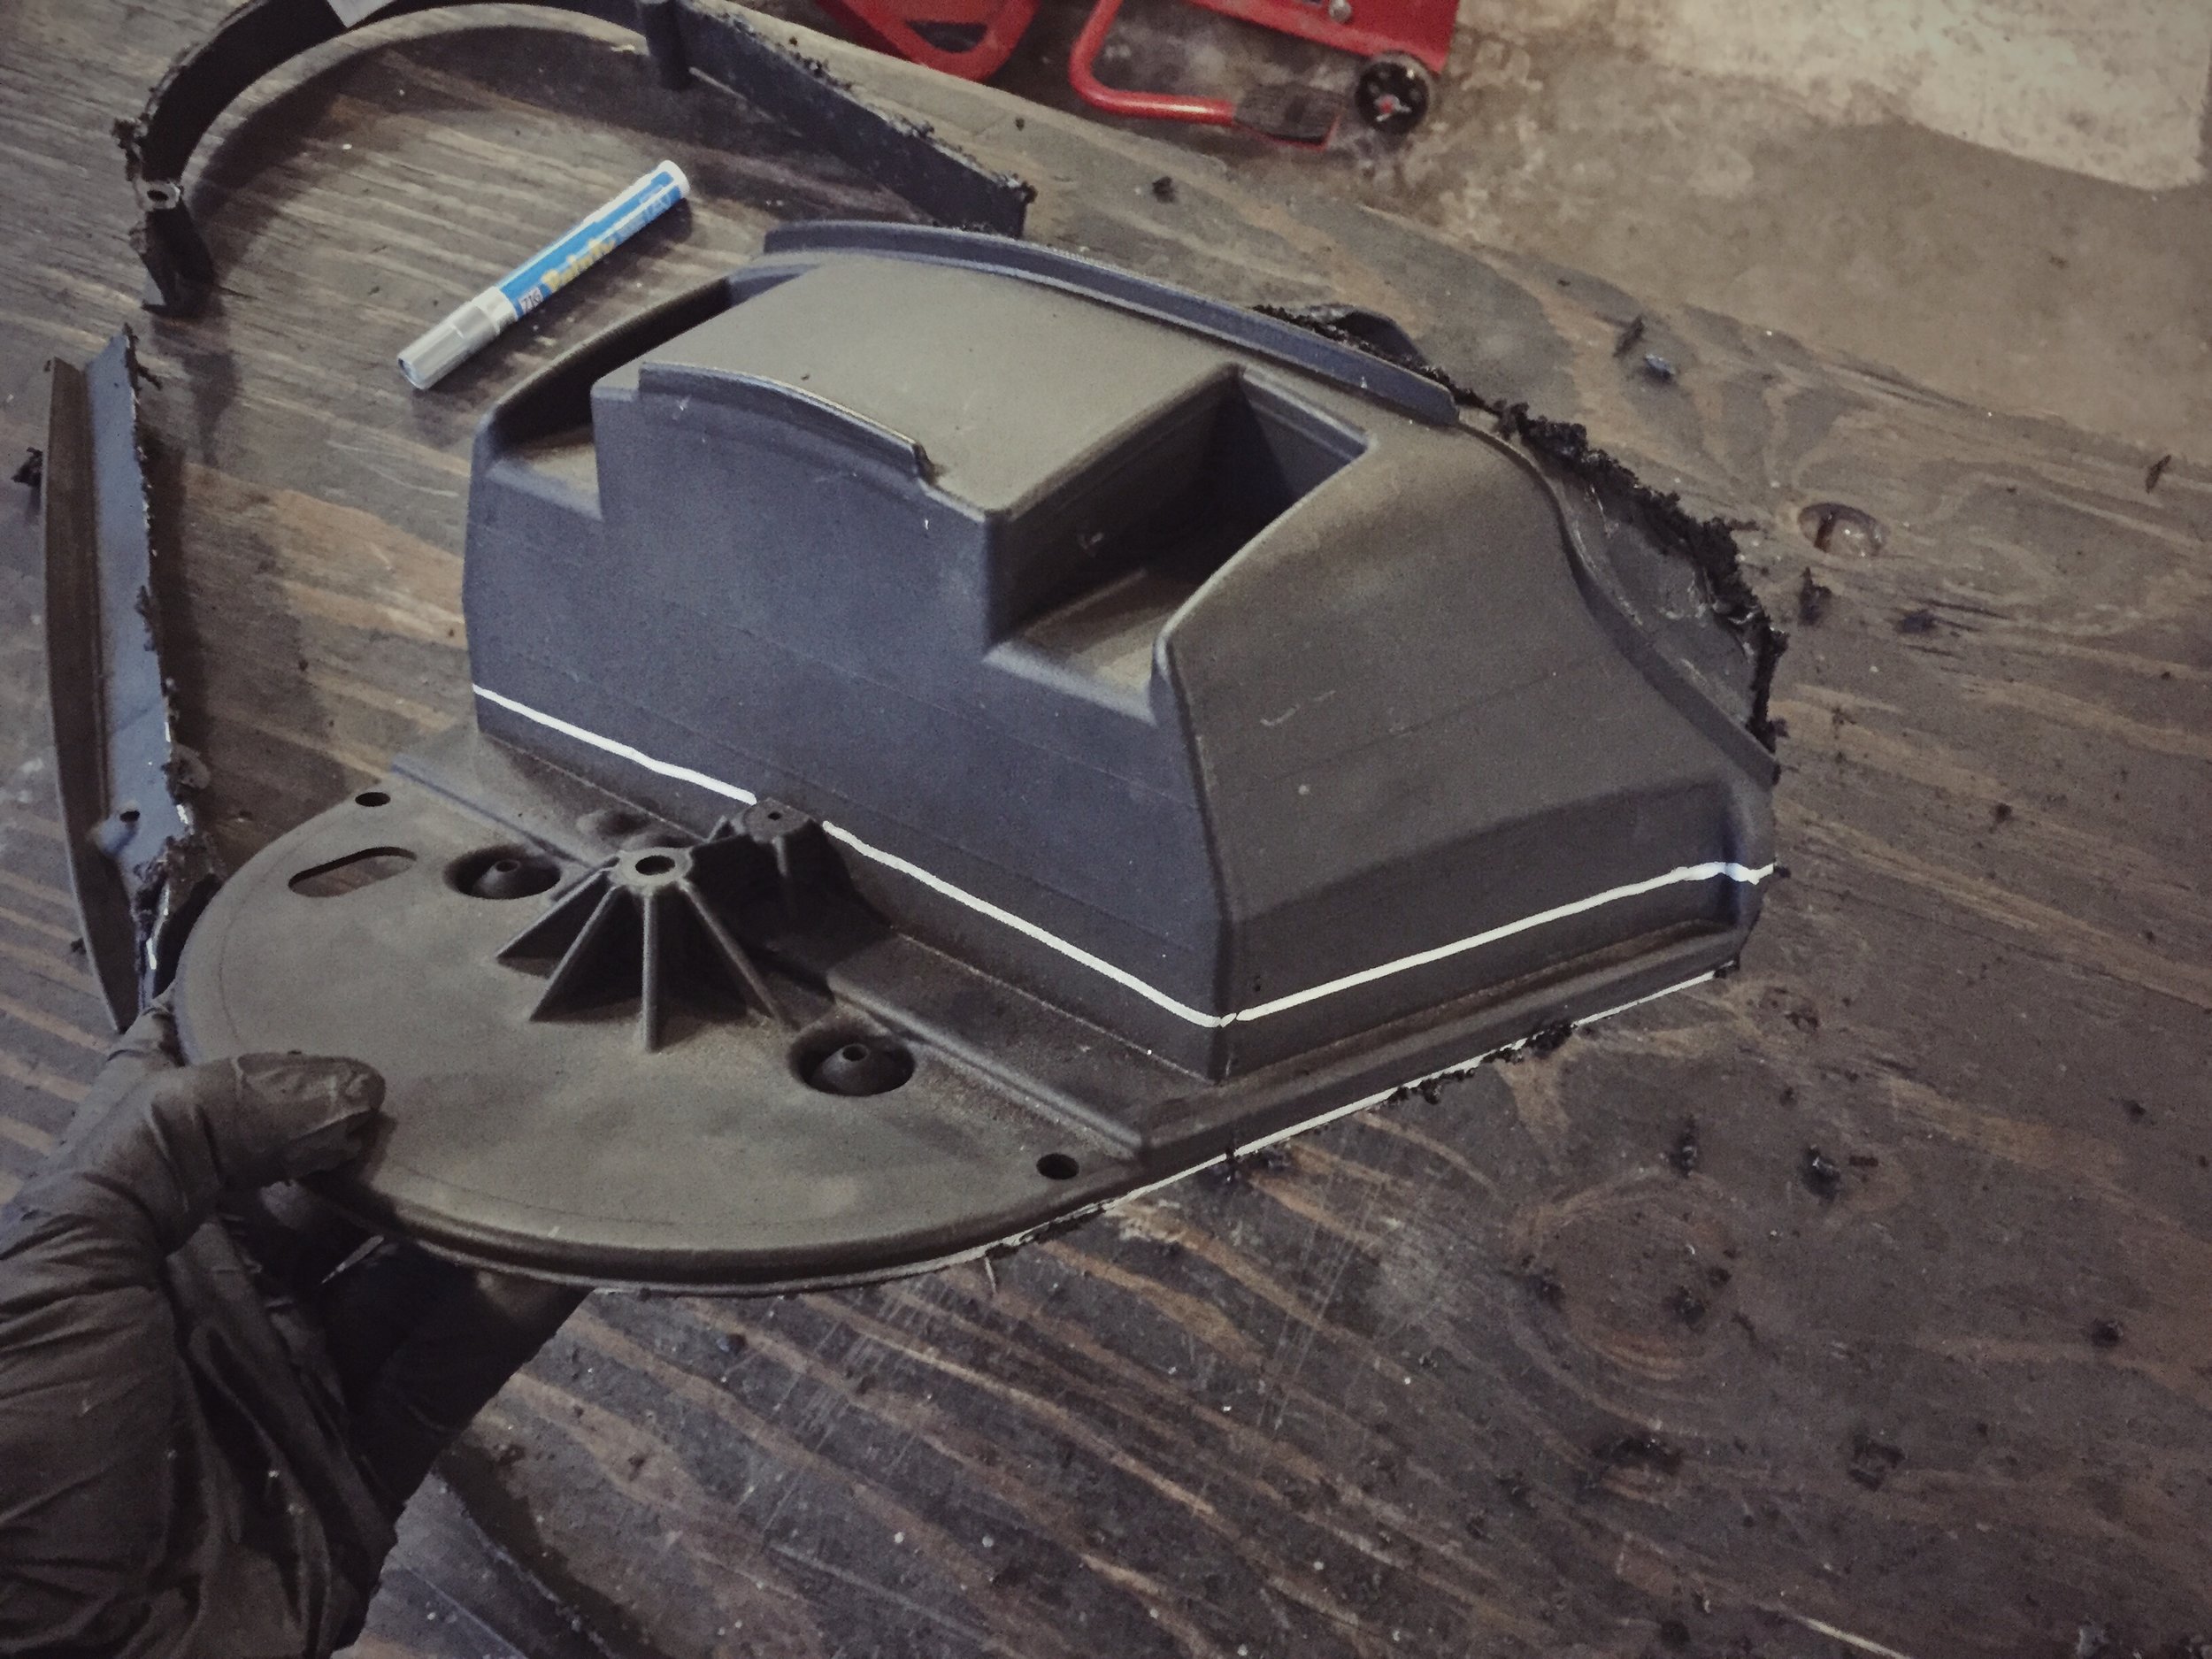
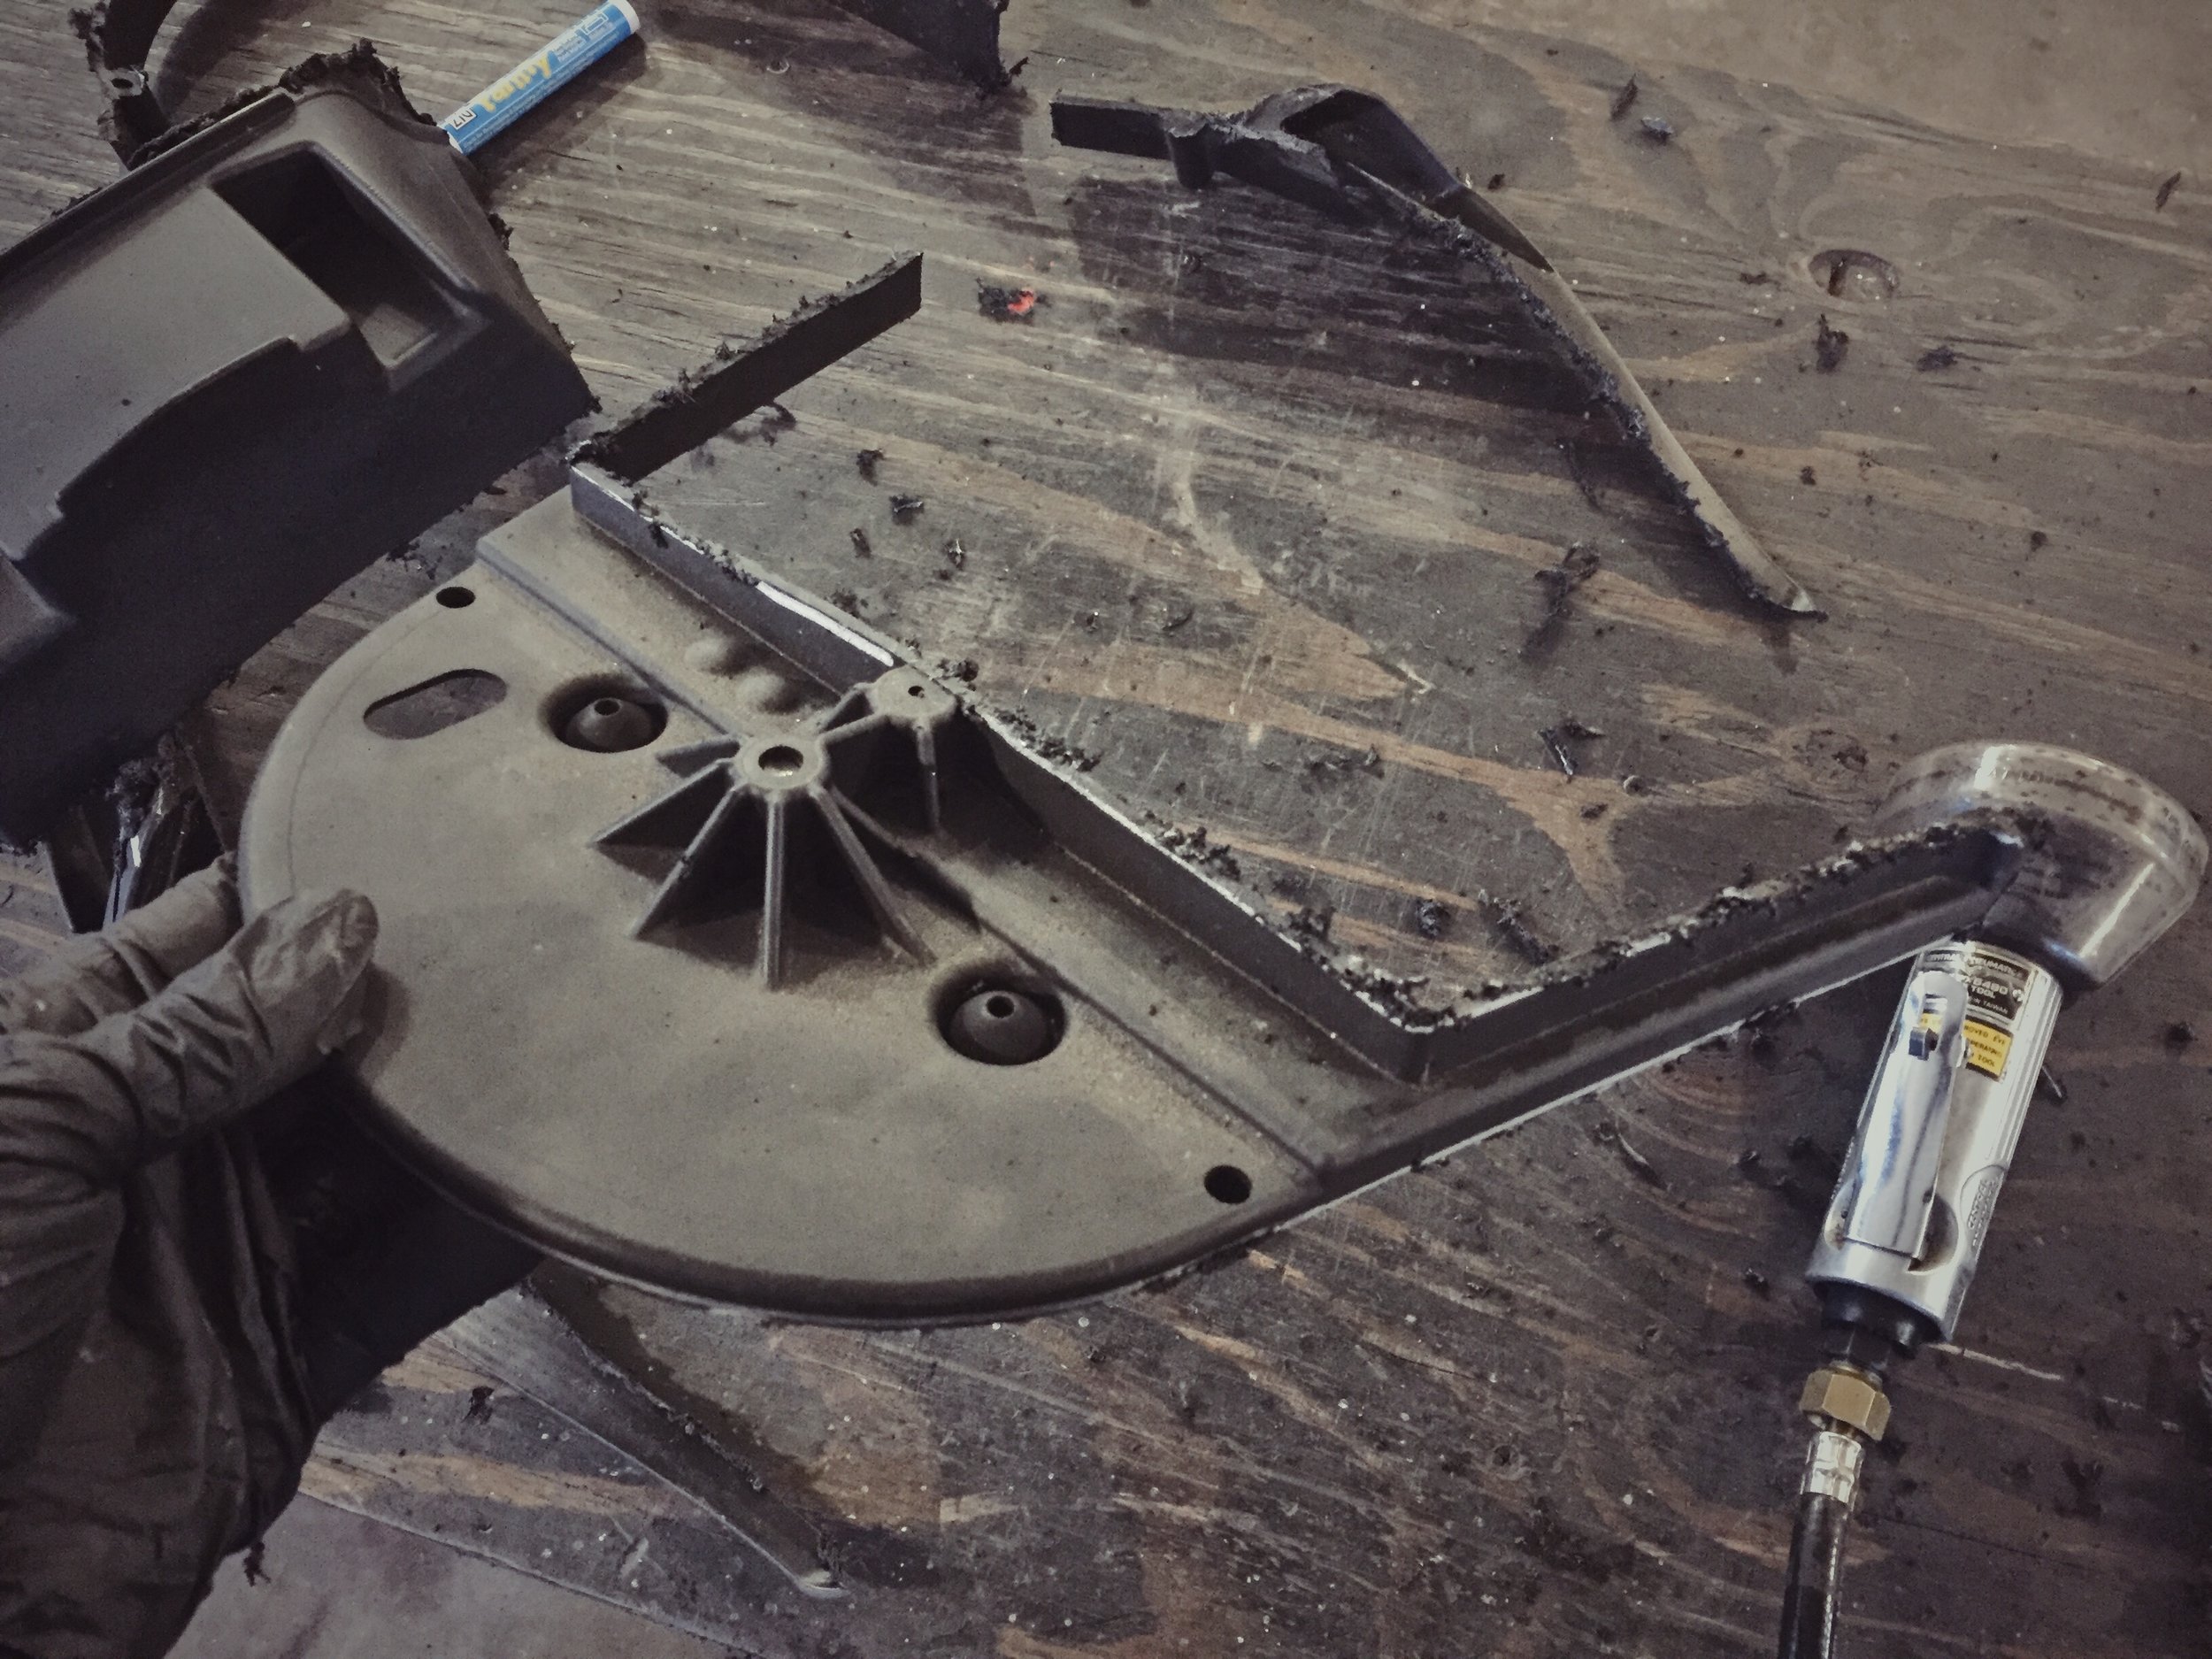
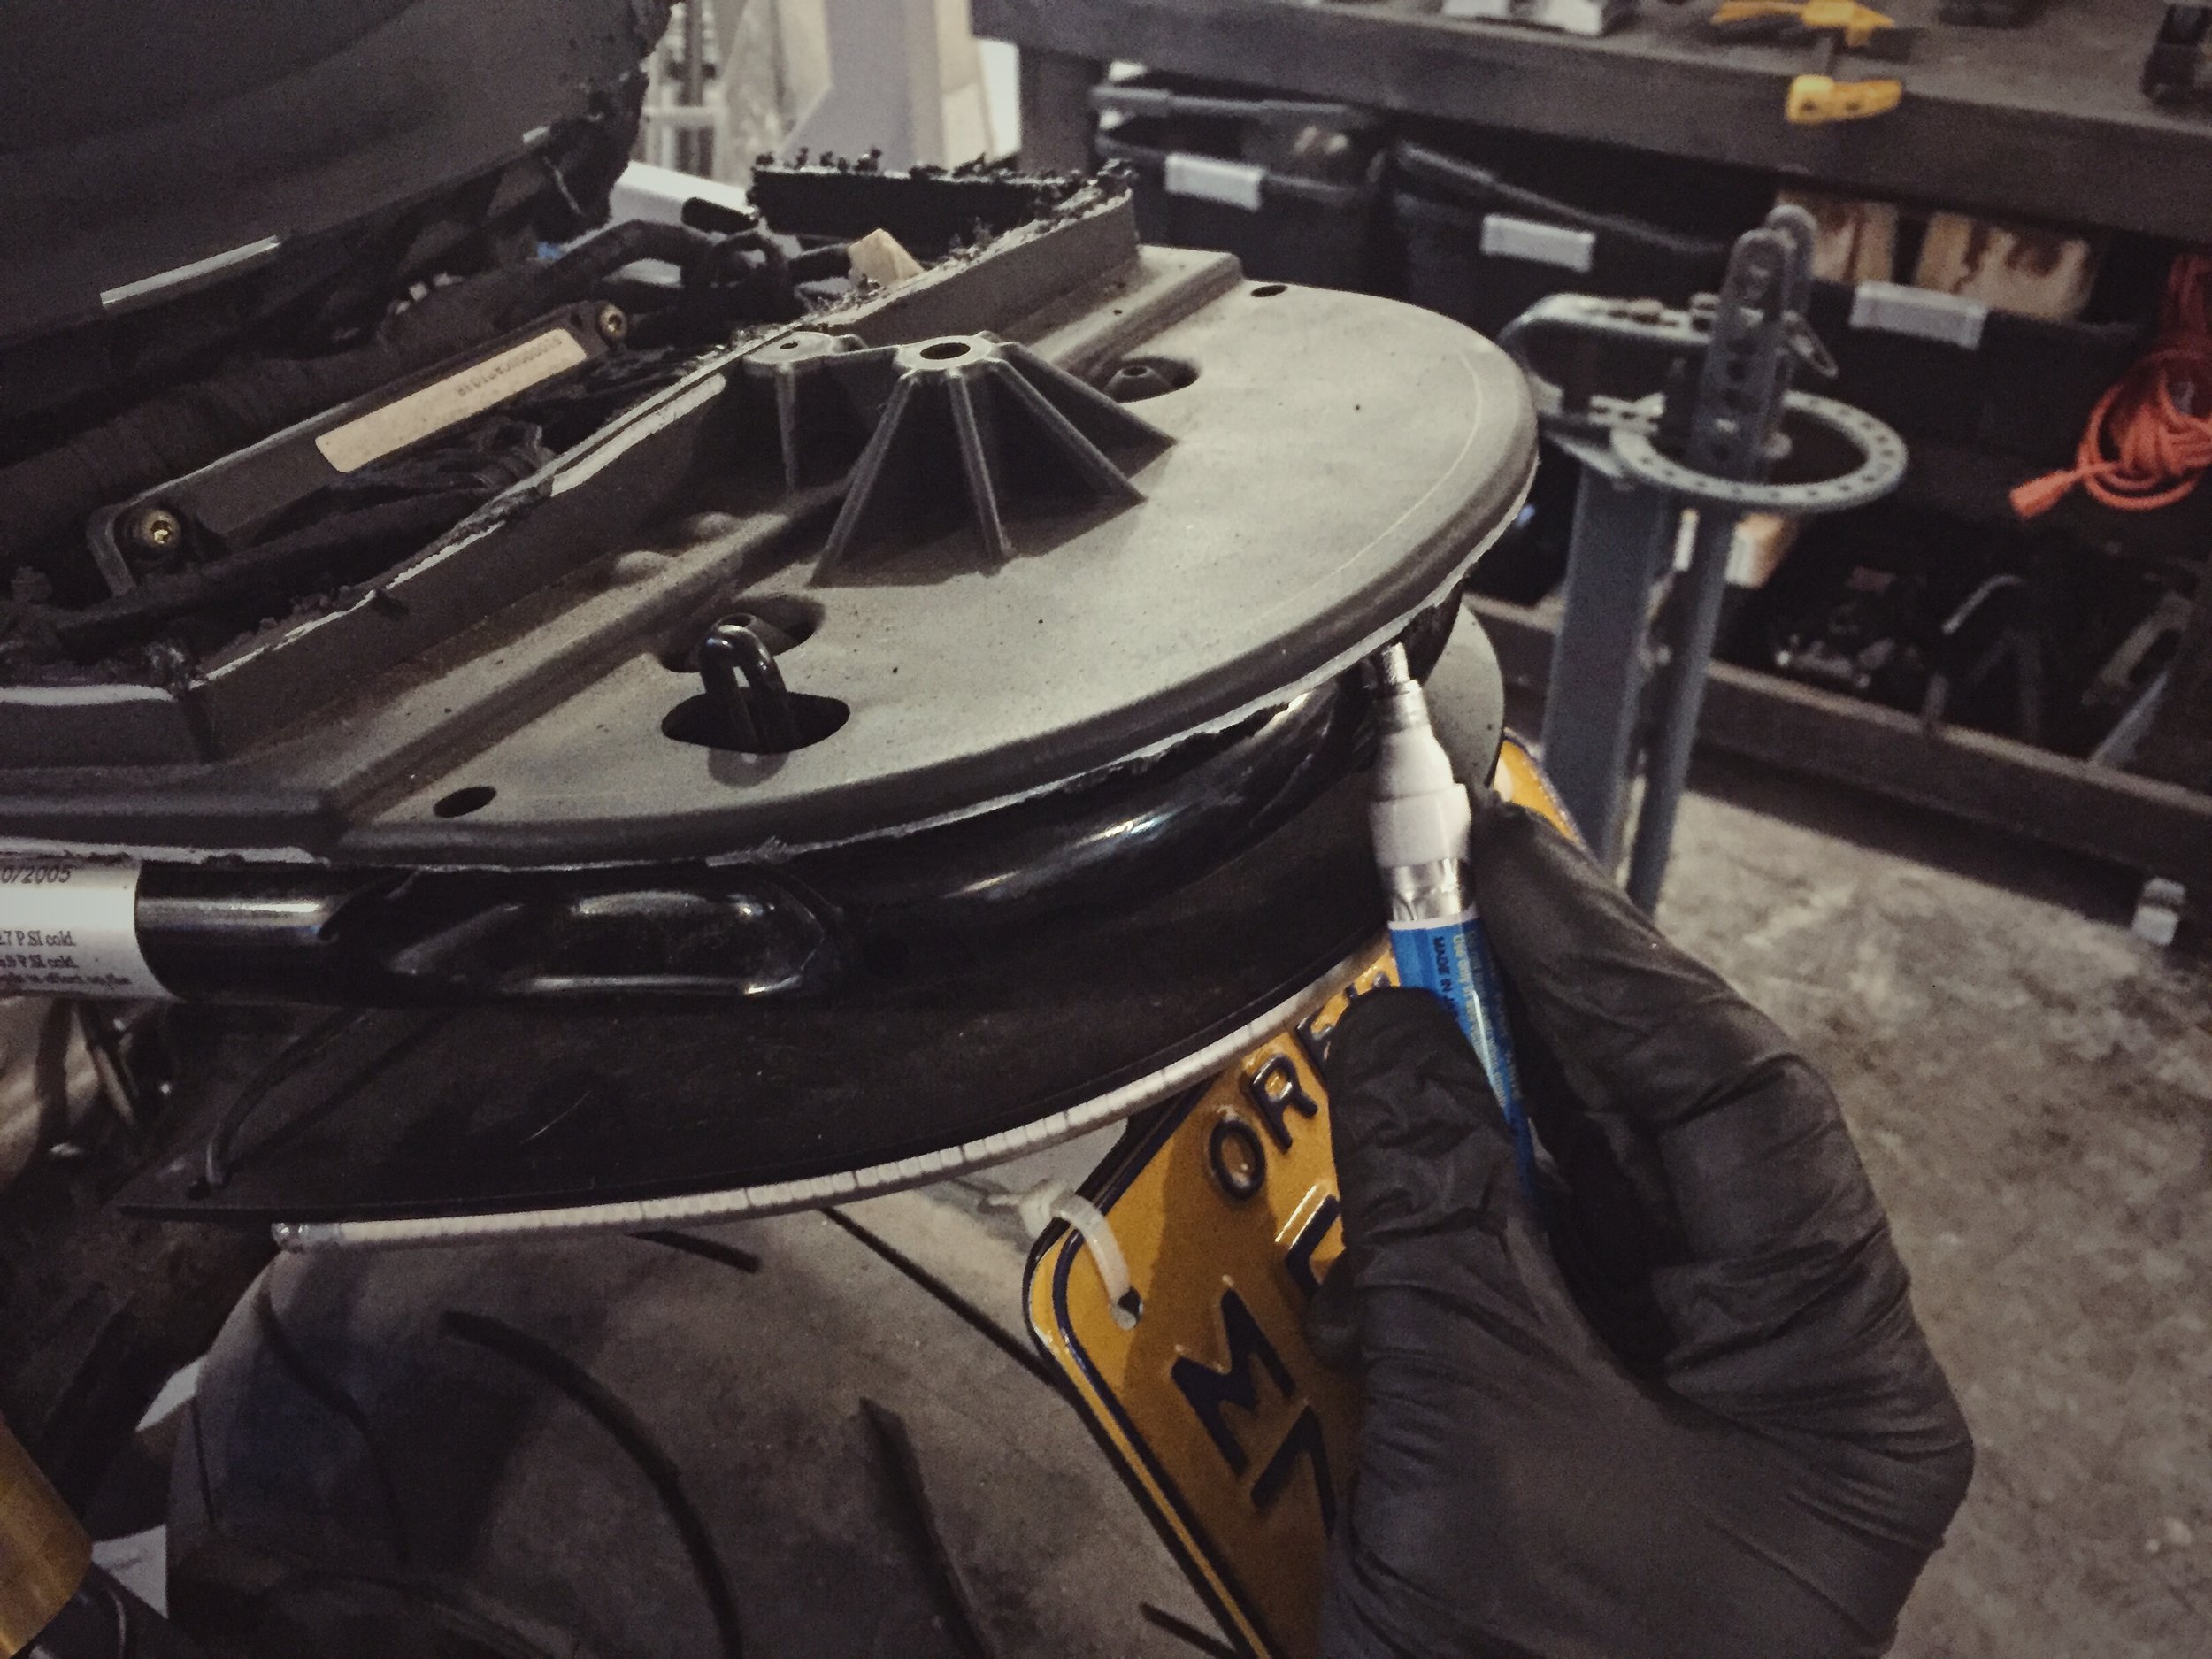
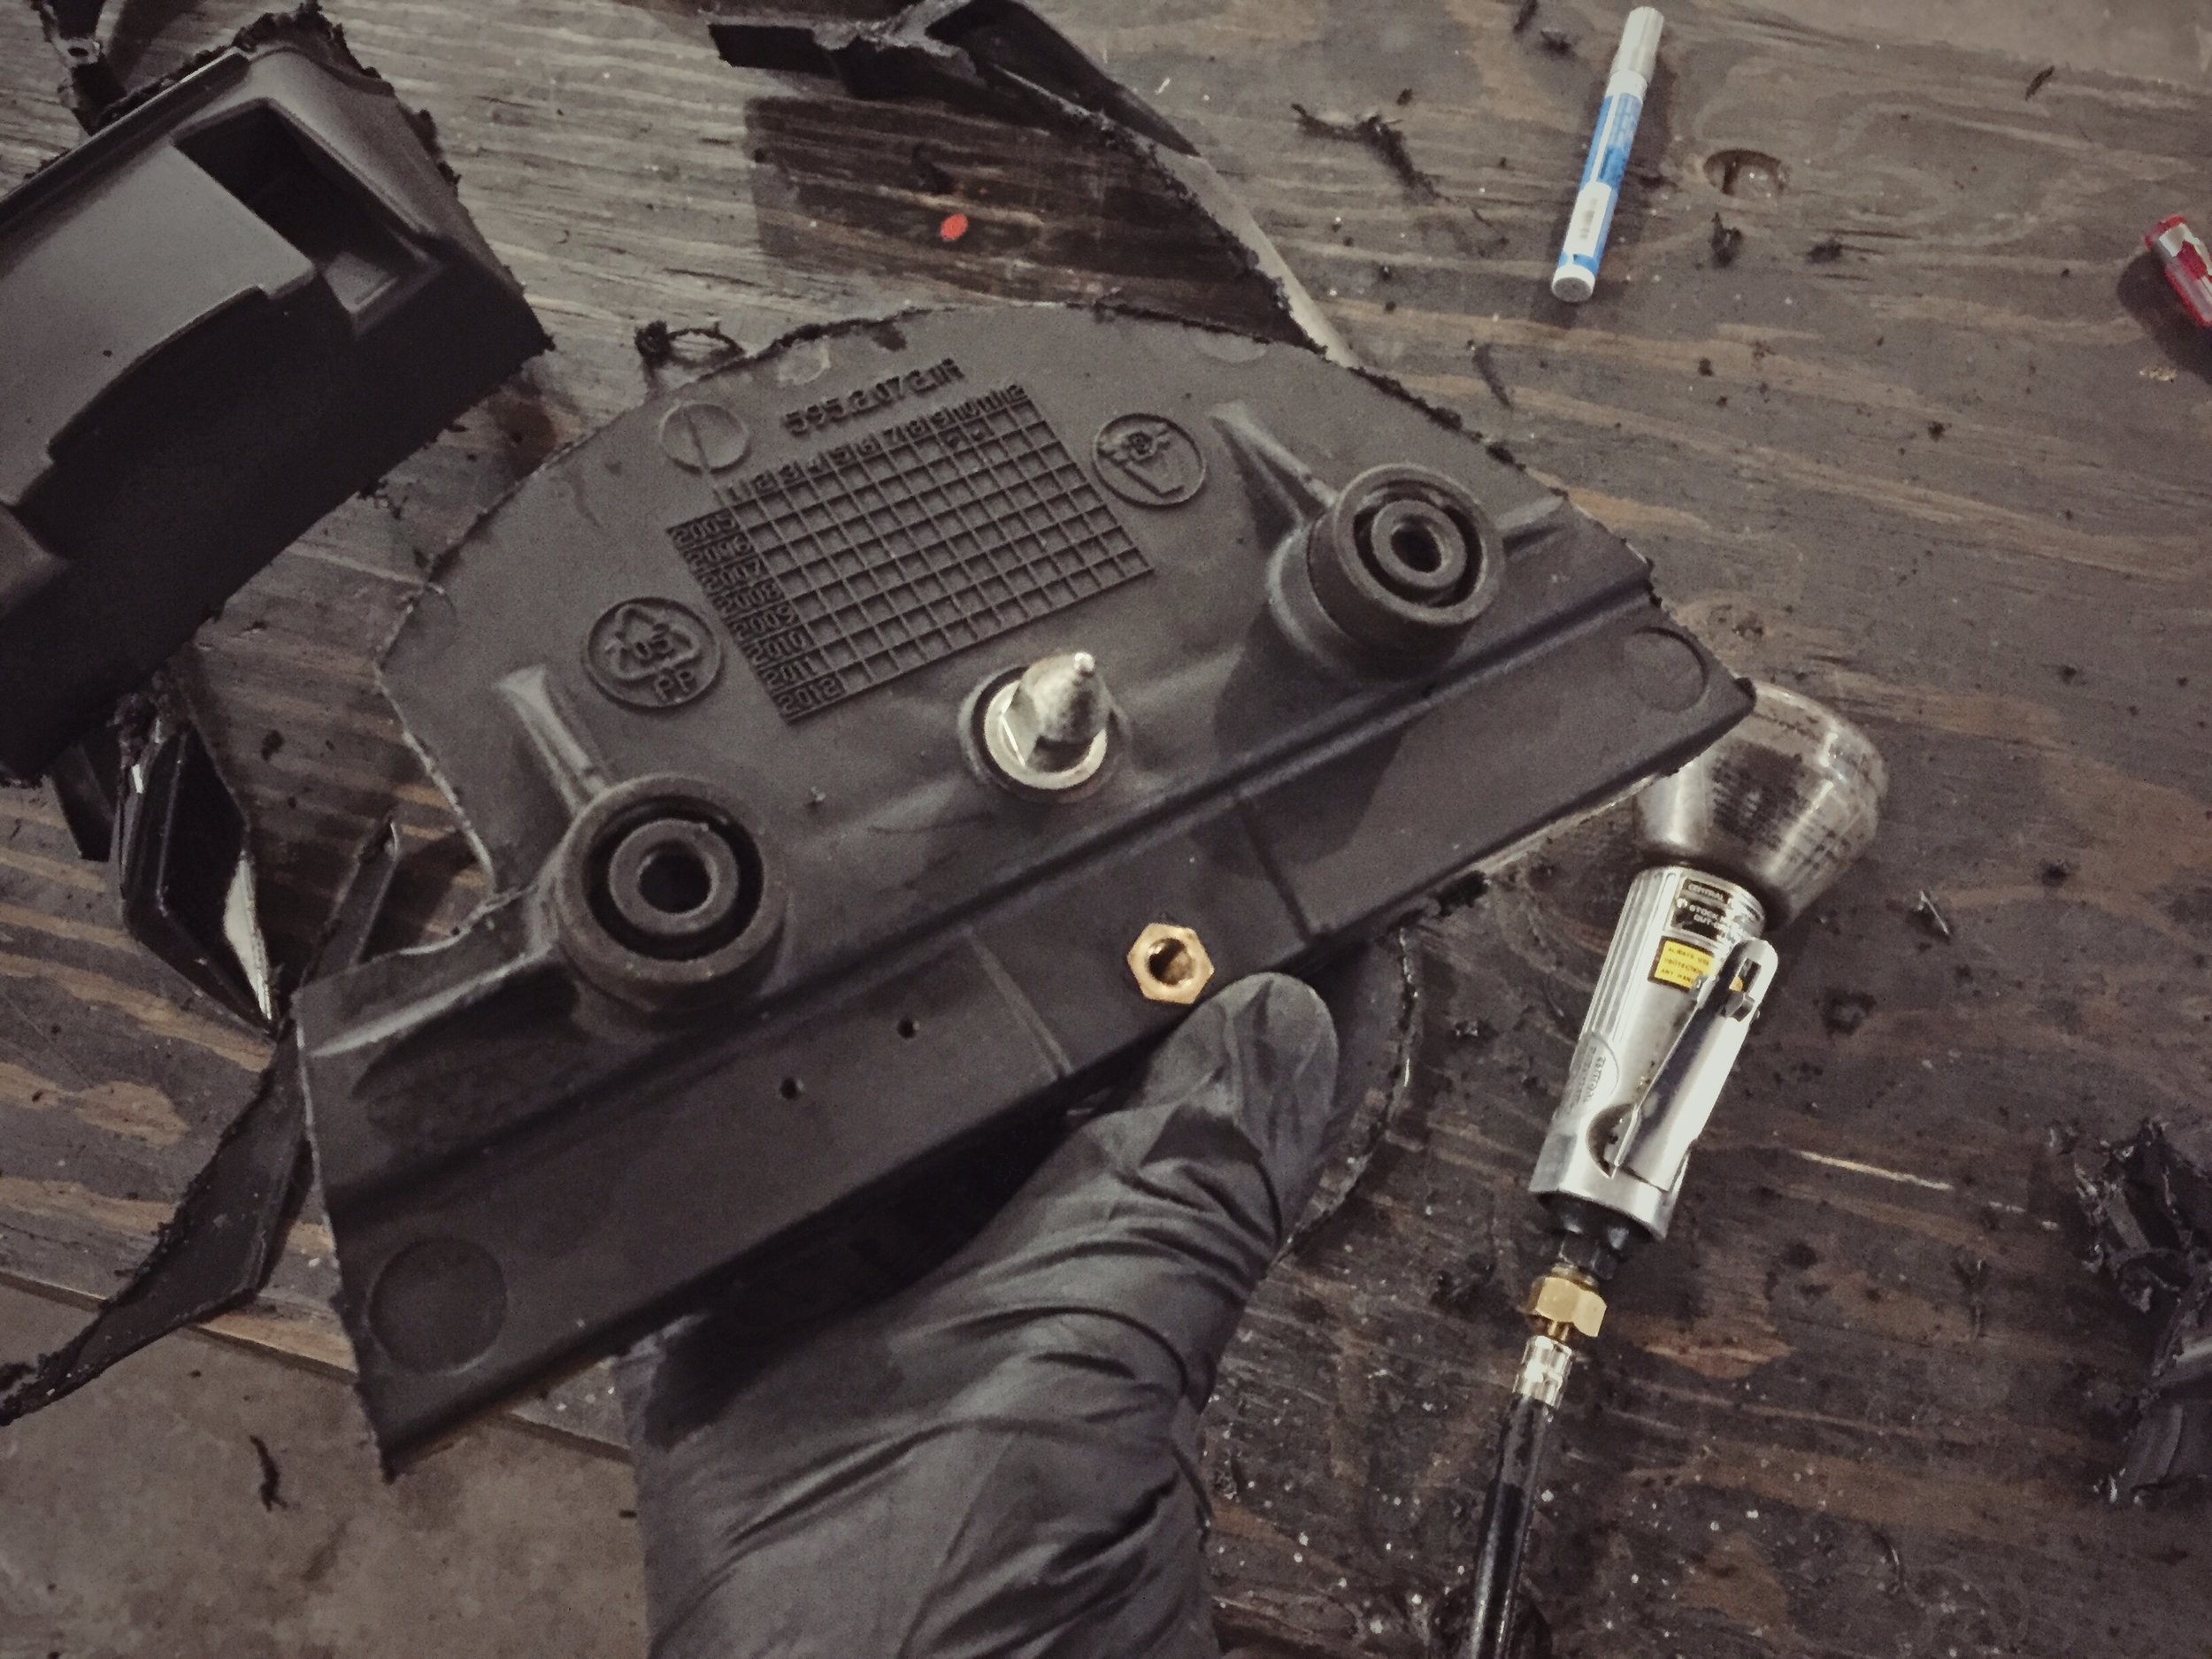
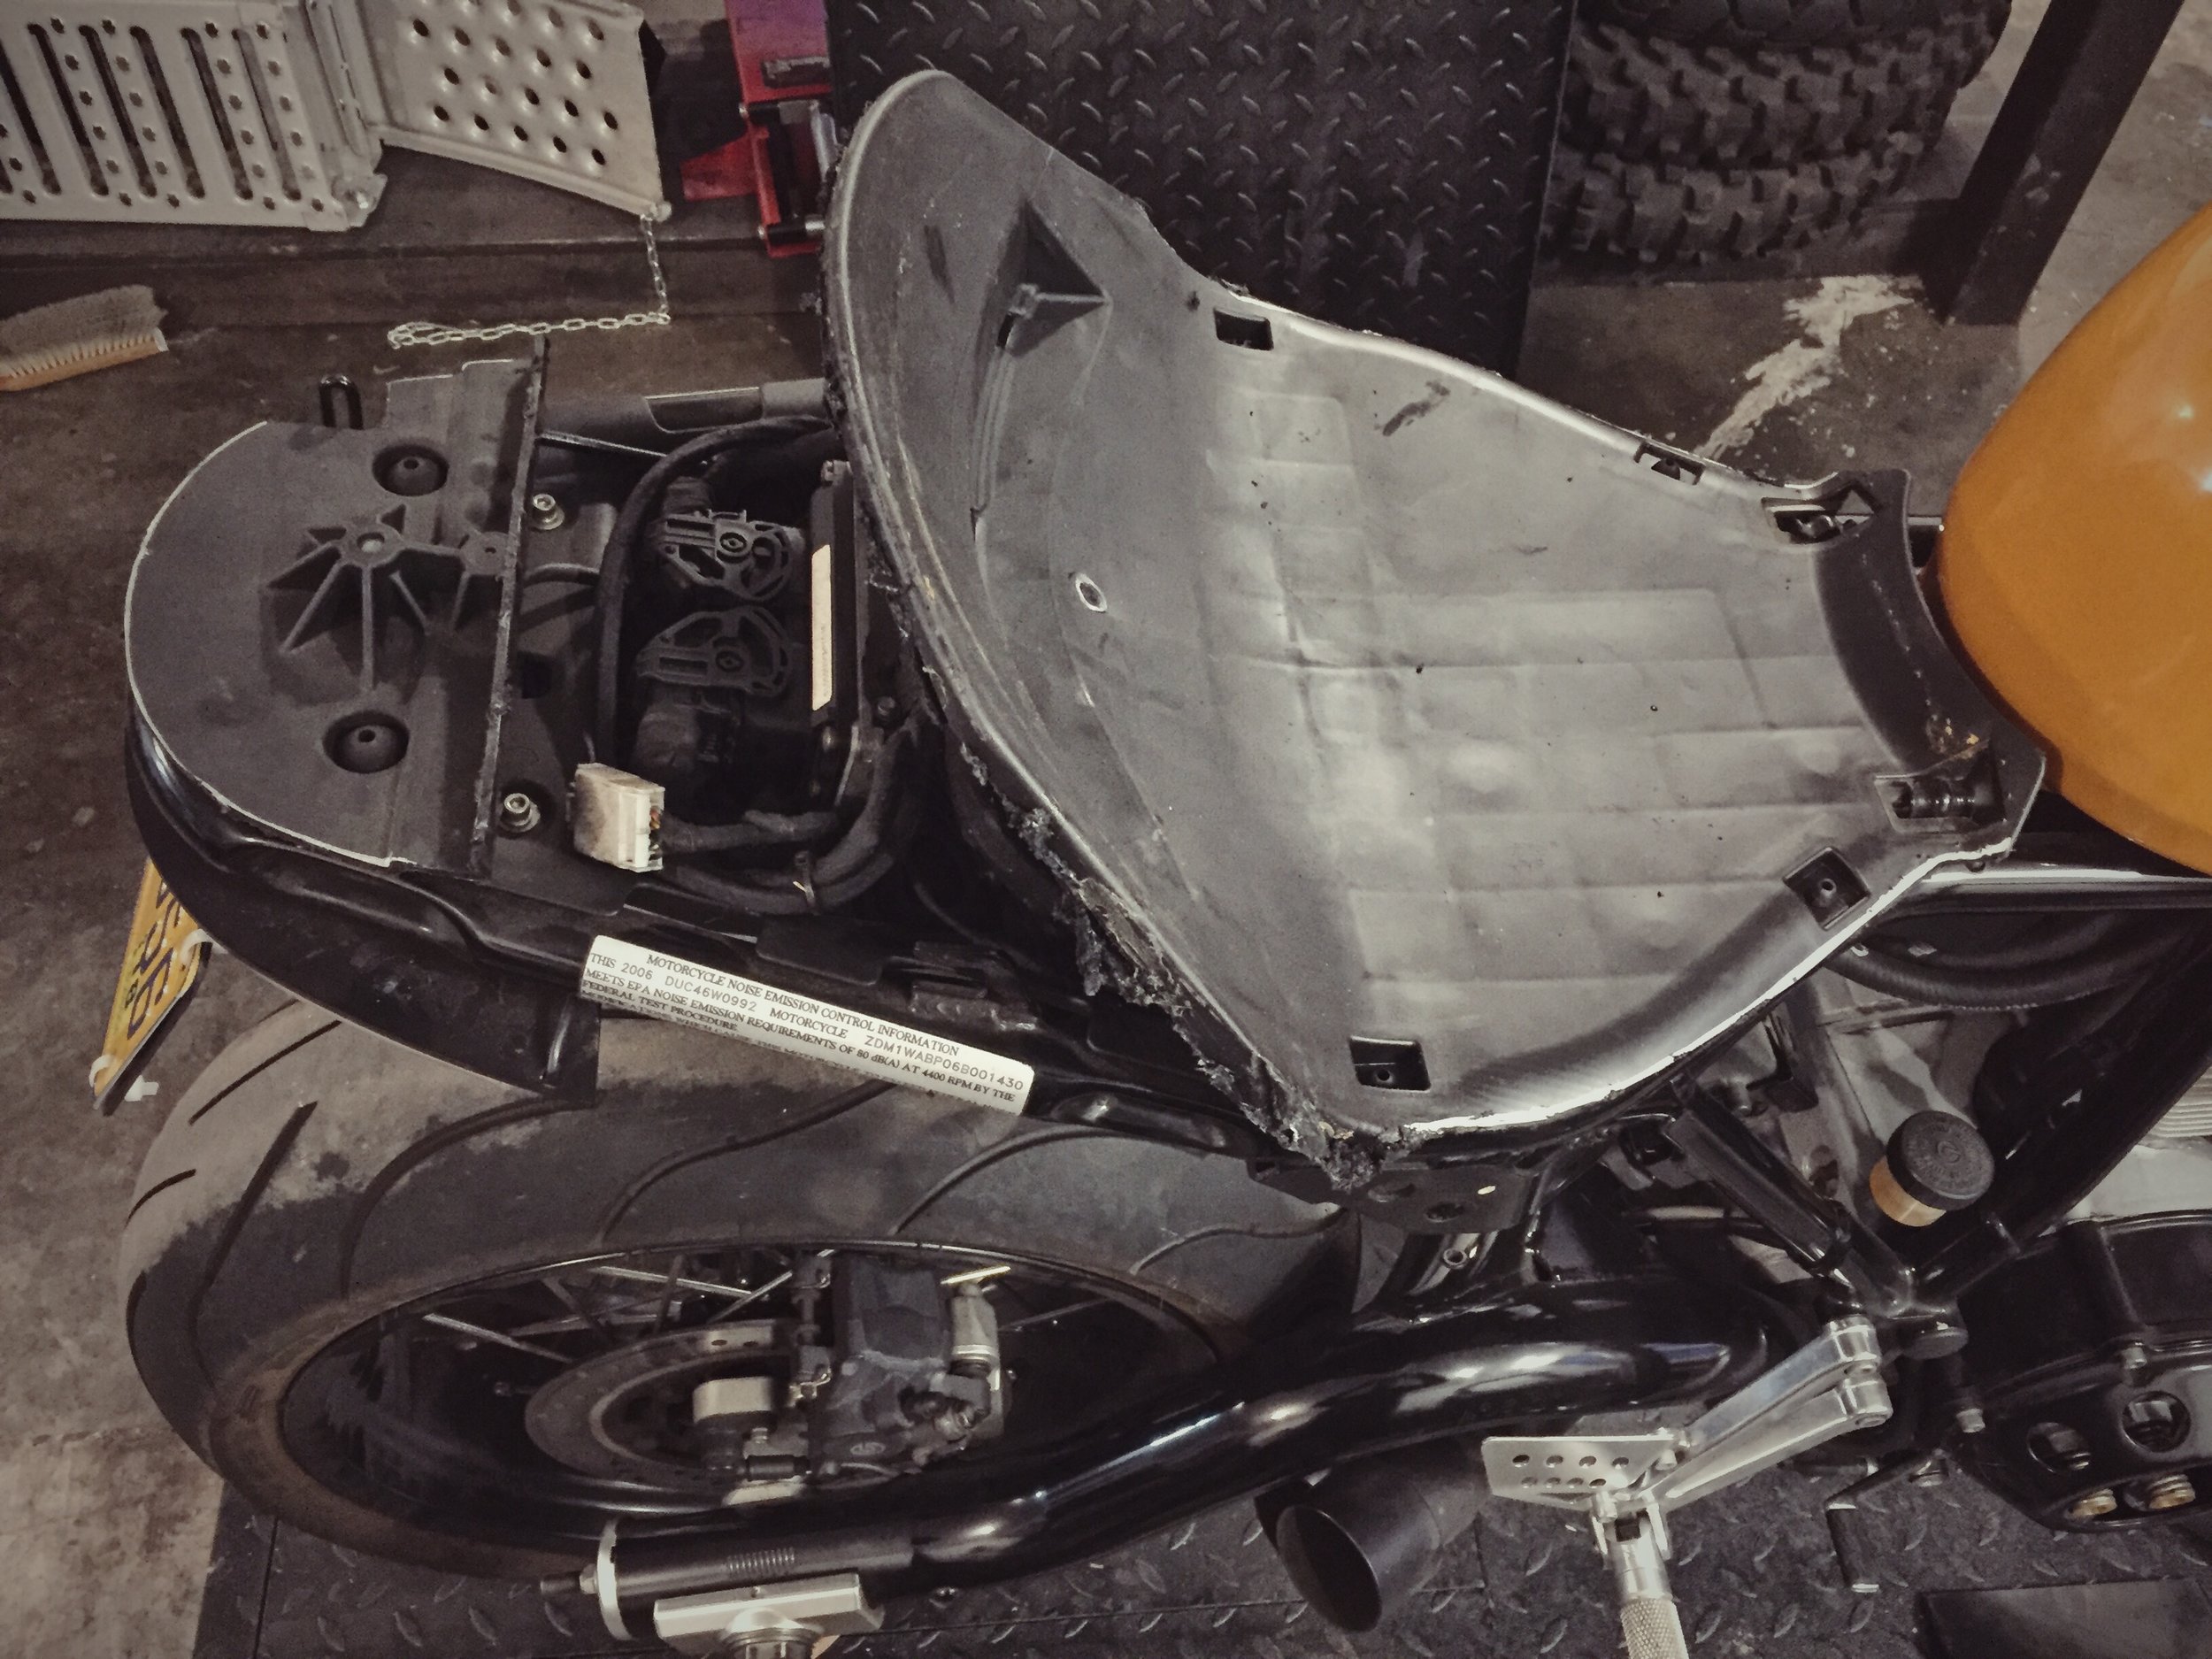
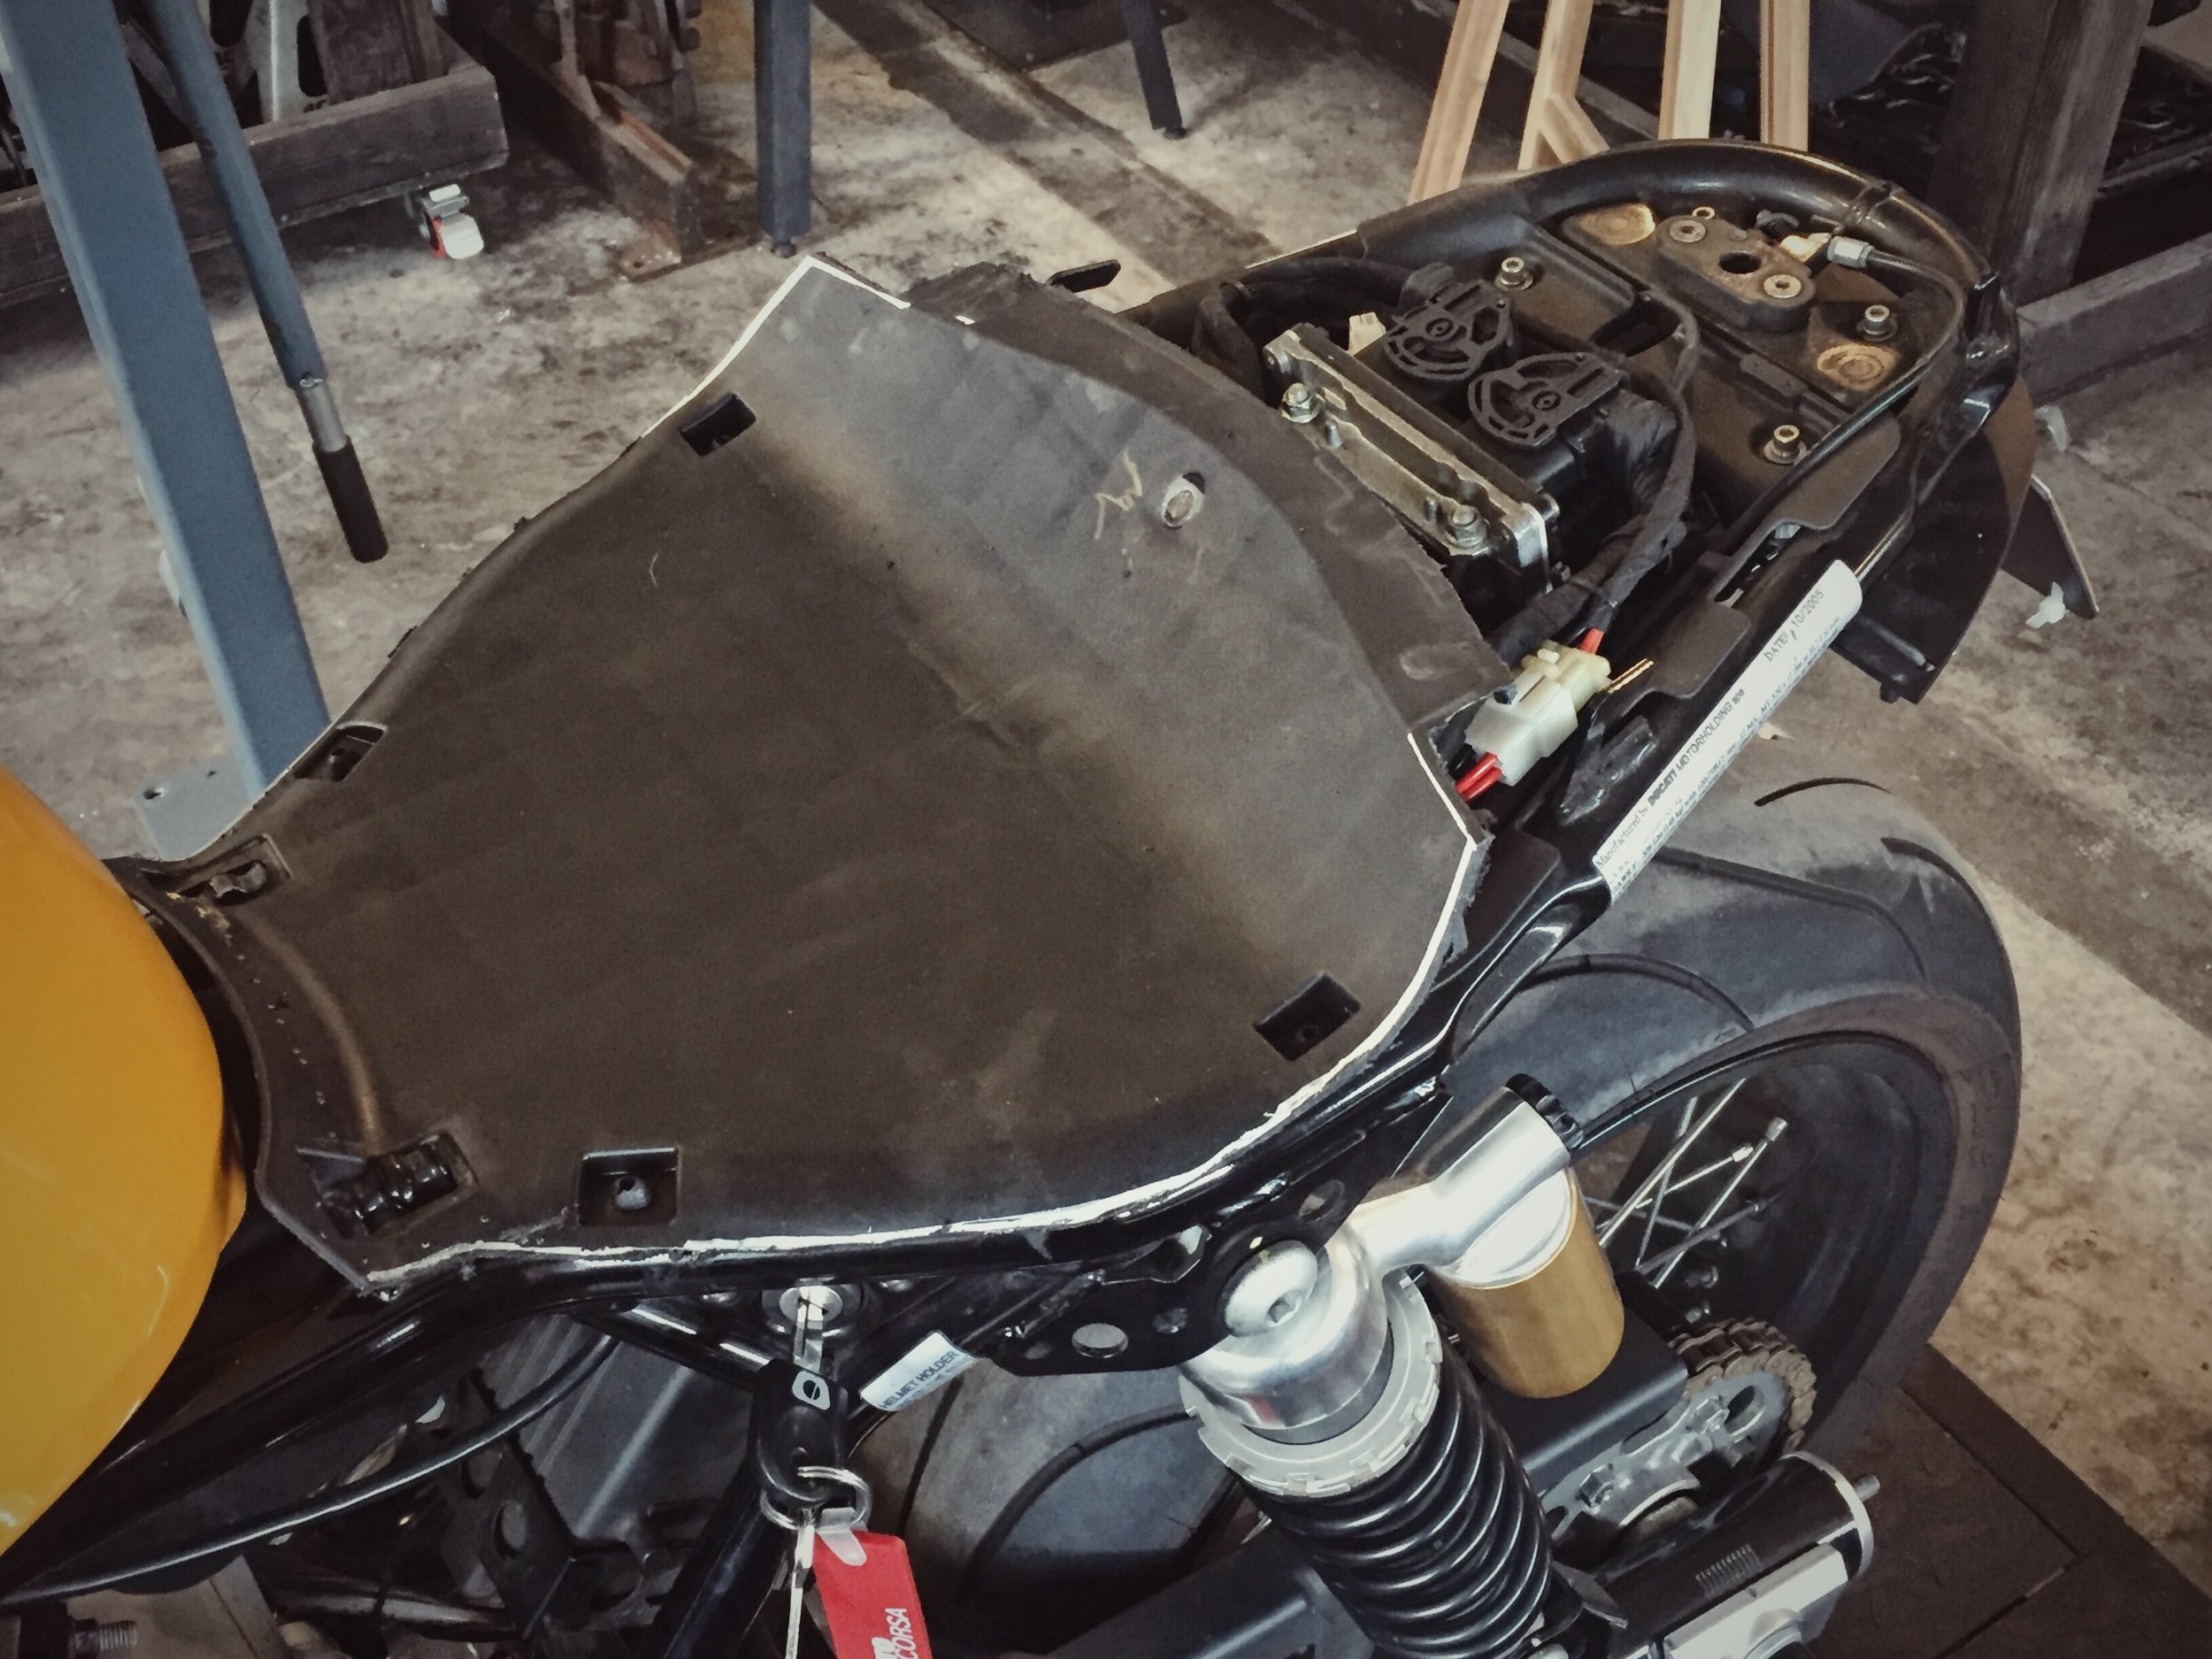
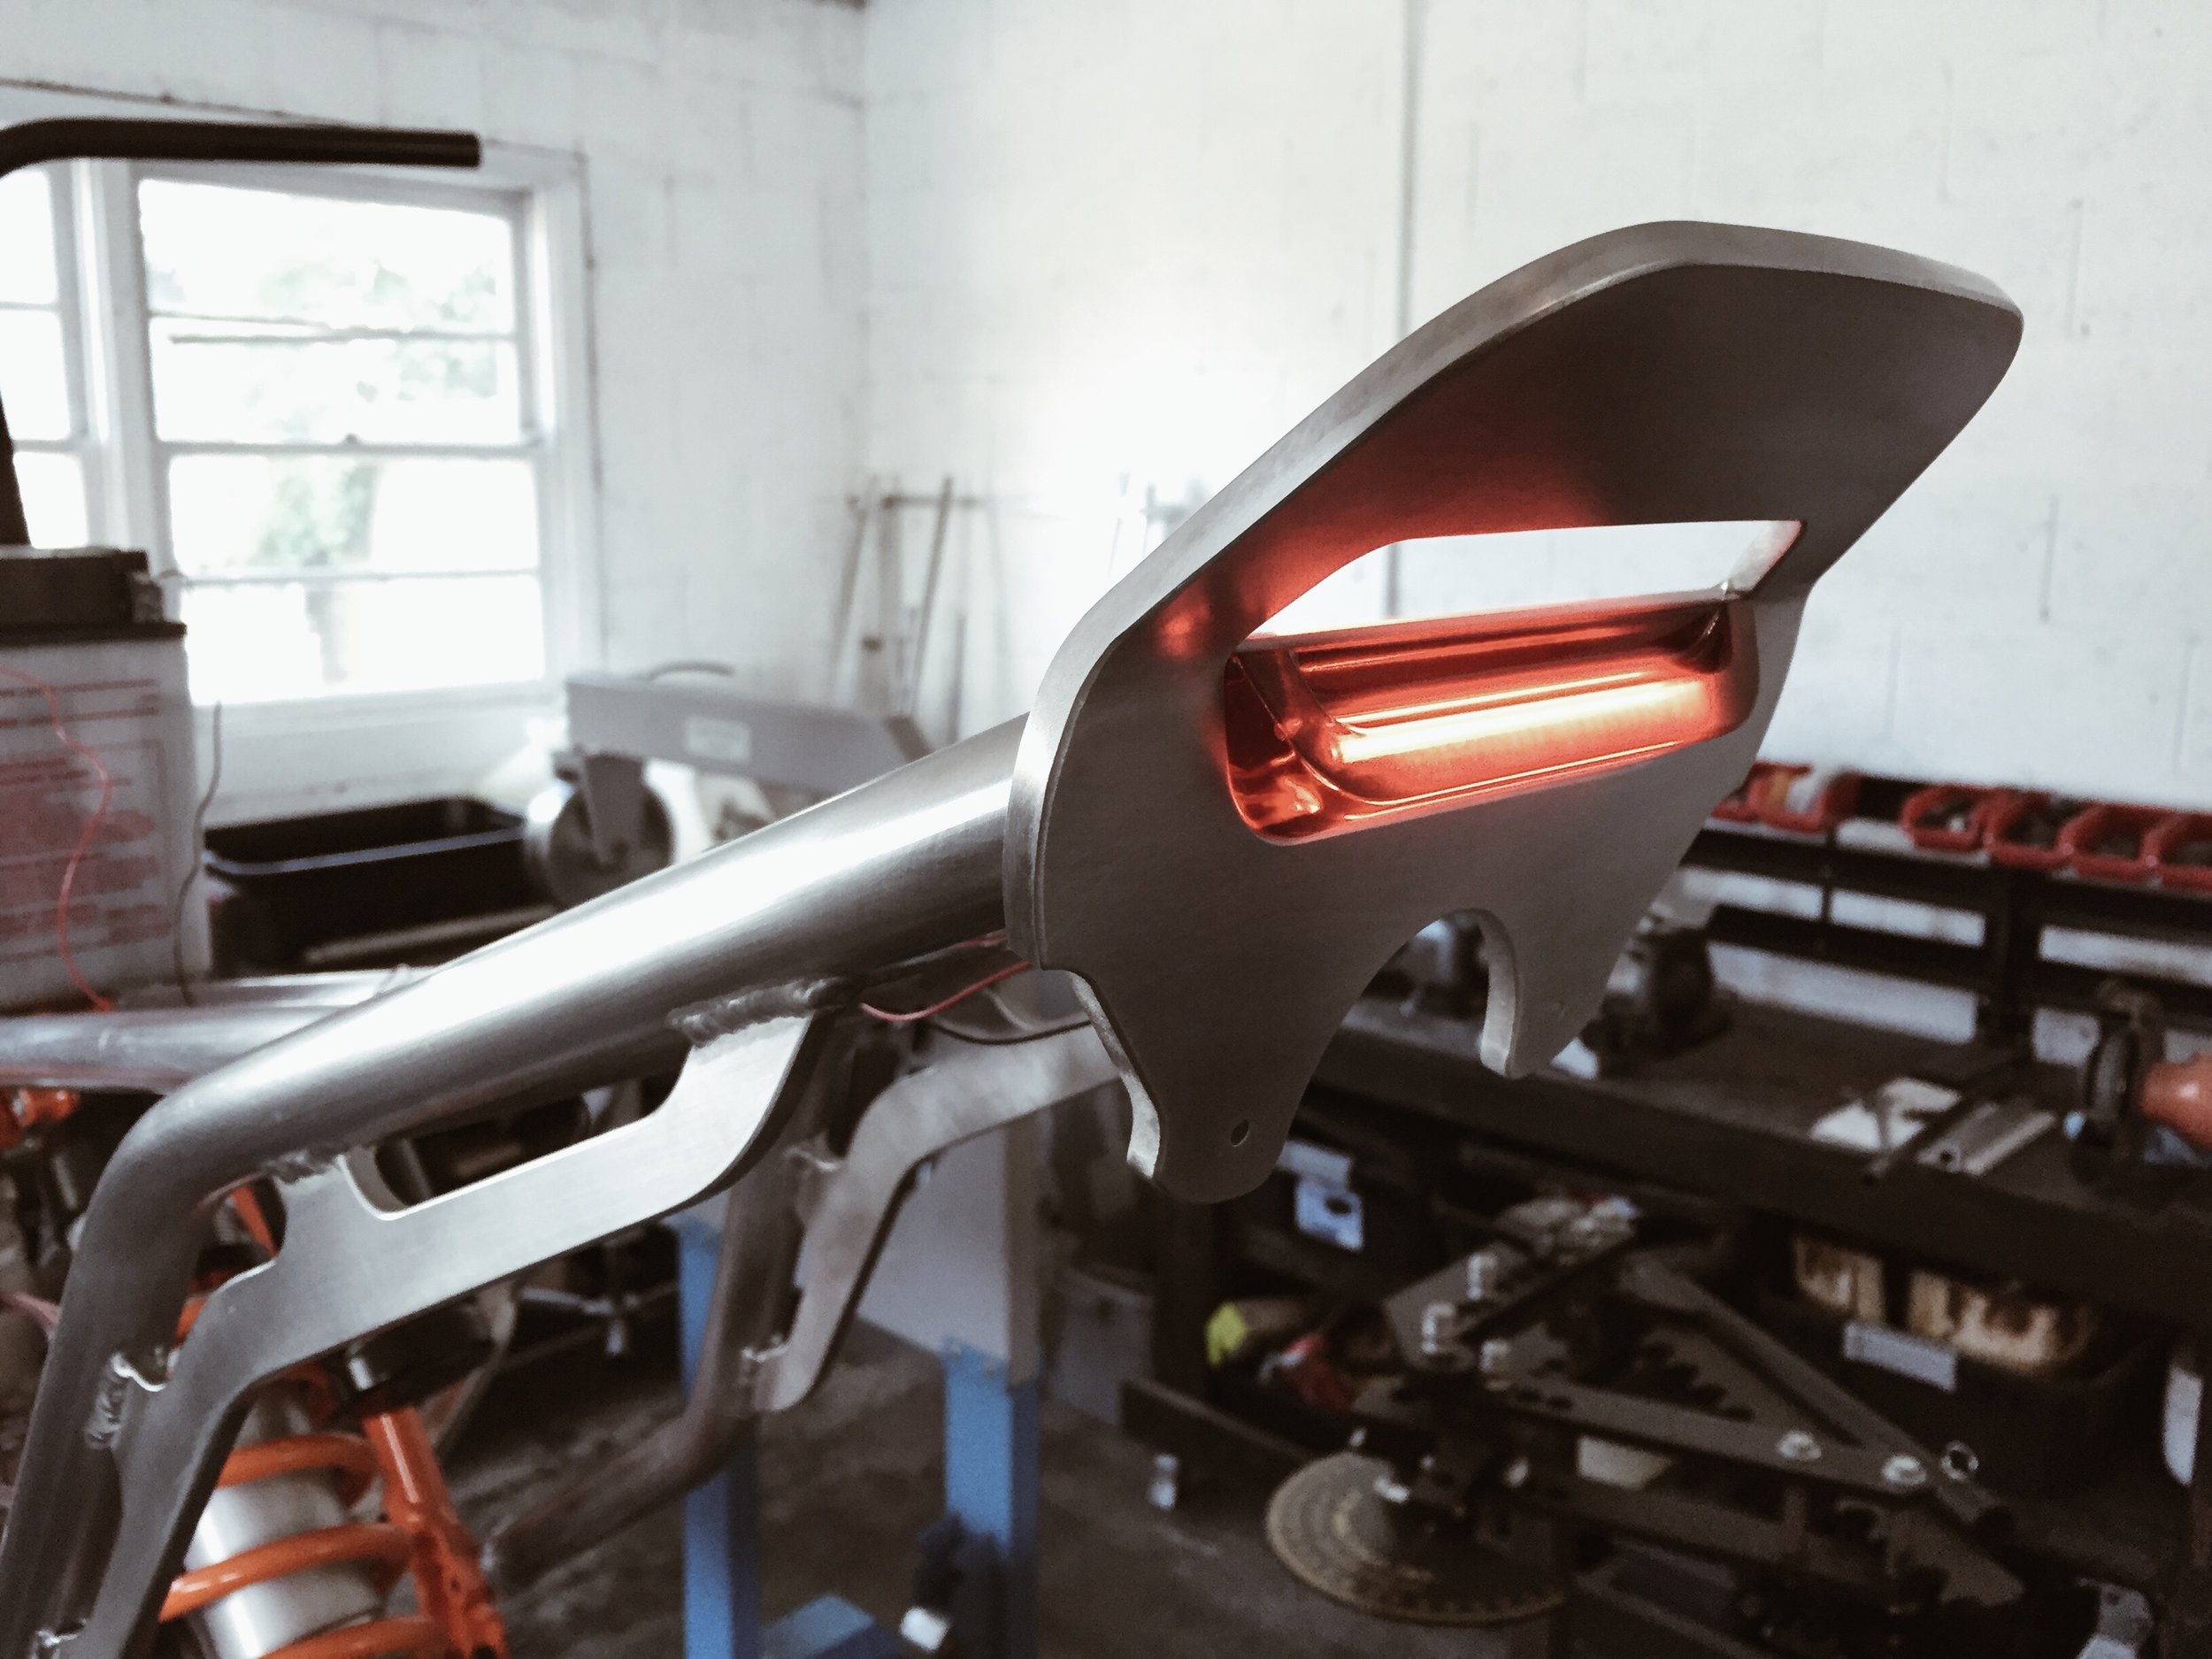
You can see the new placement of the LED tail/turn light strip inbetween the seat and frame. I don't remember if I mentioned it but I built brackets to mount Scrambler fenders front and rear. I also machined the triple to accept standard bar clamps and fitted some Moose Racing aluminum CR-HI bars. Just a little scrambler-style flare within the owner's budget.

Pt. 4 Making A Custom Sport Classic Seat

Part 1.
Part 2.
Part 3.

Part 4: The foam's been shaped so next was creating a guide for the upholsterer. Here's the rendering I did along with a stitching guide.

I had a brass logo die made so I could punch out leather tags to be sewn onto the upholstery. I have friends that own a motorcycle luggage company so I hopped up to Seattle to use their 30 ton clicker press.

Everything got shipped up to Ginger at Newchurch Moto for the final upholstery work.

Pt. 3 Making A Custom Sport Classic Seat

Part 1.
Part 2.

Part 3: On to the foam. I use 2" rebonded foam adhered with 3M Super 90 spray. I carve out the overall shape with an electric carving knife and do the fine tuning with a flap disc on a grinder.

It was looking a little too tail-heavy so I kept removing material from the top. Here's the finished foam shape. I drew in stitching reference lines for the upholsterer. That's where the seams will be. The idea behind the design was to mimic the trapezoidal protrusions in the tank.

Pt. 1: Making A Custom Sport Classic Seat

A client came to me recently with a 2016 Ducati SC100 looking to transform it's appearance on a tight budget. In my opinion, one of the best bang-for-the-buck transformation pieces is a custom seat. We decided to look at redesigning what was on there while retaining subframe mounts and tabs so that the bike could be brought back to stock relatively easy. I'll go through my entire process over a few blog posts to help anyone else trying to tackle something similar.

As with all my custom work, it started out in 2D. I like to create a design plan before touching a bike. I find it helps make execution much more straight forward. Here were the different iterations we discussed. 

The 2nd to last concept was chosen. The idea was that it's shape would mimic the trapezoidal protrusions on the side of the SC tank. My goal was to reveal the subframe rails and also narrow up the seat width. These things have absurdly wide seats that look like they were grafted in from a Roadking. Here's a rendering of the complete bike with a few other mods we were tackling; Scrambler fenders and low rise MX bars.

Moto-Mucci_Custom_Ducati_Sport_Classic_Rendering.jpg

I was hoping I could get away with simply pulling off the cowl, cover and foam, laying down my own foam and reusing the stock seat pan. It turned out to not be that straight forward. The seat pan was wider and taller than the design called for so I began trimming and sectioning the plastic.

The goal soon became "try to at least save the mounting bits."

And the hackery has concluded. I was able to salvage all rubber mounting, the front hook system and the rear release latch. Next time - grafting the pieces back together.